6
HARdWARE / BEfORE ASSEMBLY
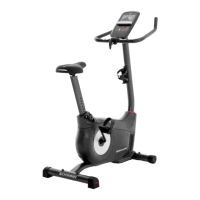
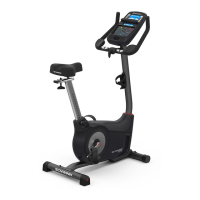
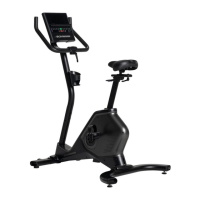
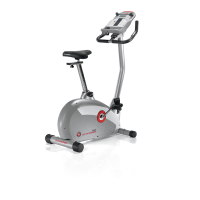
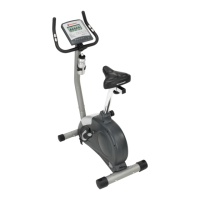
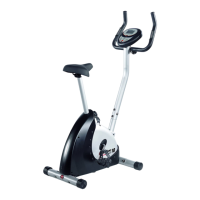
Before Assembly
Select the area where you are going to set up and operate your machine. For safe operation, the location must be on a hard,
levelsurface.Allowaworkoutareaofaminimum90"x69"(2.3mx1.8m).
Basic Assembly Tips
Follow these basic points when you assemble your machine:
• Read and understand the “Important Safety Instructions” before assembly.
• Collect all the pieces necessary for each assembly step.
• Using the recommended wrenches, turn the bolts and nuts to the right (clockwise) to tighten, and the left (counterclock-
wise) to loosen, unless instructed otherwise.
• When attaching 2 pieces, lightly lift and look through the bolt holes to help insert the bolt through the holes.
• The assembly requires 2 people.
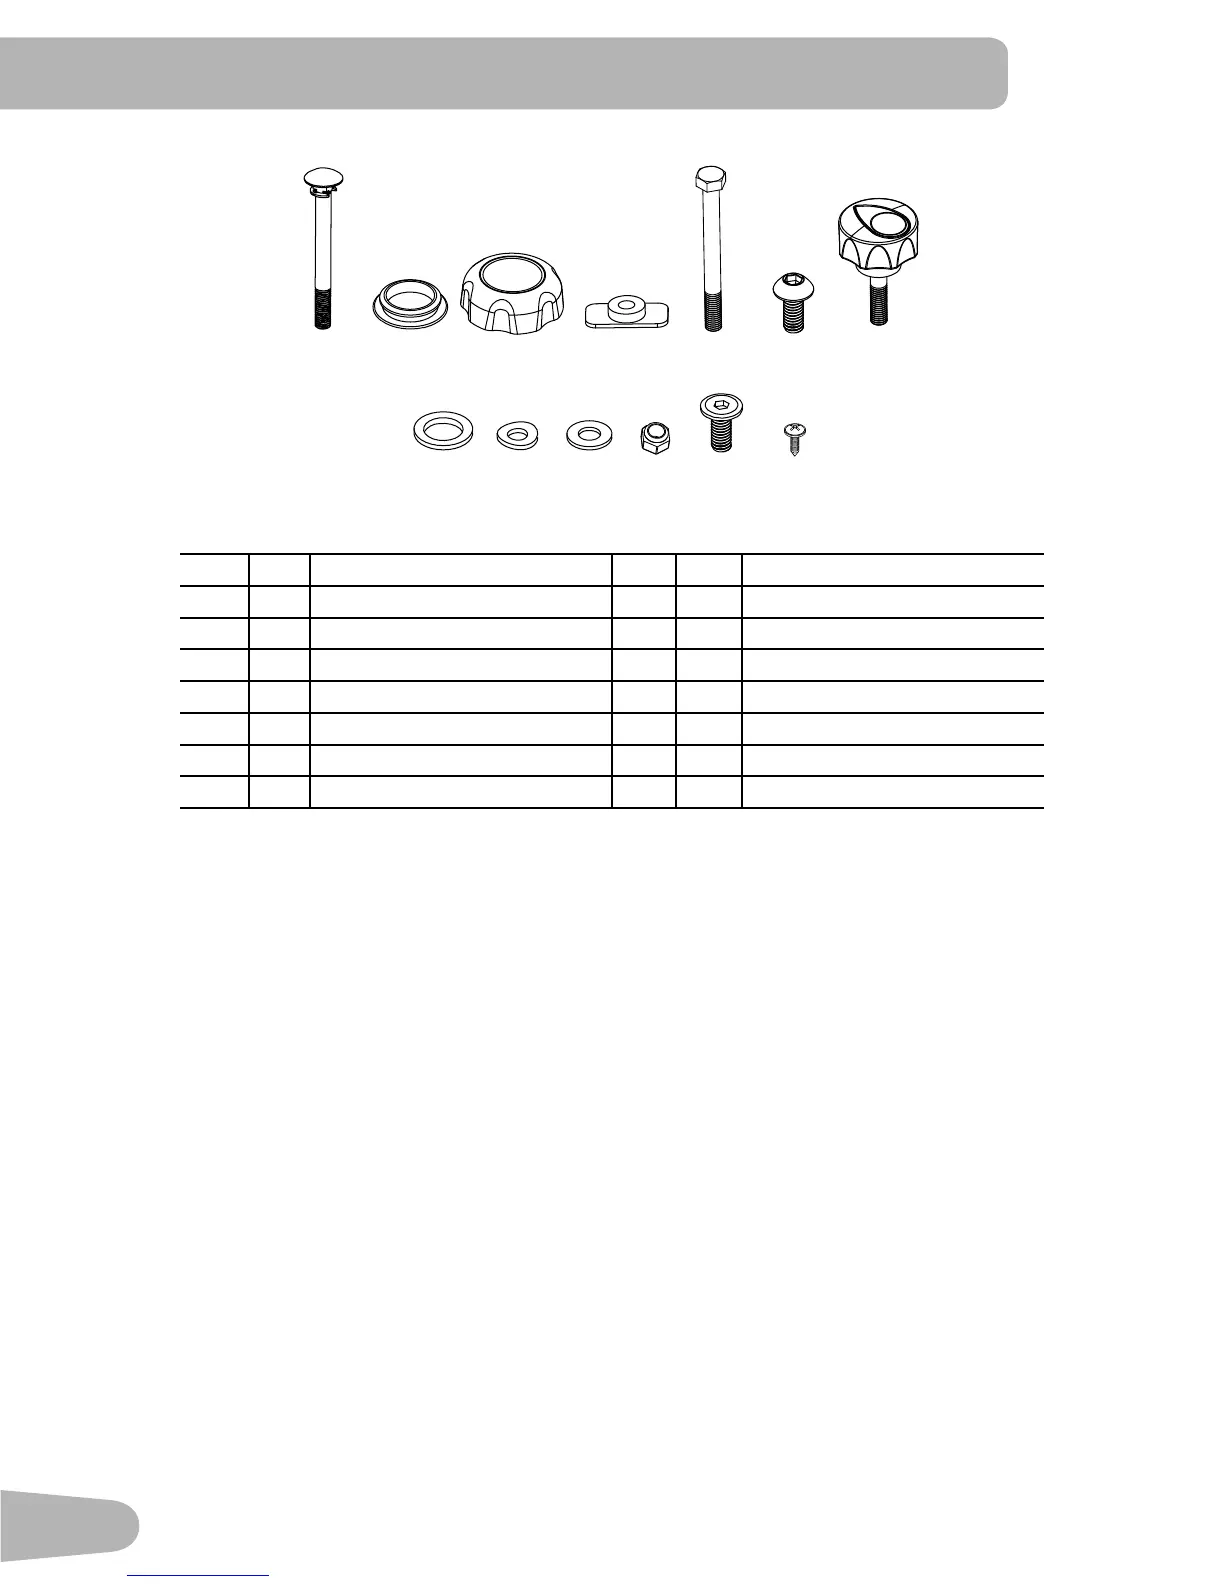
Item Qty Description Item Qty Description
A 1 CarriageBolt,M8x85 H 1 Flat Washer, M12
B 4 Cap I 4 Curved Washer, M8
C 1 Console adjustment knob J 2 Flat Washer, M8
D 1 T-Nut K 1 Lock Nut, M8
E 1 HexHeadBolt,M8x85 L 4 FlatHeadHexScrew,M8x16
F 4 ButtonHeadHexBolt,M8x16 M 2 PhillipsHeadScrew,M3x8
G 1 Handlebar adjustment knob
A B C D E F G
H I
J
K L
M