EasyManua.ls Logo

SciCan BRAVO 17 - User Manual

SciCan BRAVO 17
95 pages
Print Icon
To Next Page IconTo Next Page
Loading...
BRAVO 2 Operator’s Manual 95-XXXXXX Rev. 1.0 Copyright 2012 SciCan Ltd. All rights reserved.
• Operator’s Manual
BRAVO
AUTOCLAVES
ref. 97050531 rev. 0 - 04/2012 SD-310/1-EN

Table of Contents

Questions and Answers

  • J
    jennifer59Aug 18, 2025
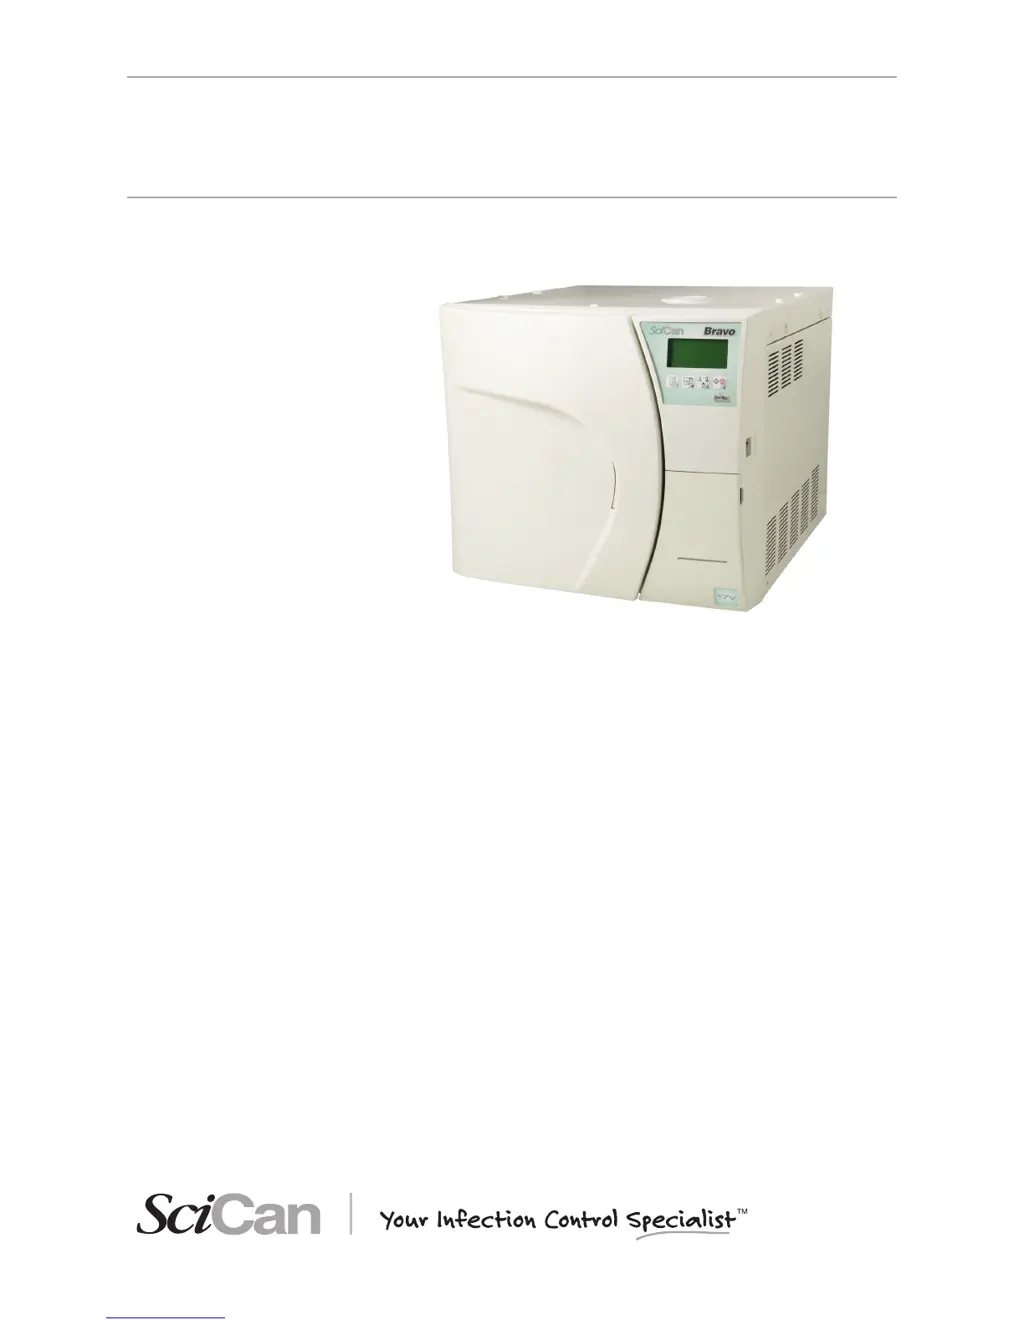
    What to do if I can't open the door of my SciCan Laboratory Equipment after the cycle?
    • K
      Kristin TorresAug 19, 2025
      If you can't open the door of your SciCan laboratory equipment after the cycle completes, it could be due to residual pressure in the sterilization chamber. Wait until the pressure returns to 0.00 bar before trying again. Also, check if the bacteriological filter is clogged and replace it if necessary.
  • S
    Shannon CruzAug 21, 2025
    What does it mean when the alarm icon is lit on SciCan Laboratory Equipment?
    • C
      Charles PhillipsAug 21, 2025
      If the alarm icon is lit on your SciCan laboratory equipment, it means an alarm has been triggered, generating a code and message on the LCD. Check the alarm code and take the appropriate action.
  • E
    Emma HolderAug 23, 2025
    Why is there water around the drain tank of my SciCan BRAVO 17?
    • J
      Jeffrey ChavezAug 23, 2025
      If you find water around the drain tank of your SciCan laboratory equipment, it's likely that the drain tubes (if using an optional drain tank) are not correctly connected to the tank. Make sure the tubes are fully pushed onto the connectors.
  • R
    ronaldfrankAug 26, 2025
    How to troubleshoot SciCan BRAVO 17 Laboratory Equipment sterilizer that does not power on?
    • C
      Colleen WilliamsAug 26, 2025
      If your SciCan laboratory sterilizer isn't powering on, here's what to check: * Make sure the power cord is properly plugged into the socket. * Verify that the socket has voltage and fix any issues if there is no voltage. * Ensure the main switch and/or differential switch are turned ON. * Inspect the mains fuses and replace them with fuses of equal nominal value if they are blown.
  • D
    Denise OnealAug 28, 2025
    What to do if the MIN water level icon is lit on SciCan BRAVO 17 Laboratory Equipment?
    • L
      Leah KingAug 28, 2025
      If the MIN water level icon is lit on your SciCan laboratory equipment, it means the distilled water level inside the tank is below the minimum. Add distilled water to the tank until the MAX level indicator comes on, or until the MIN level signal turns off.
  • K
    kadamsAug 30, 2025
    Why is there water on the support surface of my SciCan Laboratory Equipment sterilizer?
    • G
      Gregory BentleyAug 30, 2025
      If you find water on the support surface of your SciCan sterilizer, the cause may be: * Drain connectors or tubing (if using an optional external tank) are not correctly connected. Check the tightness of the fittings and reassemble if necessary, paying attention to sealing. Ensure the tubes to the drain tank are completely pushed onto the connectors and that the plastic ties have been applied. * The water supply tube from the external tank (if used) is not well connected. Check the tightness of the connector and reassemble if needed, ensuring a good seal. Verify the tube is fully pushed onto the connector and the plastic tie is applied. * Steam is leaking from the gasket. Clean the gasket and porthole after the cycle. Check for damage and replace the gasket if it continues to leak.
  • D
    Dawn MccarthySep 1, 2025
    Why won't the sterilization cycle start after pressing START on my SciCan Laboratory Equipment?
    • C
      clongSep 1, 2025
      If the sterilization cycle doesn't start after pressing START on your SciCan laboratory equipment, it might be because the device is preheating. Wait for the sterilizer to reach the proper operating conditions for starting the program. Under normal conditions, the average preheating time is about 10-15 minutes.
  • J
    joshuaperrySep 3, 2025
    Why is there excessive humidity on the material after using SciCan Laboratory Equipment?
    • P
      pottsmarySep 4, 2025
      If there's excessive humidity on the material after running a program on your SciCan laboratory equipment, consider these potential causes: * Too much material inside the sterilization chamber. Reduce the quantity to the maximum allowed for the load type. * Material not correctly positioned. Ensure proper positioning, especially for wrapped items, according to the instructions. * Wrong sterilization program selected. Choose the appropriate program for the material you're sterilizing. * Drain filter of the sterilization chamber obstructed. Clean or replace the drain filter and check for kinks in the exhaust tube, if one is being used.
  • G
    garyhartSep 6, 2025
    How to fix vacuum issues in SciCan BRAVO 17?
    • G
      Gabriel GreenSep 6, 2025
      If your SciCan sterilizer struggles to create a vacuum, leading to drying problems or water in the chamber after a cycle, check the following: * The drain filter of the sterilization chamber might be obstructed. Clean or replace it. * The drain circuit or tubes could be blocked. Ensure they are clear and run freely to the tank. * Air intake or heat exchanger obstructions. Clear any obstructions from the air intake and heat exchanger, ensuring the device isn't directly against walls or surfaces.
  • P
    Patricia ClementsSep 8, 2025
    Why are there traces of oxidation or spots on instruments after using SciCan BRAVO 17 Laboratory Equipment?
    • M
      Miguel HoffmanSep 8, 2025
      If you notice oxidation or spots on instruments after using your SciCan laboratory equipment, it could be due to: * Inadequate instrument quality. Verify the instruments are made of materials suitable for steam sterilization. * Poor distilled water quality. Replace with high-quality distilled water. * Organic or inorganic residues. Thoroughly clean instruments before sterilization. * Contact between dissimilar metals. Separate instruments made of different metals before sterilization. * Lime residue. Clean the device and its parts as needed.

Summary

General Safety Warnings

Control Panel and Display Operation

Control Panel Functions and Modes

Explanation of the control panel layout, command keys, and their functions in different operating modes.

LCD Display and Status Icons

Description of the Liquid Crystal Display (LCD) and its illuminated icons for status indication.

Installation Procedures and Device Connection

General Installation Precautions

Essential precautions for safe and correct installation, including space and environment.

Electrical Connections and Grounding

Guidelines for connecting the sterilizer to the power supply, emphasizing grounding.

First Start-Up and Initial Operations

First Start-Up Procedure

Initial steps to power on and prepare the sterilizer for its first use.

Automatic Test and Ambient Pressure

Performing the initial automatic test and acquiring ambient pressure for correct operation.

Distilled Water Filling Procedures

Manual Water Filling (Top and Front Access)

Detailed steps for manually filling the distilled water tank via top or front access.

Water Management and Tank Draining

Configuring the Sterilizer: Setup Mode

Entering and Navigating Setup Mode

Steps to enter the SETUP mode and understand the function of keys within this mode.

Understanding Setup Mode Key Functions

Explanation of the function of control panel keys when operating in SETUP mode.

Description of Menu Items and Navigation

Main Menu Structure and Options

Overview of the main menu with its six main entries leading to second-level menus.

Advanced Menu Options

Details of the options within the Advanced menu for programs, standby, printing, and filling.

Configuration Settings: Defaults and Language;Date

Configuration Settings: Time and Password

Setting and Managing the Password

Instructions for setting, disabling, and managing passwords for unit access.

Configuration Settings: Programs and Stand-By

Setting Sterilization Programs

Guide to associating standard or custom cycles to pre-set positions.

Configuring Stand-By Mode and Time-Out

Settings for preheating levels (HIGH, LOW, OFF) and standby time-out duration.

Material Preparation and Sterilization

Preparing the Load for Sterilization

Precautions for handling contaminated materials and ensuring instruments are perfectly clean.

Arranging the Load for Sterilization

Sterilization Monitoring

Sterilization Program Selection

Program Selection Procedure

Step-by-step guide for selecting sterilization programs, including password entry if applicable.

Running a Sterilization Cycle

Starting a Sterilization Cycle

Steps to start a sterilization cycle, including door locking and password entry.

Sterilization Cycle Execution Phases

Sterilization Cycle Phases: Drying to Completion

Cycle Result and Reporting

Data Reporting and Cycle Interruption

Manual Cycle Interruption

Procedure for manually interrupting a cycle and the subsequent steps.

Test Programs Overview

Helix;BD Test Procedure

How to perform the Helix/BD test to evaluate steam penetration in hollow loads.

Vacuum Test Procedure

Appendix A: Technical Characteristics

Safety Devices

Water Supply Characteristics

Program Summary Table

Appendix C: Maintenance

Routine Maintenance Schedule

Table detailing daily, weekly, monthly, and annual maintenance tasks for the sterilizer.

Maintenance Procedures: Cleaning

Maintenance Procedures: Tanks and Valves

Maintenance Procedures: Filters and Printer

Appendix D: Troubleshooting Guide

Analysis and Resolution of Problems

Table of problems, possible causes, and proposed solutions for troubleshooting the sterilizer.

Appendix E: Alarms

Handling Alarms During a Cycle

Procedure for handling alarms that occur during a sterilization cycle.

Handling Alarms Outside of a Cycle

Resetting the Sterilizer System

Alarm Codes: Errors (Category E)

Alarm Codes: Alarms (Category A)

Alarm Codes: Hazards (Category H)

Appendix G: Technical Support

Appendix H: Limited Warranty

SciCan BRAVO 17 Specifications

General IconGeneral
ModelBRAVO 17
Chamber Volume17 liters
Power Consumption1500 W
Operating Temperature5 °C to 40 °C
Operating Humidity20% to 80% RH
Sterilization Temperature Range121 °C to 134 °C
Sterilization Time3 to 30 minutes
Drying Time10 to 30 minutes
Control SystemMicroprocessor controlled
DisplayLCD
TypeAutoclave
Electrical Requirements220-240 V, 50/60 Hz
Power Requirements220-240 V, 50/60 Hz

Related product manuals