__________________________________________________________________________
Vers. 20210510ENG Page 14
3.2 Installation
3.2.1 Installing the instrument
1. Remove the instrument from shipping carton and place it on a stable, level surface.
2. Inspect for any damage.
3. Connect the power cord to the analyzer.
4. Press the power switch at the back of the instrument, the indicator light will illuminate
below the screen. The system will enter startup and perform a self-test.
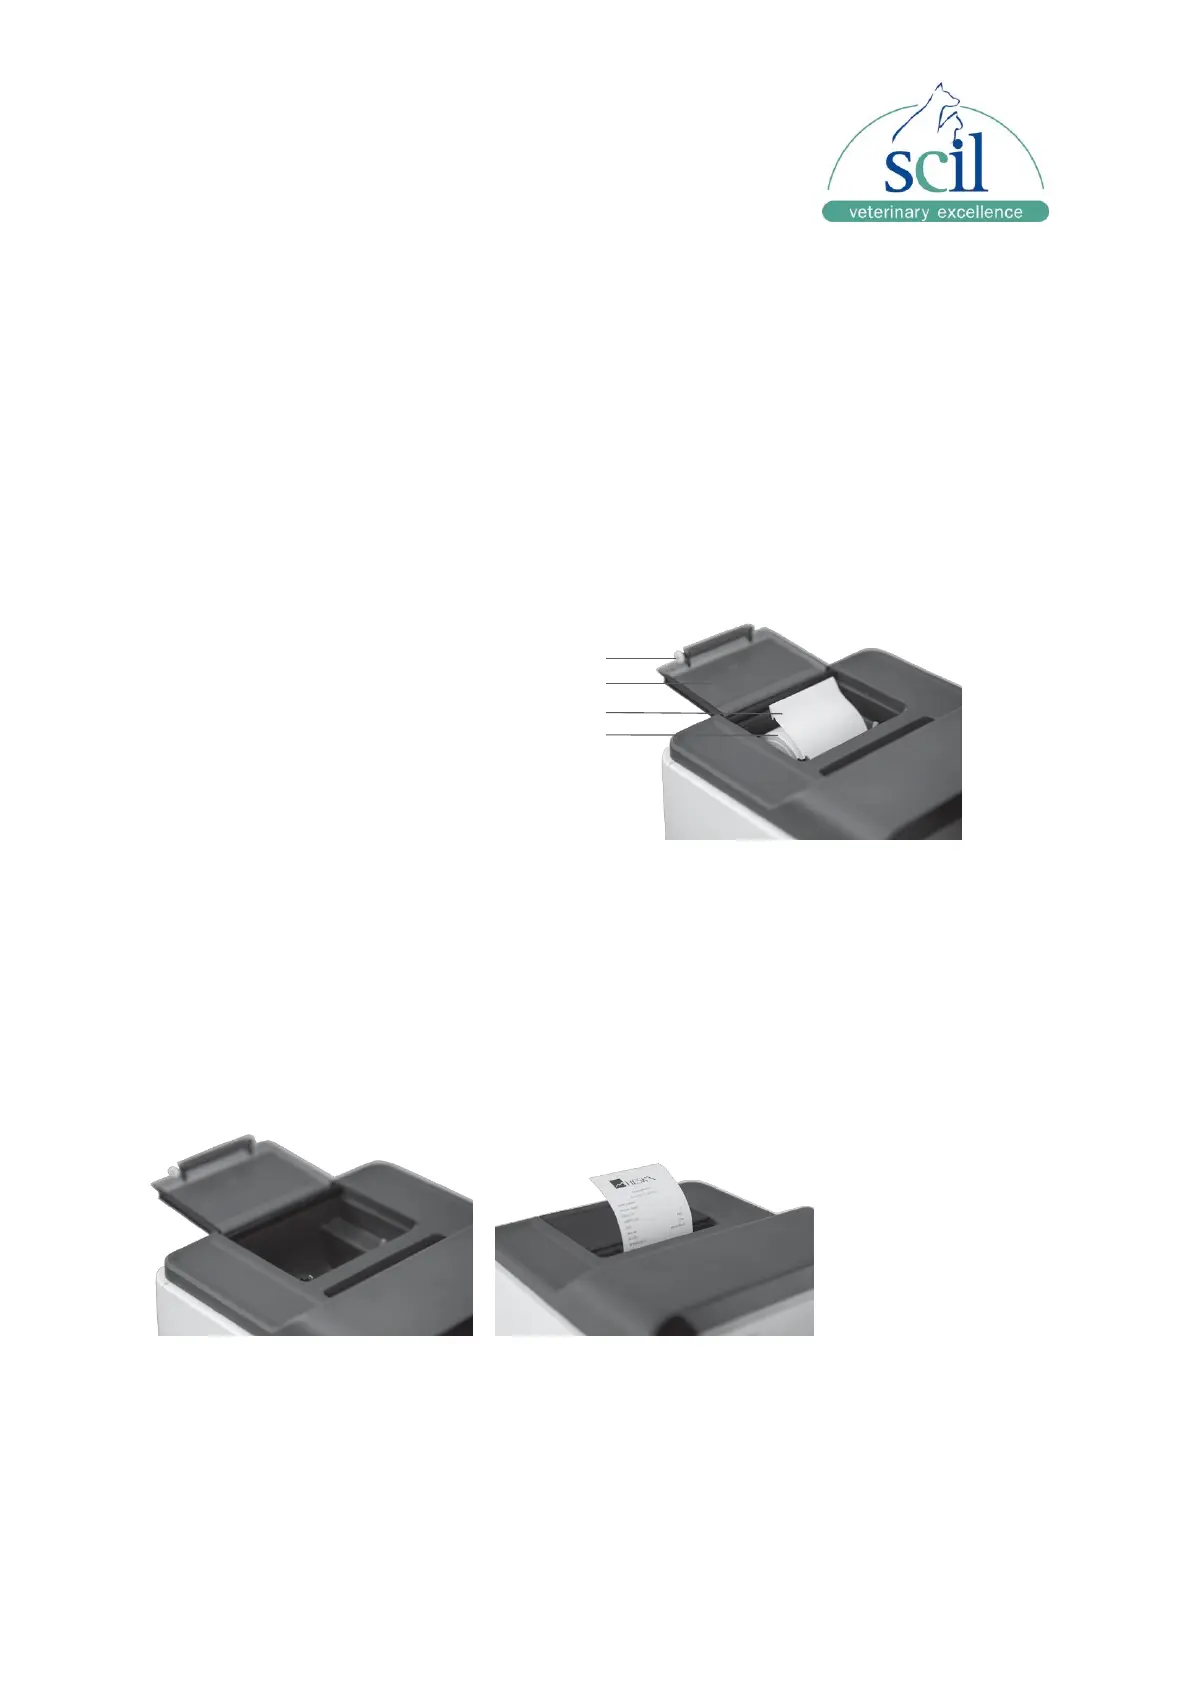
3.2.2 Insert printer paper
NOTE: 50 x 57 mm thermal printer paper has been installed during analyzer installation.
Replacing printer paper
1. Open printer cover.
2. Remove printing paper packaging, then place into analyzer with loose end forward.
3. Hold the loose end and route paper under the outlet on the printer door.
4. Close the printer cover.
3.2.3 External printer
This analyzer is compatible with printers using HP PCL3 GUI printer language, HP Deskjet or
other. Refer to your printer’s owner manual for additional information.