G4K Pro User Guide
5) Each G4K Pro has 5 modes to be used in daisy chain system.
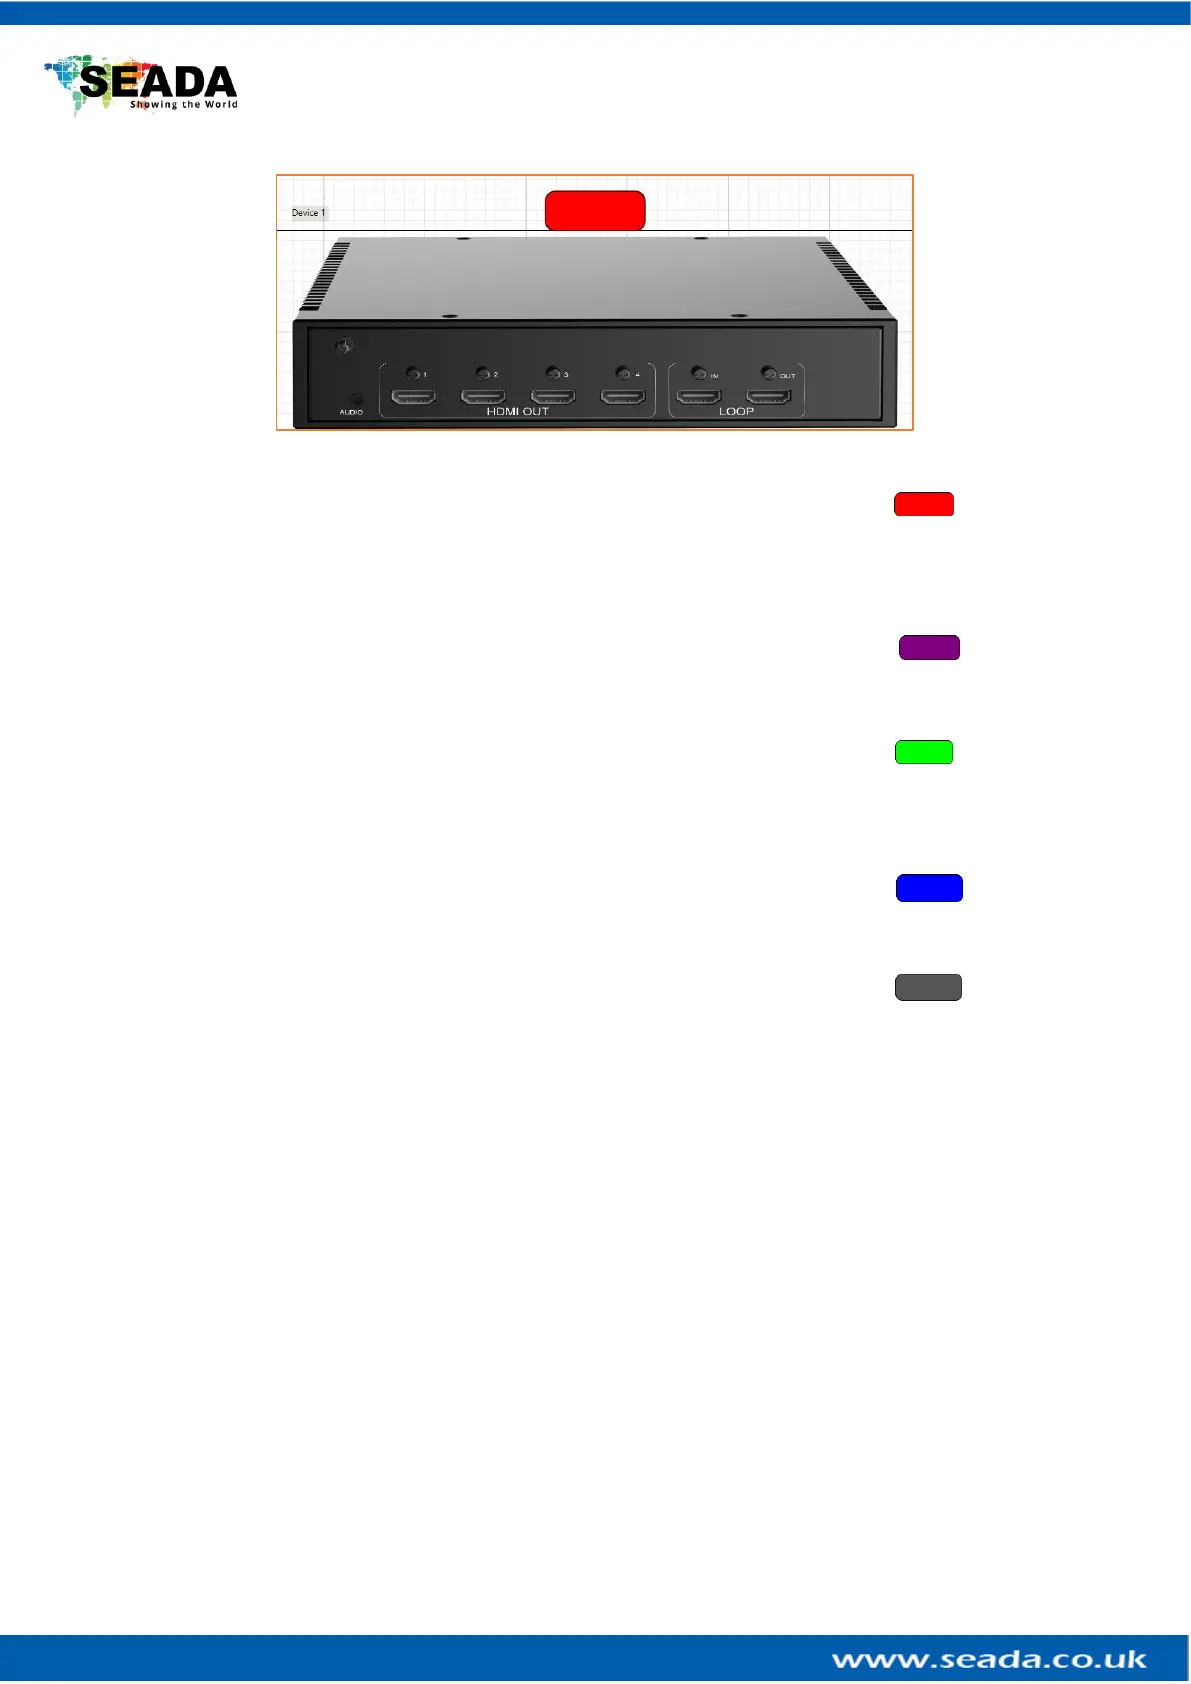
1. Main Device Show Red Header
Under this Mode, G4K Pro will display the video source from the Main HDMI input (also called
‘local data) in the front of device.
This mode will define the device as the master unit in the system. There should be only one master
device in one system. Normally the first unit is always used as Main Device.
2. Slave(get local data, transfer local data) Show Purple Header
This mode enables the devices to have frame lock with the master device and output the signal
from its own input. It will then transfer its own input source to next G4K Pro device.
3. Slave(get Cascade data, transfer local data) Show Green Header
This mode enables the devices to have frame lock with the master device and output the signal
from master device via HDMI daisy chain. However it will transfer the input source from its own
input to next G4K Pro device.
4. Slave(get local data, transfer Cascade data) Show Blue Header
This mode enables the devices to have frame lock with the master device, but output the signal
from its own input. It will however then transfer the input source from master G4K Pro device.
5. Slave(get Cascade data, transfer Cascade data) Show Grey Header
This mode enables the devices to have frame lock with the master device and output and transfer
the signal from the input source of master G4K Pro device.
6) Change the unit from Slave mode to Master mode
Double click on the device image in ‘Device’ of management software to open full ‘Change Device
Mode’ dialog window and then choose ‘Main Device’ mode to set the unit back to Master mode.