RV-8 ARF 35-40cc
Instruction Manual.
8
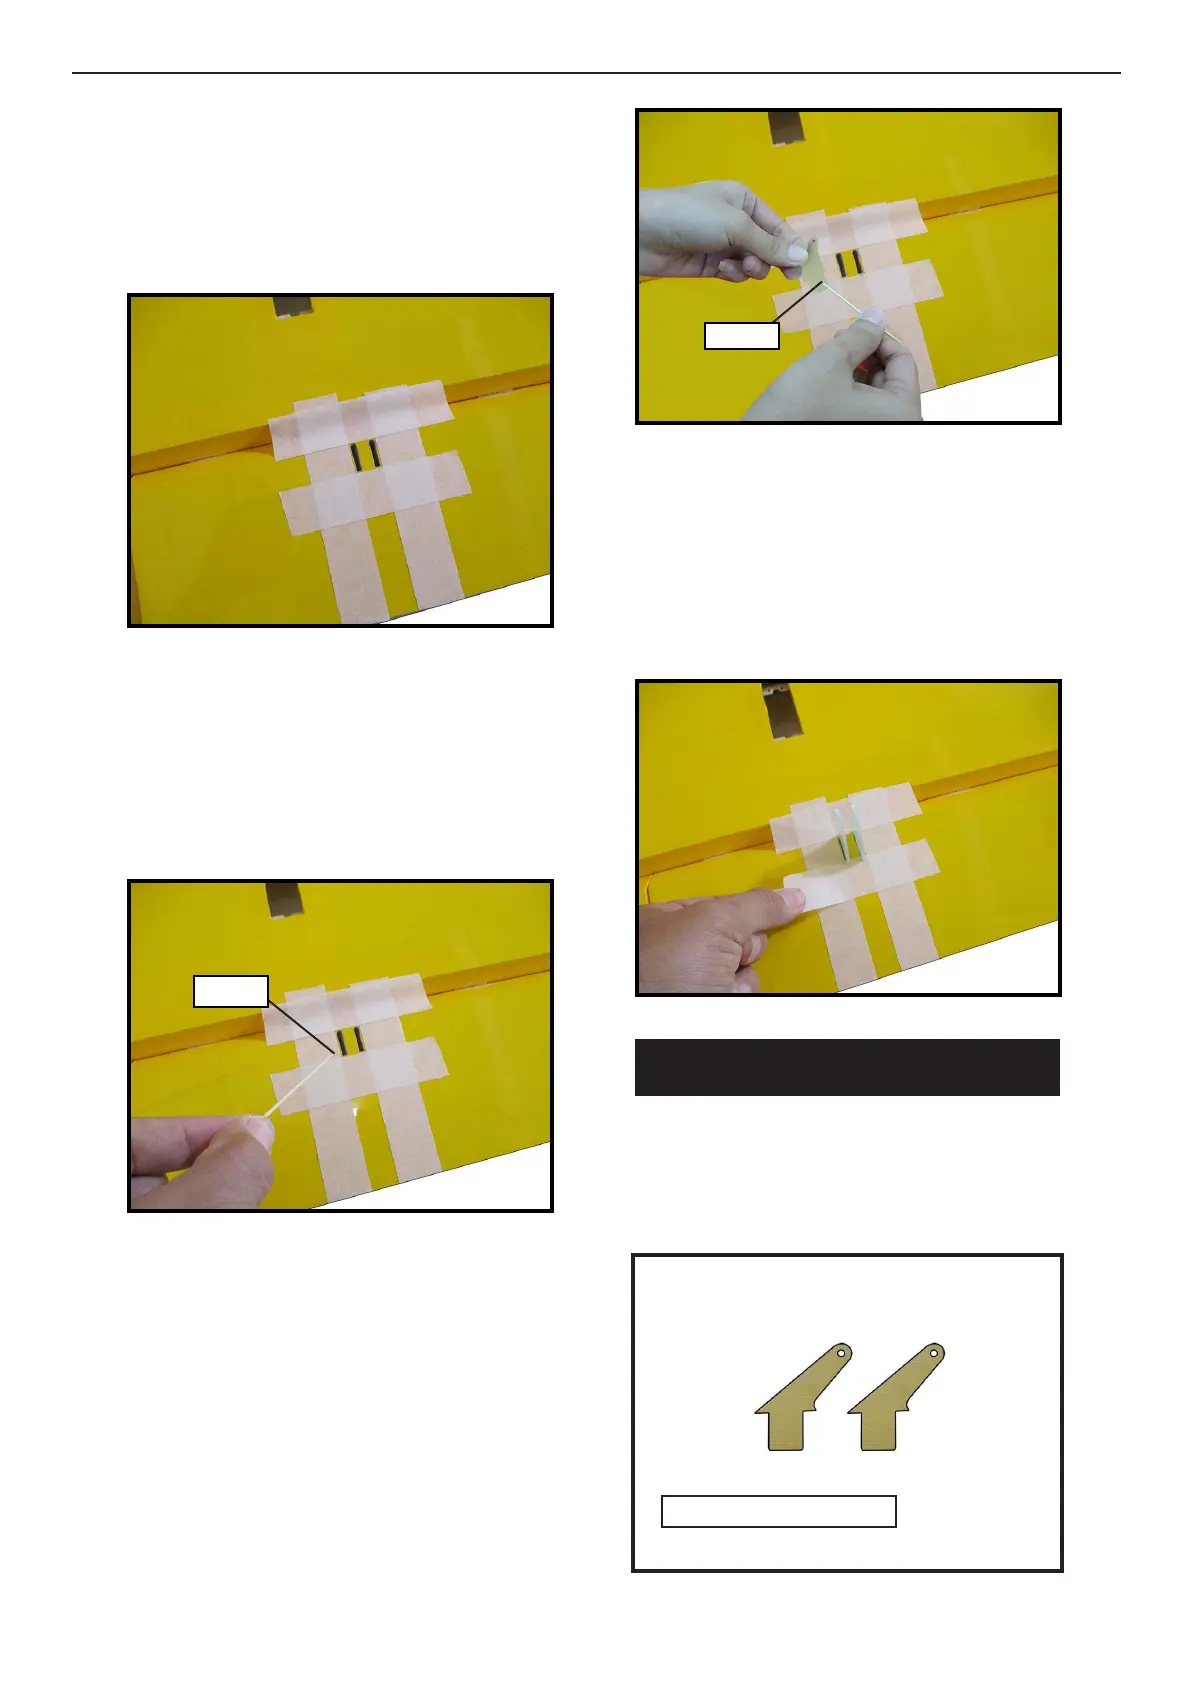
Place low-tack tape 1/32 inch (1mm)
from the control horn slot. is will pre-
vent epoxy from getting on the control
surface when the control horns are glued
in place.
Apply epoxy to the area of the control
horns that st into the slots. Use enough
epoxy so the control horns will be fully
bonded to the ed surfaces.
Remove the control horns from the
control surfaces. Apply epoxy to the slot
in the aileron and ap. Make sure the
epoxy gets into the slot for a good bond
between the surfaces and control horn.
4.
5.
6.
Epoxy
Epoxy
Before the epoxy fully cures, remove
the tape from around the control horn.
is will allow the epoxy to ow around
the control horn, creating a small let
between the control horn and surface for
a ished look and secure bond.
7.
TInstall the ap control horn using the
same method as same as the aileron con-
trol horns.
1.
INSTALL FLAP CONTROL HORN
Fiberglass control horn