12
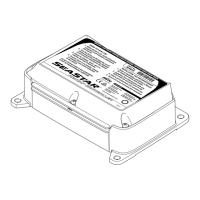
SeaStar ProTap Controller
4.0 INSTALLATION
Use ring terminals or locking type fork terminals that
are designed to safely accommodate 18 gauge wire
and fit a #6 stud. Power cables attaching to J1 and J2
should use 16 gauge wire.
Recommended tightening torque:
• Terminals: 9 in-lb (1.02 Nm).
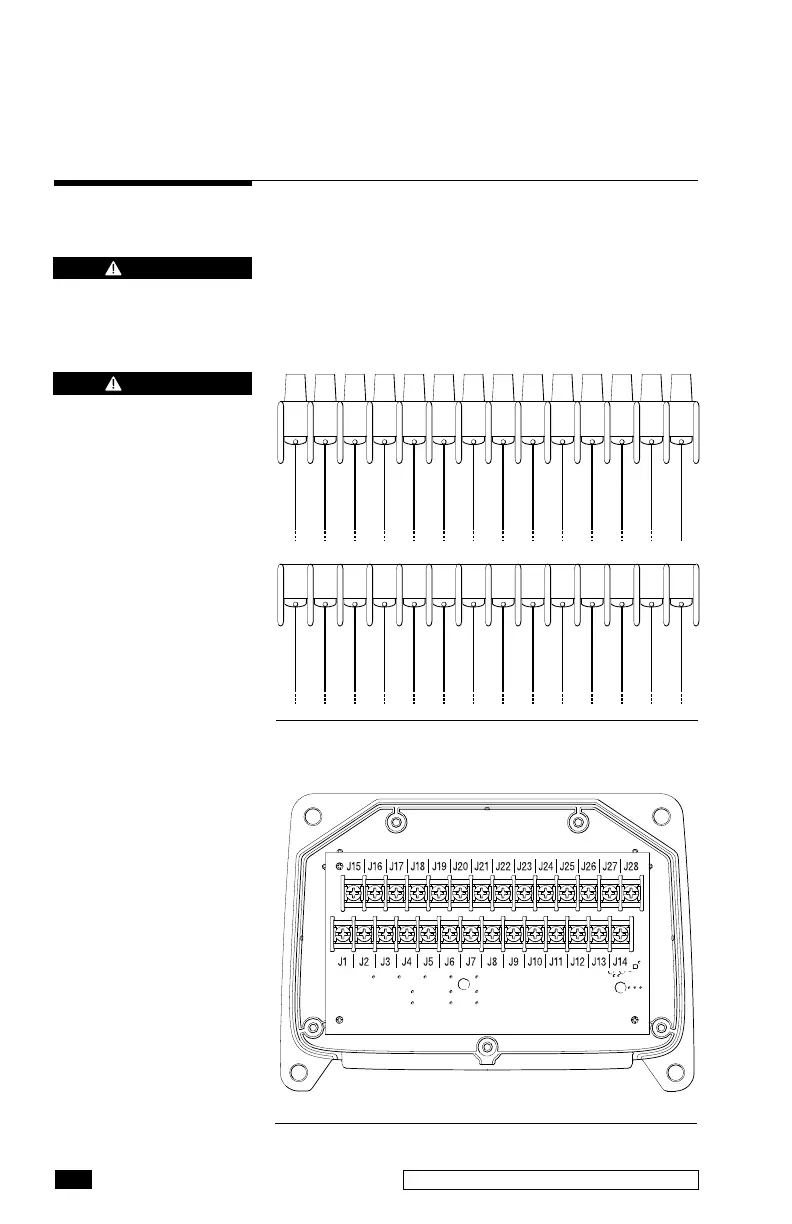
J15J16 J17
CAN0_H
CAN0_L
CAN0_POWER
CAN0_GND
DIGITAL_IO2
TRIMSW_UP
TRIMSW_DN
SS1_GND
SS1_POWER
JP1_UP
JP1_DN
ANALOG_GAUGE
ANALOG_GND
J18J19 J20J21 J22J23 J24J25 J26J27 J28
J1 J2 J3
BATT +
BATT –
TRIM_UP
TRIM_DN
PROTAP_SW
JPSW_UP
JPSW_DN
SS0_GND
SS0_POWER
JP0_UP
JP0_DN
SENDER_GND
SENDER_SIG
DIGITAL_IO
IGITAL_IO1
J4 J5 J6 J7 J8 J9 J10J11 J12J13 J14
4.1 WIRING
Figure 4-1. Controller Pin-Out.
Figure 4-2. Top view of the controller with pin out.
WARNING
Ensure all wires exiting
the controller are strain
relieved.
WARNING
Ensure all wires are exiting
the controller in a down-
wards direction.