ASSEMBLY AND INSTALLATION
23
6
● When connecting the DVD wire connector, check the orientation carefully and
connect securely. The connector must be connected in the proper direction. If
it is connected in the wrong direction or indiscriminately at an incline so that a
load is applied, the connector or its terminal pins could break, causing a short
circuit or fire.
● Be careful not to damage the DVD wire by getting it caught between objects,
etc. Doing so may cause a short circuit or fire.
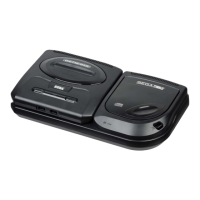
● Connect the DVD DRIVE to the LINDBERGH before connecting the power. Ad-
here strictly to the proper sequence in performing work. Failing to do so may
cause electrical shock or short circuit.
1
Remove the left right side door from the main cabinet by unscrewing the 2x m4x40 machine screws.
You will need the supplied DVD software kit, board number sticker, and the separately sold DVD DRIVE and DVD
wire. To prepare for software installation, you will need to connect the LINDBERGH and DVD DRIVE inside the
cabinet using the DVD wire.
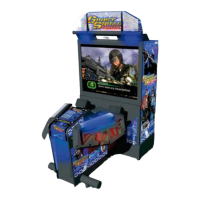
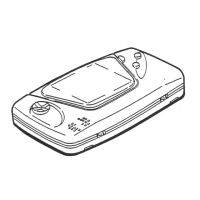
The LINDBERGH is the orange colored plate metal case found inside the front door PCB on the left side when fac-
ing the projector screen.
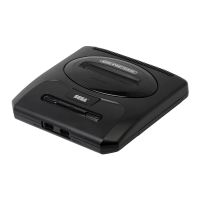
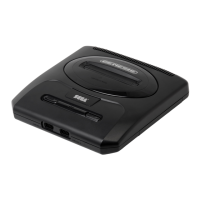
2
Remove the door to reveal the Lindbergh game board.
FIG. 6-11a
FIG. 6-11b
4 CONNECTING THE DVD DRIVE (PREPARATION FOR INSTALLATION)
PLEASE NOTE THAT THIS PRODUCT IS DELIVERED WITH SOFTWARE PRE-INSTALLED
Lindbergh Game Board