Servomex 2700 Quickstart Manual
Servomex 2700 Quickstart Manual
3
2. STARTUP AND SHUTDOWN
2.1 Analyser startup
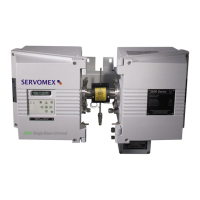
If the sensor head and sample probe have been removed from
the flue, then refit the sensor head and sample probe to the flue
and reconnect any interconnecting wiring (see Installation
Manual).
Switch on the electrical power to the sensor head and to the
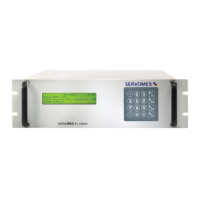
control unit.
Leave the unit for two hours to warm up and then check that no
faults are indicated on the control unit display screen.
Connect the aspirator air supply to the sensor head. The correct
operating pressure is stated on a label attached to the inside of
the terminal enclosure on the side of the sensor head.
If necessary, connect calibration gases to the sensor head to
verify correct operation. See Section 3.4 for Calibration
procedure.
CAUTION
If the analyser is to be installed in a low temperature
environment (-20°C) then it should be powered up for a
period of two hours before the compressed air aspirator
supply is applied. This prevents corrosive sample gases
from condensing inside the sensor head pipe work.
NOTES
• The analyser should be allowed to stabilise for several
hours (typically overnight) before calibration.
• It is then recommended that calibration gases be passed
through the sensor head to confirm operation of the
analyser.
 Loading...
