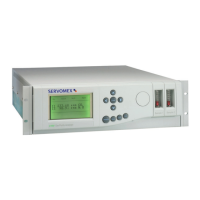
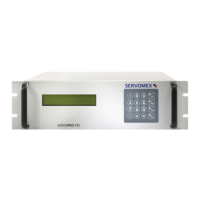
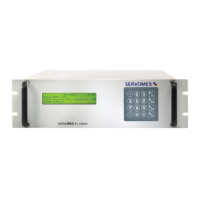
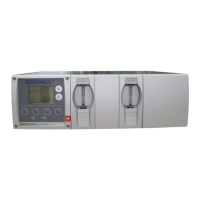
Do you have a question about the Servomex SERVOPRO 4100 and is the answer not in the manual?
Identifies key analyser features and their physical locations on the front and rear panels.
Provides instructions for safely unpacking and inspecting the analyser upon arrival.
Details the procedure for installing the analyser on a benchtop surface.
Describes the process for mounting the analyser into a control panel.
Explains the procedure for installing the analyser using rack slide mounting kits.
Covers connecting the analyser to the appropriate electrical power supply.
Details how to connect various signal outputs and inputs to the analyser.
Specifies connections for analogue mA outputs and relay outputs.
Explains connections for external analogue inputs and their status signals.
Describes how to connect for external autocalibration initiation.
Covers connecting the analyser for serial data communication via RS232/RS485.
Provides guidelines for ensuring proper EMC (Electromagnetic Compatibility) installation.
Discusses recommended gas mixtures for instrument calibration.
Specifies calibration gases for Gfx transducer low and high calibration.
Specifies calibration gases for IR transducer low and high calibration.
Details how gas connections are made to the analyser's rear panel.
Provides essential instructions and warnings for powering up the analyser.
Outlines essential leak testing procedures for analysing toxic or flammable samples.
| Response Time | T90 < 10 seconds |
|---|---|
| Power Supply | 24 Vdc ±10% |
| Gases Measured | O2, CO2, H2, CH4, CO |
| Mounting | Wall or panel mount |
| Enclosure Rating | IP65 |
| Dimensions | 200 x 150 x 100 mm |
| Accuracy (O2) | ±0.1% O2 |
| Operating Temperature | -20 to +50 °C |
| Output Signal | 4-20 mA |
| Technology | Paramagnetic |
| Applications | Combustion control |
| Measurement Range (CO2) | 0-100% |
| Measurement Range (H2) | 0-100% |
| Measurement Range (CH4) | 0-100% |
| Measurement Range (CO) | 0-100% |
| Outputs | 4-20mA |
| Communication Protocol | Modbus RTU |
