www.sharkcompany.com
PREPARE
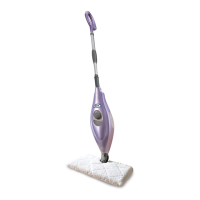
5 Foryourcomfort,youcanadjust
t
heheightofthemop.Justliftthe
latchonthetube90degreestothe
openposition.Holdingthehandle,
extendthetubetotheheightthat’s
rightforyouandthencloselatch
tolockedposition.
6 Pluginmopandwait30seconds
o
rlessforthemoptoheatup.
Pumpthehandleofthemopby
pushingdownwardabout10to12
timestocreatesteam.
NOTE: Steamiscreated
a
utomaticallywhenyoustart
mopping.
Q
UICK TIP: We’veadded
additionalmopheadsforyour
convenience.Eachmophead
canbeusedonyouroors.The
TriangleMopHeadwasspecically
designedtoreachintothosetight
cornersandspaces,especially
thosefoundinthebathroom.The
XLMopHeadwasdesignedto
makequickworkoflargeopen
spaces.TheRectangleMopHead
i
scompletelyversatile.
NOTE: D
onotleaveyourSteam
Mopunattendedduringuse.
IMPORTANT:
Neverleavethe
steammopinonespotforany
periodoftimewithadamporwet
micro-berpocketattachedasthis
willdamageyouroors.
5
6
QuickStart
QUICK
TIP: F
or
easier
pushing
andpulling,
extendthe
handlelength
DIRT CAN’T HIDE ON
EITHER SIDE!
Allnew
designallowsforoptimal
cleaning!Whenoneside
ofthepocketgetsdirty,
justturnthemophead
overandcleanwiththe
othersideofthepocket.
TOLL FREE: 1-866-826-6941
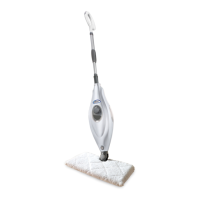
ASSEMBLE
1 Insertthemophandleintothe
p
umpactuator(thetubethatleads
tothetank).Pushthemophandle
andpumpactuatortogetherin
untilyouhearitclickintoplace.
2 Selectam
opheadandcleaning
pad.Fitonesideofthepocket
ontotheheadrst,thenusing
thelavenderloop,pullthepocket
overthehead.Attachthequick
fastenersonthetopofthepocket
tosecureinplace.
3 Snapt
hemopheadintothebaseto
secureit.Pressthereleasebutton
toexchangemopheads.
FILL
4 Laythemopontheoororon
a
countertopandremovethe
watertankcapbyturningcounter
clockwise.Fillthewatertankusing
thellingask.Donotoverllthe
watertank.Replacethewatercap
andtighten.
IMPORTANT: Makesureyouroors
a
resealed.BeforeusingtheSteam
Mopconsultpage3formore
information.
Quick Start
2
4
Whenassemblingyoursteammop
theremaybealittlewaterinoraround
thewatertank.Thisisbecausewetest
alloursteammops100%beforeyou
buythem,soyougetaquality
Shark
®
SteamMop.
3
1