IMPORTANT:Firstthingsrst,always
makesurethemopisUNPLUGGED
fromthewallwhennotinuse.Never
llthemop,attachthemophead,
changeorremovethemicro-ber
pocketwhenthemopispluggedinto
thewall.Ifyouhavehardwateryou
mightwanttousedistilledwaterto
prolongthelifeoftheShark
®
Steam
Mop.Makesureyouonlyaddwater
tothetank.Chemicalsorcleaning
solutionmaydamagetheappliance
andcouldbeunsafeforyouand
yourfamily.
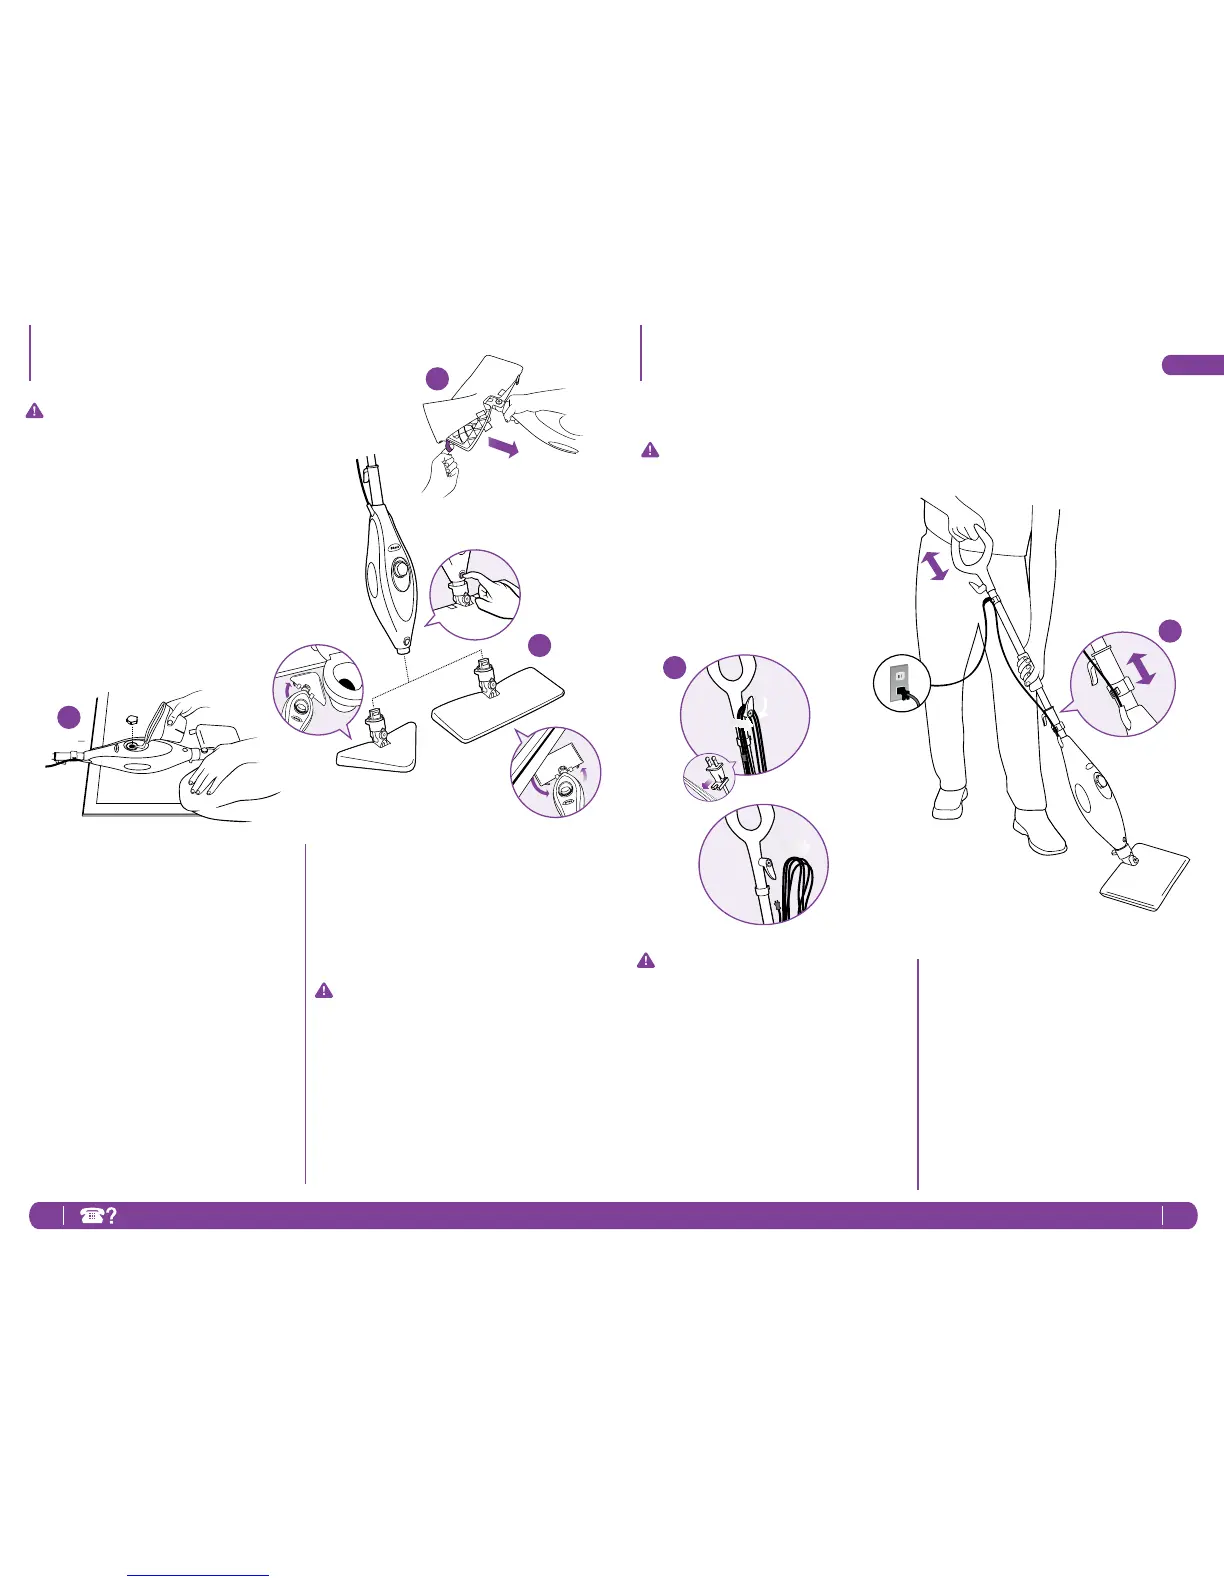
attachthequickfastenersonthe
topofthepockettosecureinplace.
Youcanalsousethelooptopullthe
dirtypocketoffwhenyouaredone
moppingafterithascooled.
3 Snapthemopheadintothebaseto
secureit.
IMPORTANT:Don’tuseonunsealed
woodorunglazedceramicoors.
Onsurfacesthathavebeentreated
withwaxorsomenowaxoors,
thesheenmayberemovedby
theheatandsteamaction.Itis
alwaysrecommendedtotestan
isolatedareaofthesurfacetobe
cleanedbeforeproceeding.We
recommendthatyouchecktheuse
andcareinstructionsfromtheoor
manufacturer.
1 Turnthewatertankcapcounter
clockwiseandremovefromthetank.
Usethellingaskandpourwater
intothetank.Pleasedon’toverll.
Replacethecaponthewatertankby
turningclockwiseandtightening.
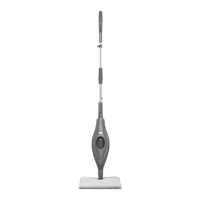
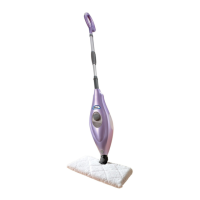
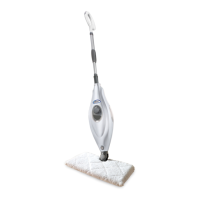
2 Selectamopheadandcleaning
pad.Eachmopheadcanbeused
onyouroors.TheTriangleMop
Headwasspecicallydesignedto
reachintothosetightcornersand
spaces,especiallythosefoundin
thebathroom.TheXLMopHead
wasdesignedtomakequickworkof
largeopenspaces.TheRectangle
MopHeadiscompletelyversatile.
Usethelavenderlooponthesideof
themicro-bercleaningpocketto
placearoundthemophead.Then
1
2
3
Getting Started - cont’d Using Your Steam Mop
IMPORTANT:Makesureyoudon’t
usethemopwithoutattaching
amicro-berpocketandadding
watertothetankrst.Whenyouare
usingthemopforthersttime,it
mighttakelongerthanthenormal
30secondstostartsteaming.Just
pumpthehandleafewtimesina
downwardmotiontoprimethe
pumpanditshouldbeready.
2 Pumpthehandleafewtimesina
downwardmotion.Thispumping
actionwillreleasesteamasyou
mopandallowsyoutocustomize
theamountofsteamyouwant.
Beginmoppingwithaforward
andbackwardmotion.Thenatural
motionofmoppingwillproduce
steam.
NOTE:Makesuretheoorsare
sweptorvacuumedbeforeusingthe
steammop.
1 Pullandtwistthequickreleasecord
holdertounwrapthepowercord
completely.Agreattimesaver!
Plugintoa120-voltelectricaloutlet
Thepower“On”lightwillturnblue,it
takesapproximately30secondsfor
themoptoheatupandthesteamto
beready.
2
1