Getting Started
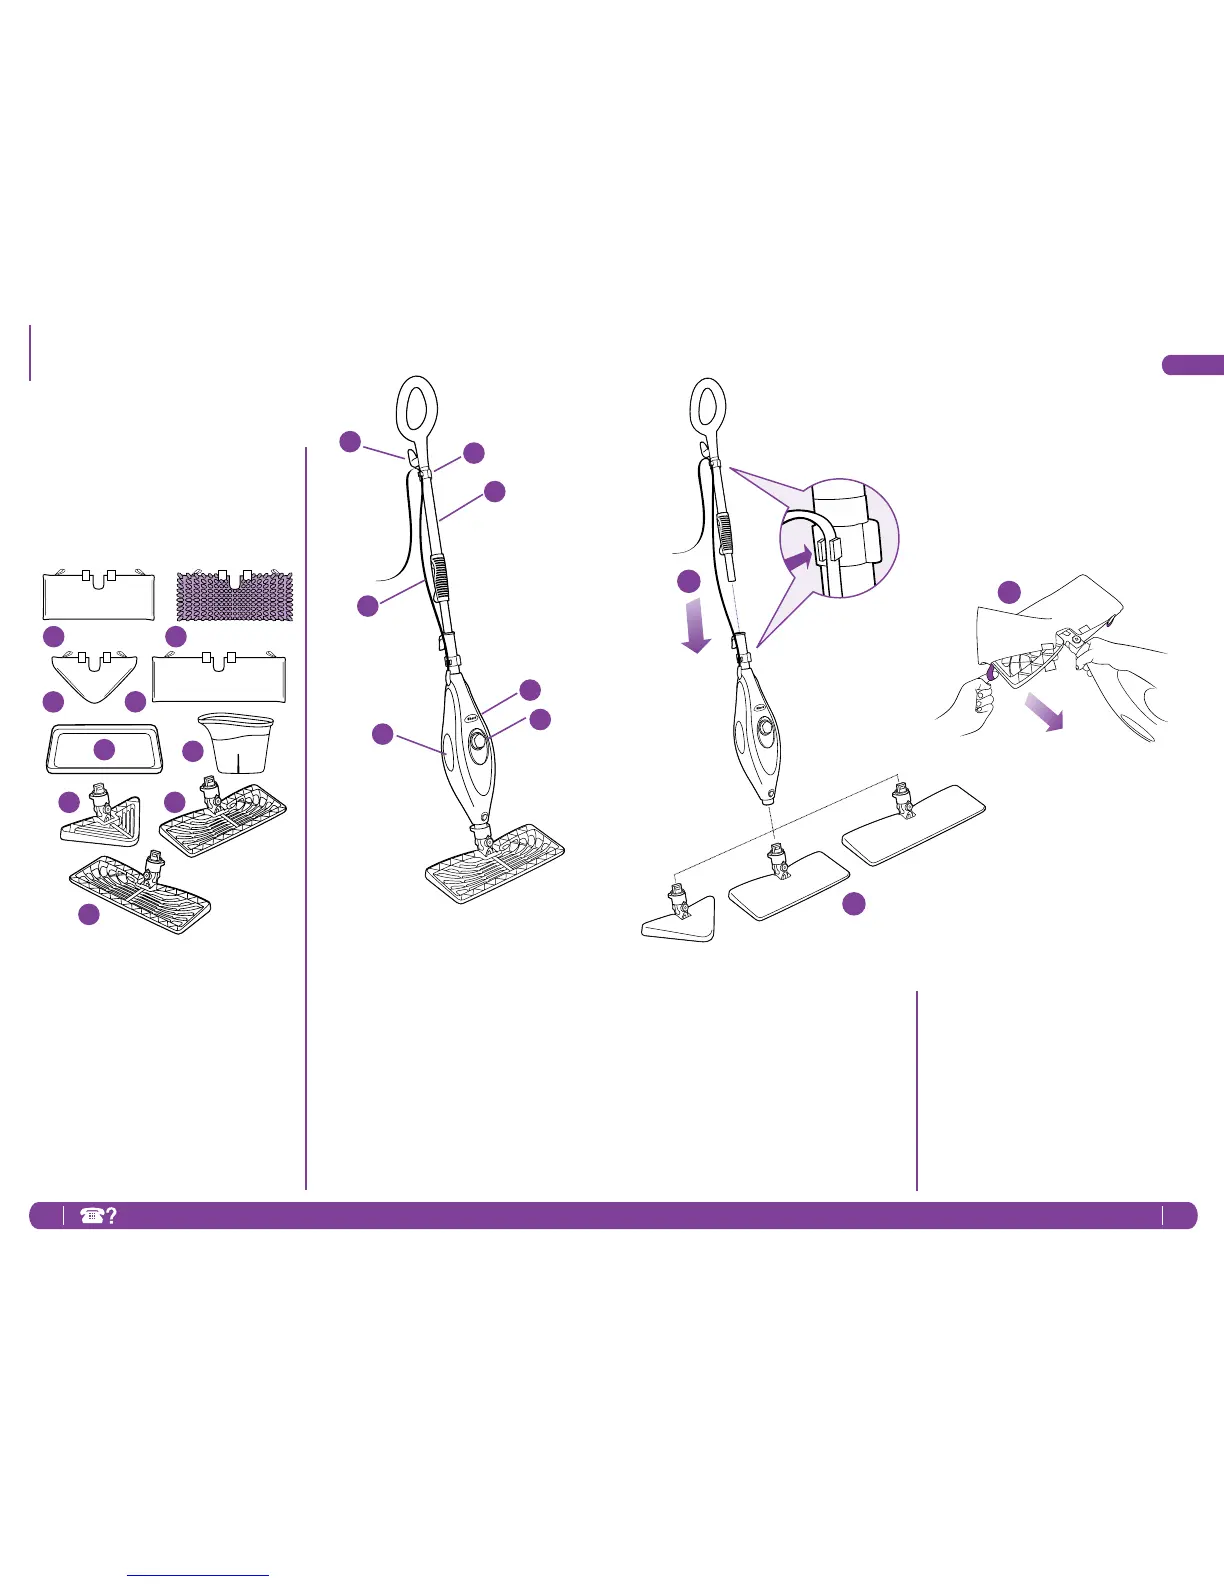
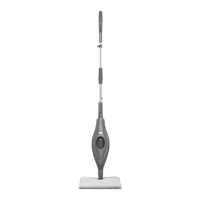
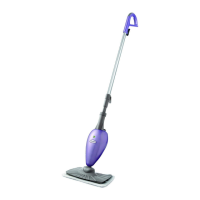
j QuickReleaseSwivelCordWrap
k CordClips
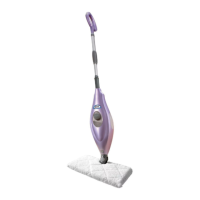
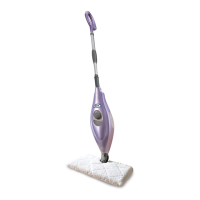
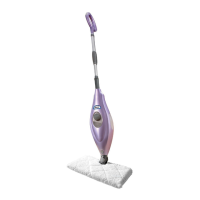
l MopHandle
mTelescopicHandleLatch
n WaterTankViewingWindow
o Power-OnBlueLight
(Lightsupwhenplugged-in)
p WaterTankCap
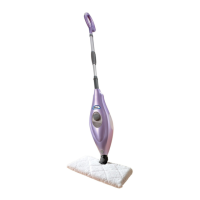
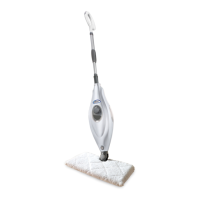
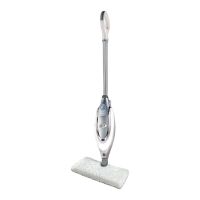
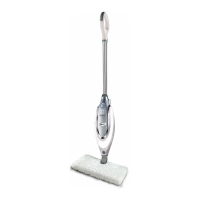
a RectangleCleaningPad
b SteamDusterPad
c TriangleCleaningPad
d XLRectangleCleaningPad
e CarpetGlider
f FillingFlask
g TriangleMopHead
h RectangleMopHead
i XLRectangleMophead
Whenassemblingyoursteammopthere
maybealittlewaterinoraroundthe
watertank.Thisisbecausewetestall
oursteammops100%beforeyoubuy
them,soyougetaqualityShark
®
SteamPocketMop.
c
a
e
g
f
j
k
l
o
n
p
m
b
d
h
i
2
3
1
ASSEMBLE
1 Insertthemophandleintothepump
actuator(thetubethatleadstothe
tank).Pushthemophandleandpump
actuatortogetherinuntilyouhearit
clickintoplace.
2 Selectamopheadandcleaningpad.
Fitonesideofthepocketontothehead
rst,thenusingthelavenderloop,pull
thepocketoverthehead.Attachthe
quickfastenersonthetopofthepocket
tosecureinplace.
3 Snapthemopheadintothebaseto
secureit.Pressthereleasebuttonto
exchangemopheads.