UX-P115U
1 – 5
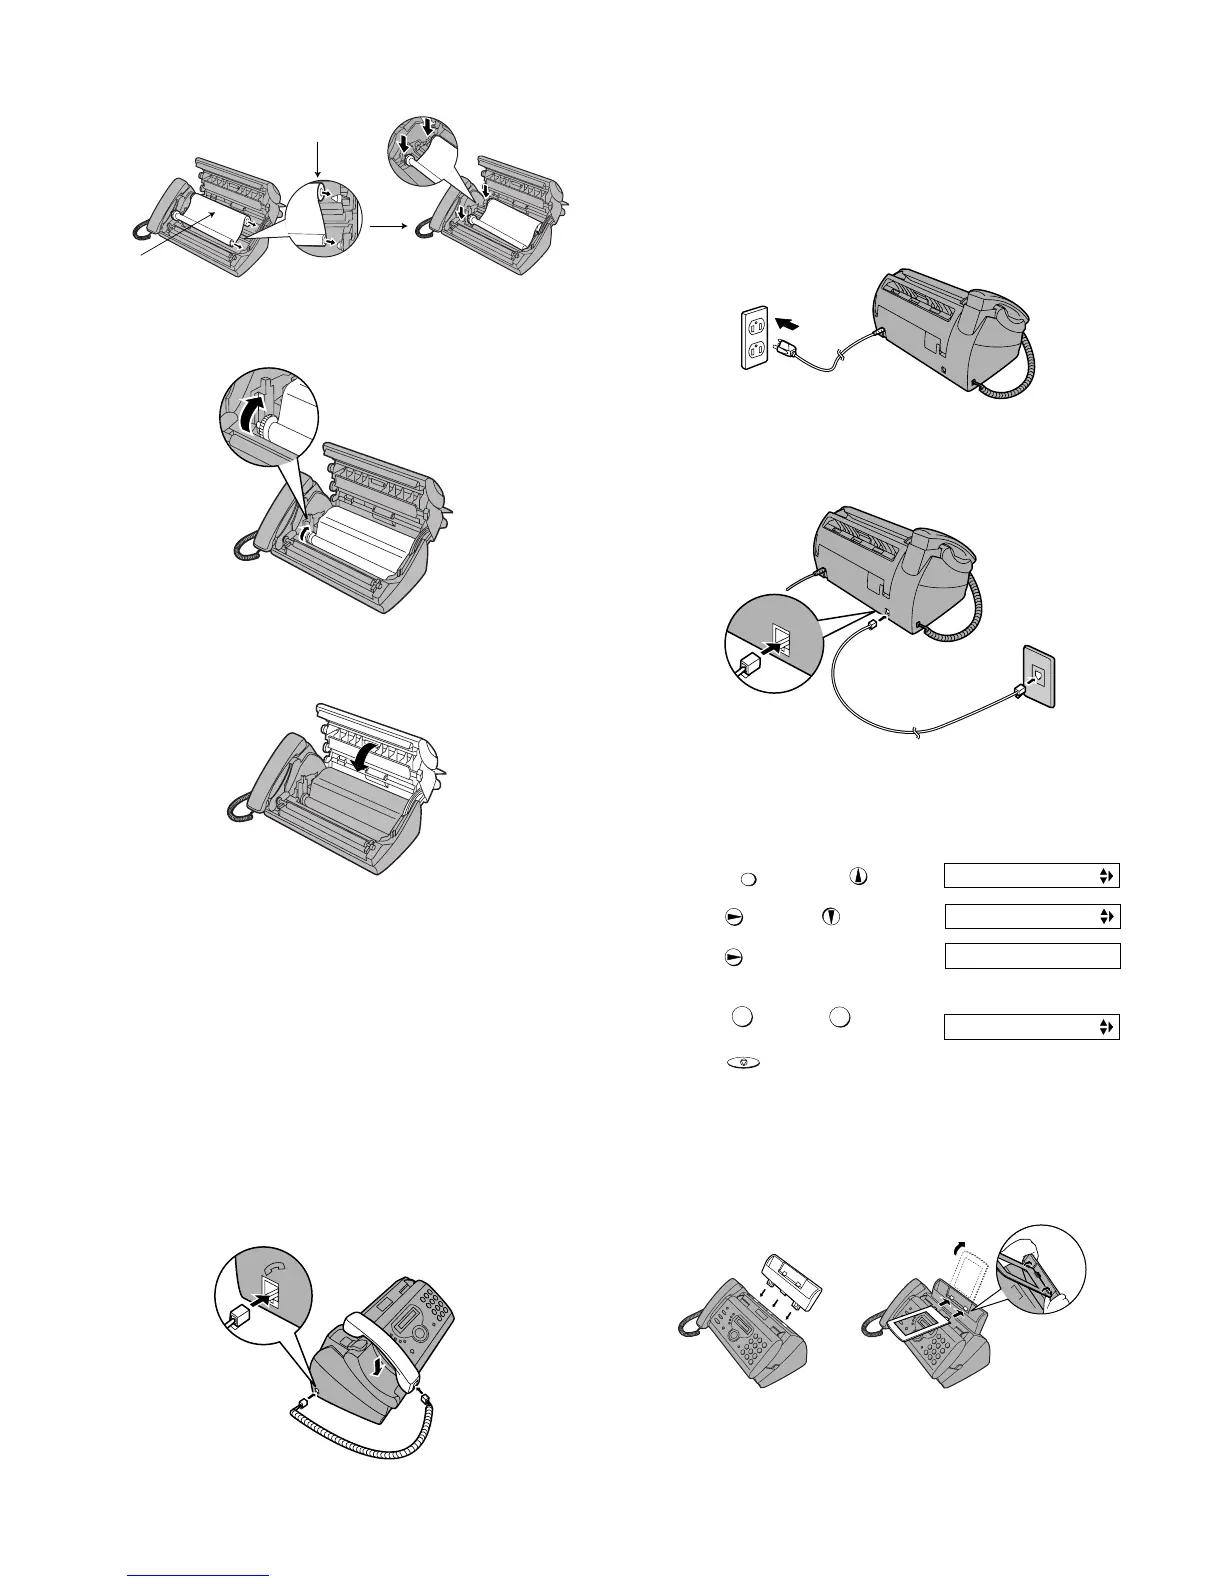
6) Insert the film into the print compartment.
7) Rotate the front gear as shown until the film is taut.
8) Close the operation panel (press down on both sides to make sure
it clicks into place).
3. Connections
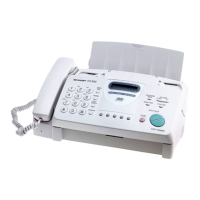
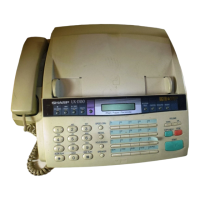
1) Connect the handset as shown and place it on the handset rest.
• The ends of the handset cord are identical, so they will go into
either jack.
• Make sure the handset cord goes into the jack marked with a
handset symbol on the side of the machine.
• Use the handset to make ordinary phone calls, or to transmit
and receive faxes manually.
2) Plug the power cord into a 120 V, 60 Hz, grounded AC (3-prong)
outlet.
Caution!
Do not plug the power cord into any other kind of outlet. This will
damage the machine and is not covered under the warranty.
• The machine does not have a power on/off switch, so the power
is turned on and off by simply plugging in or unplugging the
power cord.
3) Insert one end of the line cord into the jack on the back of the
machine marked TEL. LINE. Insert the other end into a standard
(RJ11C) single-line wall telephone jack.
Setting the dial mode: The fax machine is set for tone dialing. If you
are on a pulse dial line, you must set the fax machine for pulse dial-
ing. Press the keys on the operation panel as follows:
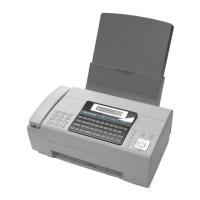
4) Attach the paper tray and paper tray extension.
Note: The paper tray extension has a top side and a bottom side. If
you cannot insert the tabs into the holes, turn the support over.
Fit ends of rolls
onto hubs
Thick roll
to rear
TEL.
LINE
1. Press once and once.
2. Press once and twice.
3. Press once.
4. Select the dial mode:
TONE: PULSE:
5. Press to exit.
1
2
OPTION SETTING
Display:
DIAL MODE
1=TONE, 2=PULSE
DISTINCTIVE
The display briefly shows
your selection, then:
FUNCTION
STOP
Insert
horizontally
and rotate up.
Click!
Attach the paper tray. Attach the paper tray extension.