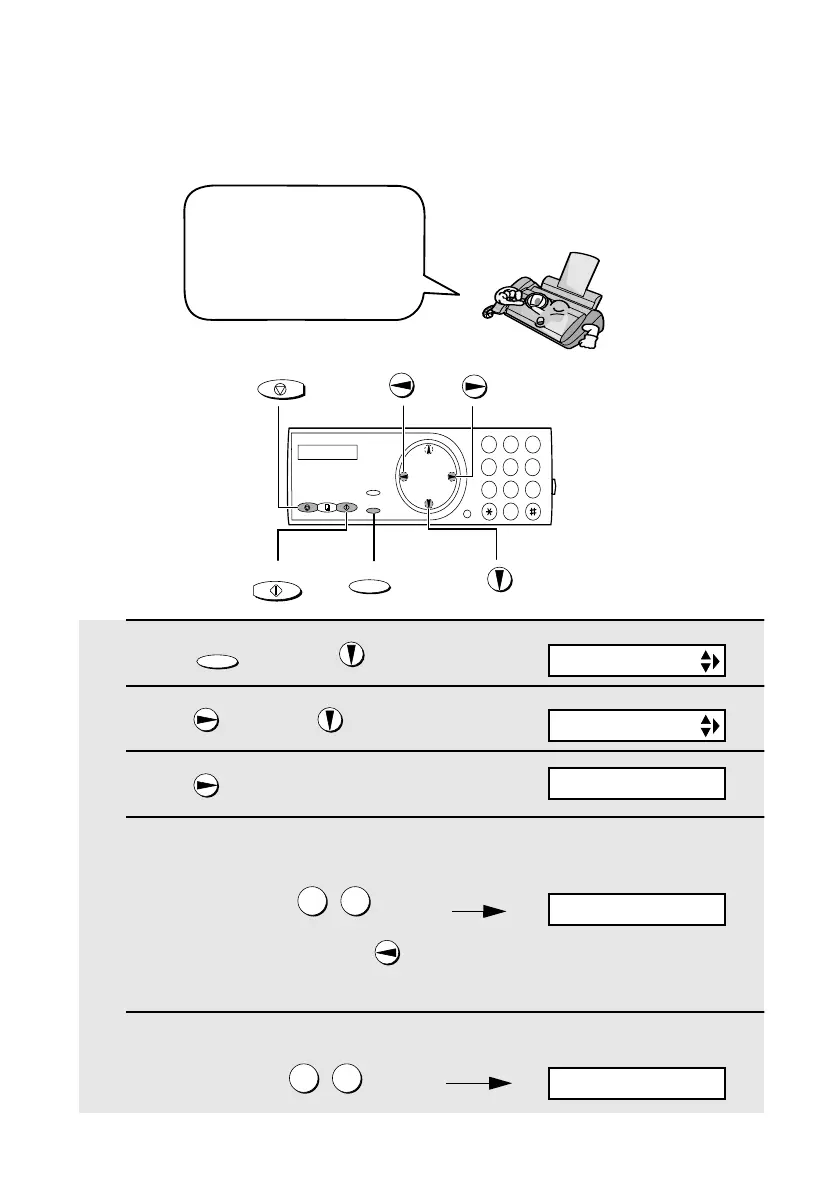
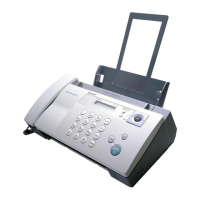
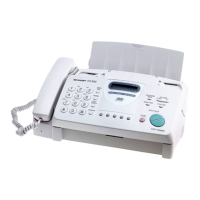
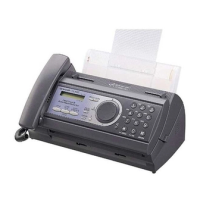
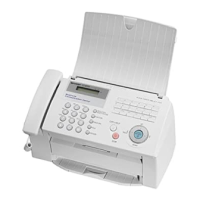
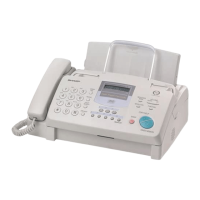
Setting the Date and Time
18
Setting the Date and Time
1 Press once and twice.
2 Press once and once.
3 Press
4 Enter a two-digit number for the month (“01” for January, “02” for
February, “12” for December, etc.).
Example: January
• To correct a mistake, press to move the cursor back to the mistake and
then enter the correct number.
5 Enter a two-digit number for the day (“01” to “31”).
Example: the 5
th
FUNCTION
0 1
0 5
The date and time appear
in the display and are
printed at the top of every
page you fax. Set the date
and time as shown below.
FUNCTION
STOP
1
9
4
5 6
7
8
0
2 3
Display:
The currently set date
appears (example):
ENTRY MODE
DATE&TIME SET
DATE 08-15-2001
DATE 01-15-2001
DATE 01-05-2001
START/MEMORY
all.bookPage18Monday,August6,20012:24PM