VL-SD20S-GB/pp. 042-047; 99/7/28/18:00
G. K. Associates, Tokyo
46
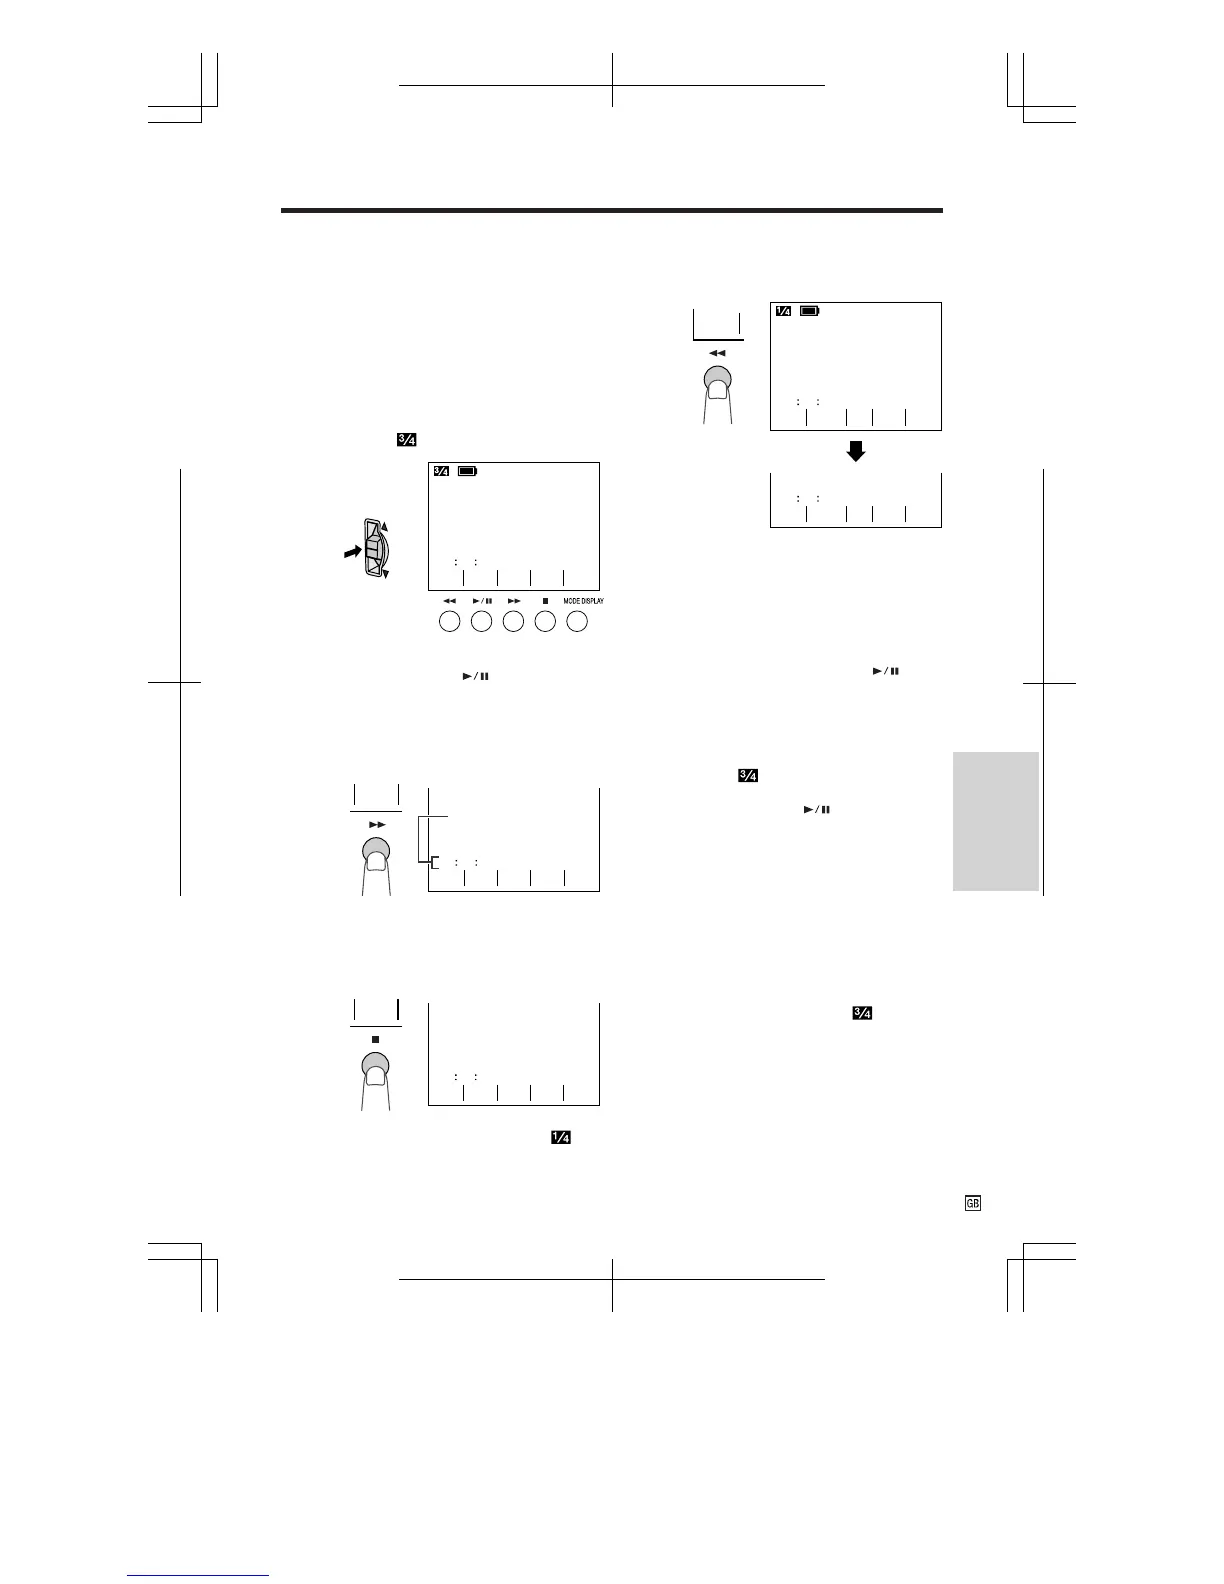
Counter Memory
Use the counter memory feature when you
want to return to the beginning of a particular
scene. The position where the counter was
reset (M 0:00:00) is stored in memory to make it
easier to return to that point on the tape.
VCR mode
1 During playback, press the CONTROL
switch until
appears.
• If “MEMORY” is not displayed, press the
TIME CODE button ( ).
2 Press the MEMORY button (B) to
display the counter memory.
• “M” will be displayed to the left of the
counter.
5 Press the REW button (C).
• The tape will automatically stop when the
counter reaches “M 0:00:00”.
Notes:
• The FF button (B) can be used in the
same way.
• The tape may stop slightly ahead or behind
the␣ point where you reset the counter to
“M␣ 0:00:00”.
6 Press the PLAY/STILL button ( ) to
view the desired scene.
Camera mode
1 During recording, press the CONTROL
switch until
appears.
• If “MEMORY” is not displayed, press the
TIME CODE button ( ).
2 Perform steps 2 and 3 above.
3 When you are ready to finish recording,
press the REC START/STOP button.
4 Set the Power switch to VCR, then
perform steps 5 and 6 above.
To turn off the counter memory
Press the MEMORY button on the screen.
The counter memory display will change to the
time code display.
Note:
• This feature does not work during video search.
PB
GAMA
CODE
TIME
SP
AUDIO 1 2
+
0TC
50 35
SET
RE
-
MEM
-
ORY
STOPREW ST I LL
PLAY/
AUDIO 1 2
+
FF
SP
0M 11 24
STOPREW ST I LL
PLAY/
AUDIO 1 2
+
FF
SP
0M
00 00
REW
SET
RE
-
MEM
-
ORYPB
GAMA
CODE
TIME
ORY
MEM
-
SP
AUDIO 1 2
+
0M 81 31
Memory indicator
3 Press the RESET button (A) to reset
the counter to zero at the beginning of
the scene that you want to return to
later.
SET
RE
-
MEM
-
ORYPB
GAMA
CODE
TIME
SP
AUDIO 1 2
+
0M
00 00
SET
RE
-
4 Press the CONTROL switch until
appears. When you are ready to finish
playback, press the STOP button (A).
Useful Features