SkyTab Support: (888) 647-8603
11
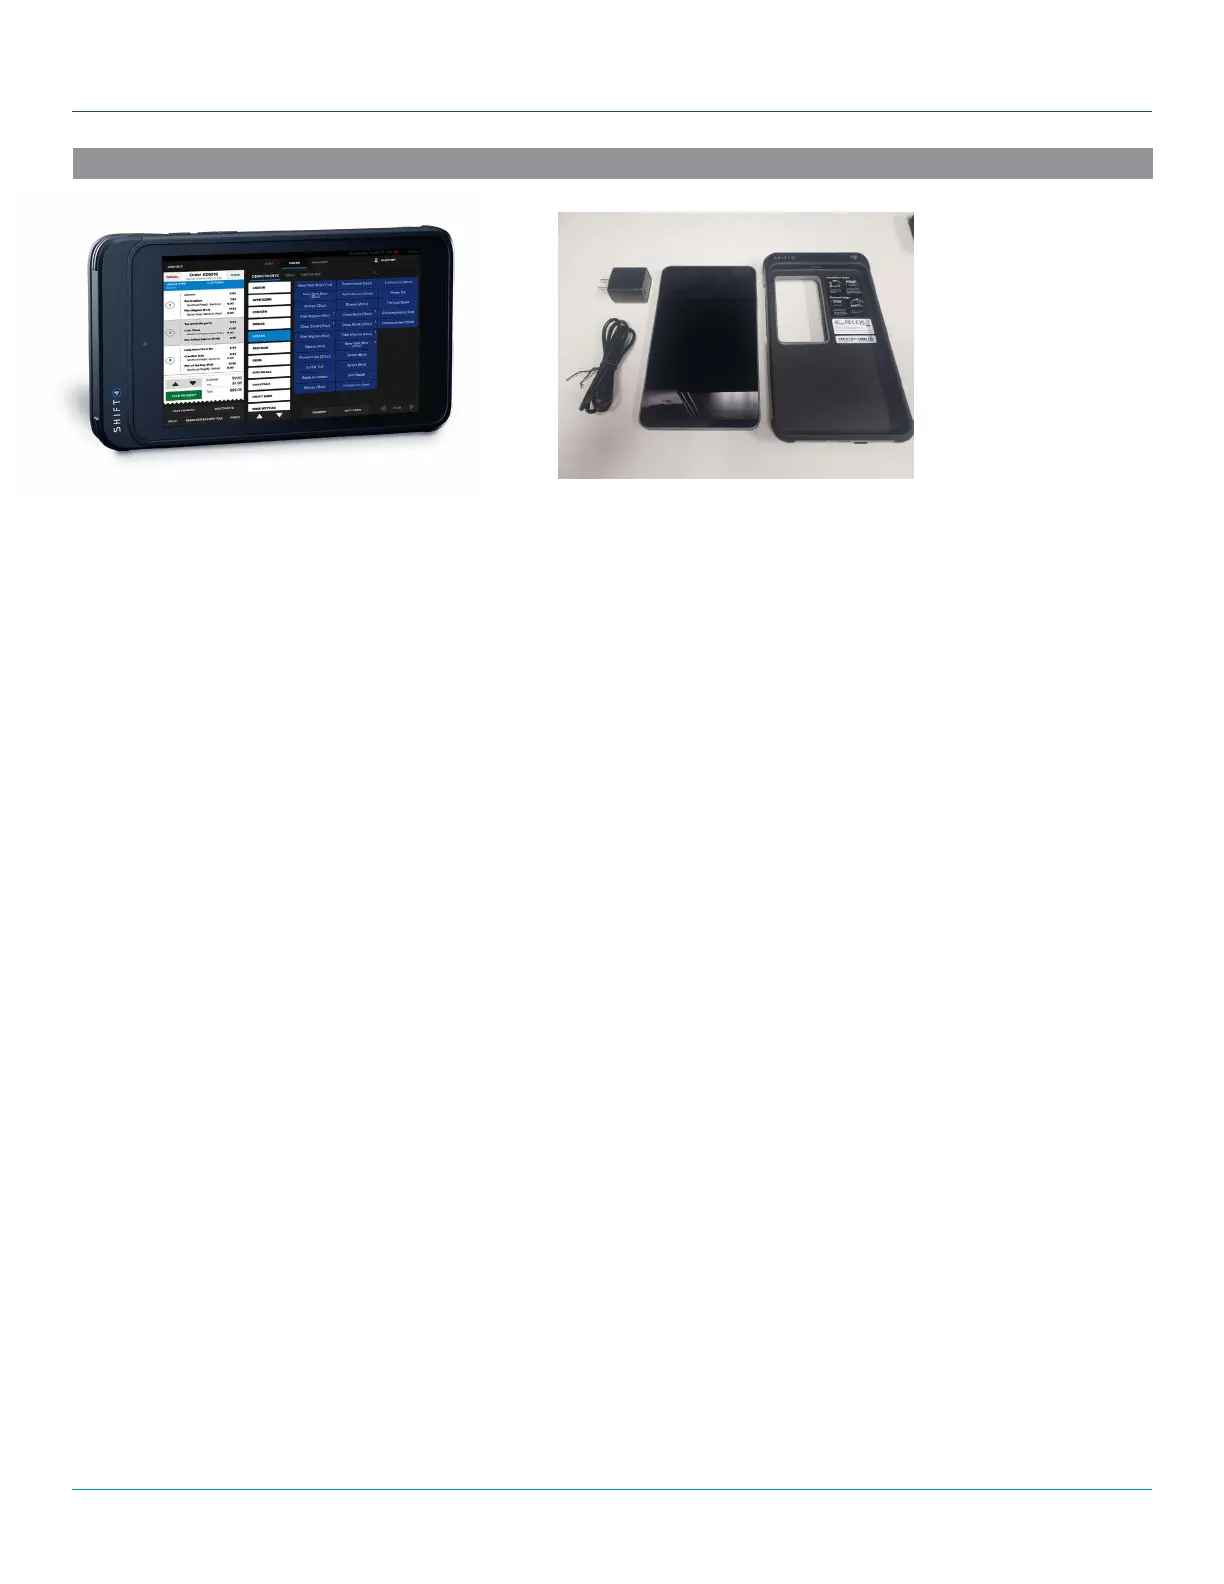
WIRELESS ACCESSORY INSTALLATION
SKYTAB GLASS
• The Archer C7 router will be set up as a wireless access point and MUST be connected to the Shift4 network (TL-R600VPN
router). Obtain Wi-Fi credentials for the Archer router from support contact.
• Physical location of installed routers will depend heavily on the existing network infrastructure and requirements for Wi-Fi
coverage.
• The TL-R600VPN should be placed at a demarcation point. The Archer C7 should be placed in a centralized location
determinant upon the existing network line leading back to demarcation point. The Wi-Fi signal will bounce, reflect, and
refract off the various surfaces within the environment, and signal attenuation will change depending on the location of
SkyTab Glass devices.
• Installation of the Archer C7 should be high up and out of the way to provide maximum coverage and to deter tampering.
Installing SkyTab Glass:
• Turn on by pressing the power button on the right side of the tablet.
• SkyTab Glass should already be configured to the Archer router’s wireless network. If not, be sure to obtain the SSID and
Password from your support contact to connect the device to the wireless network.
• SkyTab Glass must be on the same internal network as the POS stations or else remote printing will not function.
• In order for SkyTab Glass to function properly, you need to ensure all SkyTab software is updated to version 1.67.6 or
higher. This version needs to be updated on every POS system and Glass tablet.
Receipt Printing for SkyTab Glass
Glass does not currently support printing to USB/local printers, so a remote printer must be set up to print receipts.
• Connect an existing receipt printer to the SkyTab POS network.
• If needed, a 5 port switch can be installed to support the receipt printer on ethernet.
• Download the EpsonNet Config utility onto your laptop and plug it into the SkyTab POS network.
• Select your printer from the list by double clicking it.
• Navigate to Basic under TCP/IP.
• Switch to Manual (static) from Automatic.
• Change the default IP Address to 192.168.213.20x (enter an IP address that has not already been used in the 201-209 range)
• Change the default Gateway Address to 192.168.213.1
• Click the Transmit button to finalize and send the new settings to the printer.