SkyTab Support: (888) 647-8603
3
1. Place the TP-Link in its permanent, easily accessible, location.
2. Connect a CAT5 Ethernet cable to the WAN port on the router and the other end to the merchant’s modem.
• If the merchant is using SkyTab Glass the Archer router should be installed in a location that requires adequate coverage
for the devices.
3. Connect a CAT5 Ethernet cable to each workstation then to the router’s LAN ports.
4. Connect a CAT5 Ethernet cable to each Shift4 networked device (remote printers) then to the router’s LAN ports.
• If there are more than 4 network devices Shift4 will have included a switch to support additional devices. If so, connect a
patch cable from a LAN port of the TP-Link router to a port of the TP-Link switch.
5. Connect the power cable to the router first and then to a power outlet.
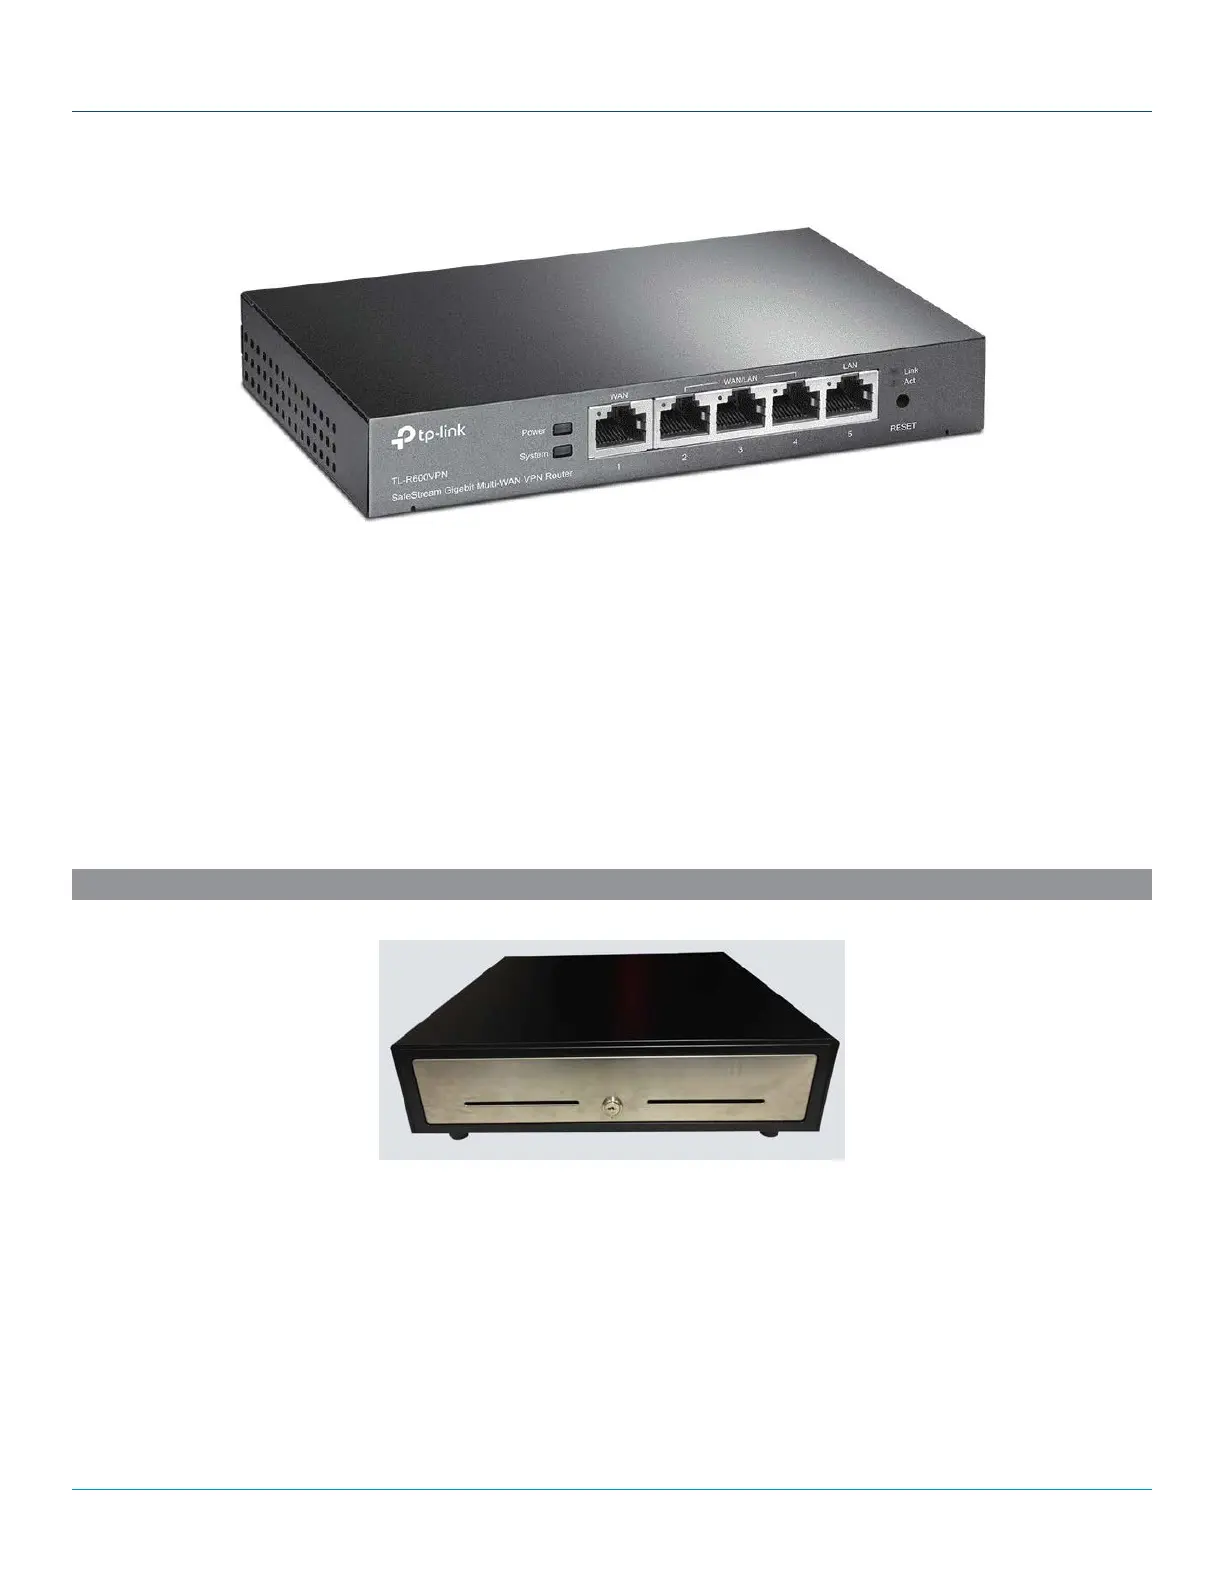
1. Confirm which stations will have a cash drawer installed.
2. Connect the cash drawer using the RJ12 connector to the DK port on the receipt printer (not the POS system).
• If requested by the merchant 2 cash drawers can be connected to a single POS. If so a cash drawer splitter will be plugged
into the DK port of the receipt printer giving you 2 connections for the drawers.
SYSTEM INSTALLATION
** Ensure that the SkyTab POS system is in its permanent location before beginning the installation **
CASH DRAWER