SkyTab Support: (888) 647-8603
12
WIRELESS ACCESSORY INSTALLATION
EQUIPMENT MOUNTING
• Shift4 does not support the installation of mounts for any of the equipment we provide.
• If the merchant has a mount installed prior to the POS installation, we can attach the SkyTab POS or KDS to the mount during
installation.
Connecting the Printer:
• Navigate to Manager > Settings > Hardware > Printers
• Select Add New Printer
• Enter Printer Name: Glass ‘terminal number’ Receipts
• Leave connection set as ‘IP’
• Enter the IP you set in the previous step
• Select correct printer model
• Printer will be used for: Receipts
• Assigned Station: Terminal Number of the Glass device
• Press Save
For more information, click here.
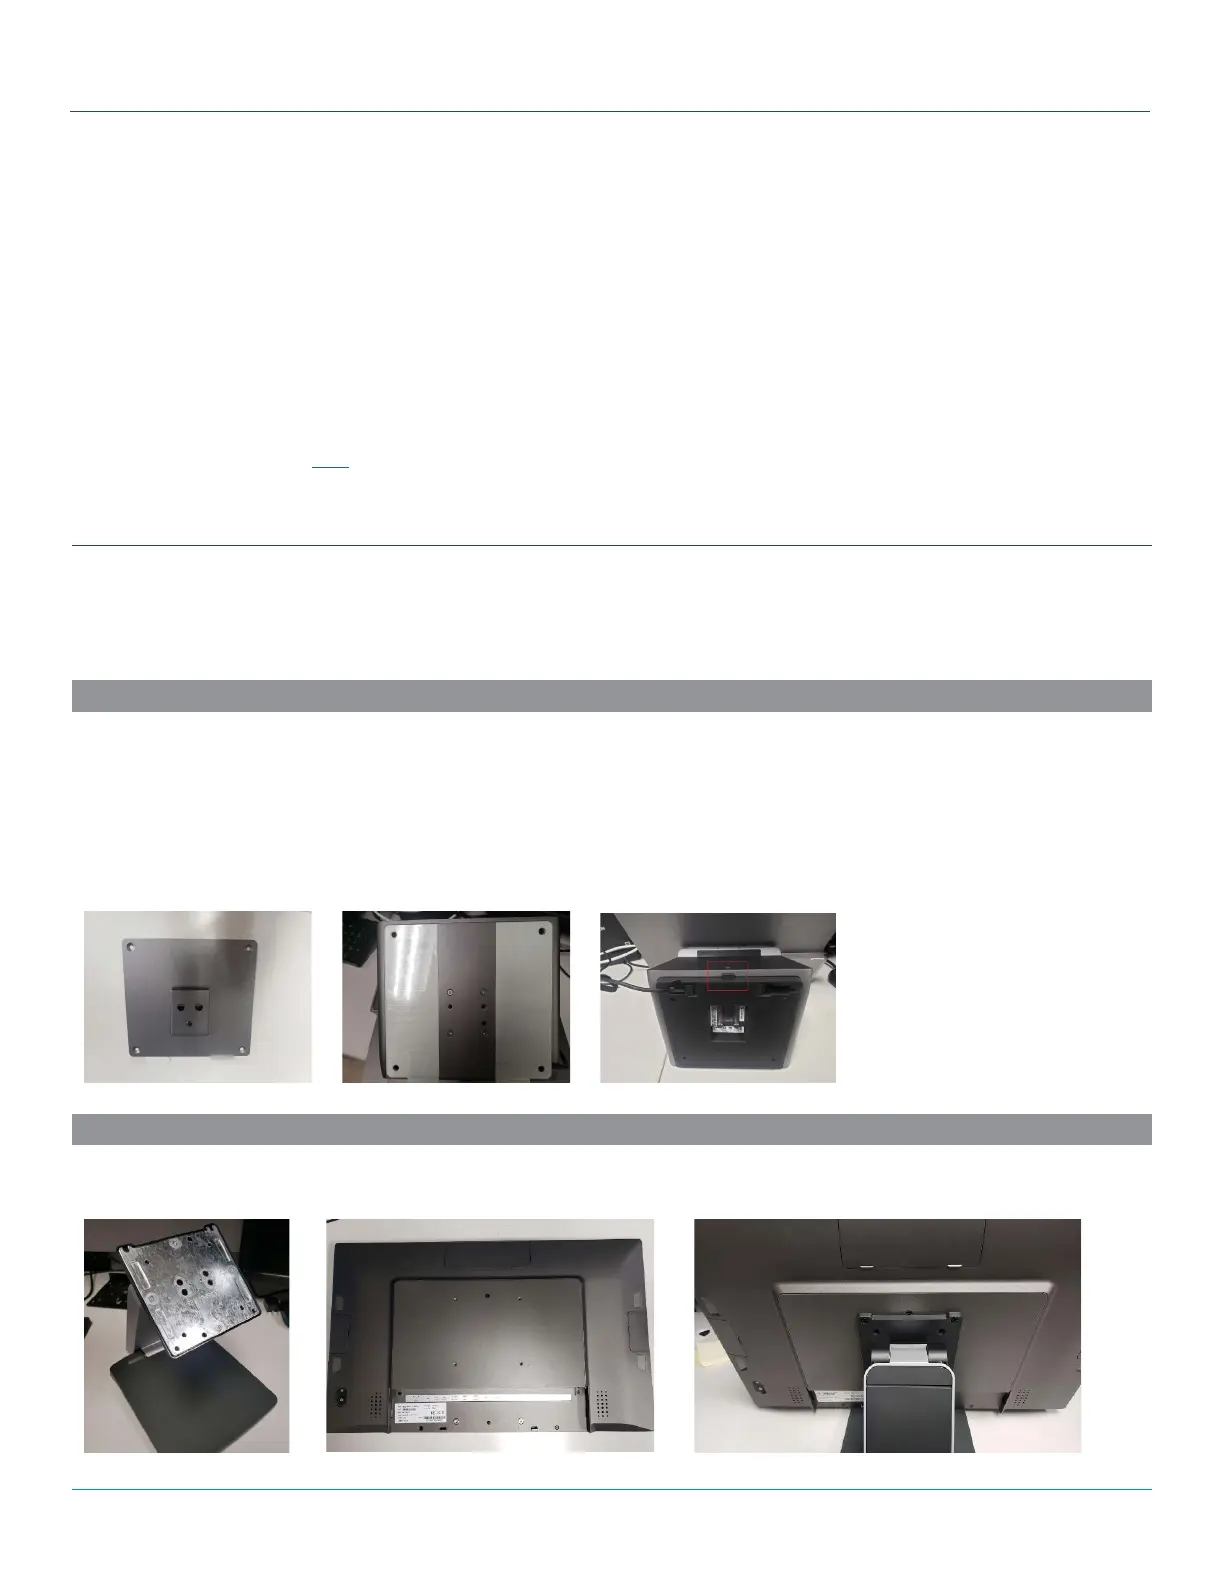
MOUNTING SKYTAB POS
SkyTab POS ships with a bracket that snaps into place on to the base (125x125 mm).
• The bracket should be secured to the wall bracket with the included hardware.
• It can also be flush mounted to the wall, but the merchant would be responsible for doing this.
• Once the bracket is secure, SkyTab POS can be pushed into the base plate until it snaps in place.
• To release, push on the gray release button while holding SkyTab POS.
MOUNTING SKYTAB KDS
SkyTab KDS already ships without a stand attached, so this can be attached to a standard Vesa style mount (100x100 mm).