Notice
Please ensure that this instruction manual is given to the final user of the instrument.
Preface
This instruction manual is meant for those who will be involved in the wiring, installation, operation and routine
maintenance of the SR90 series (SR91, SR92, SR93 and SR94) and describes matters to be attended to in handling
the SR90 series, how to install it, its wiring, its functions and operating procedures.
Keep this manual at the work site while handling the instrument and follow the guidance provided herein.
SR90F-1ME
Aug. 2019
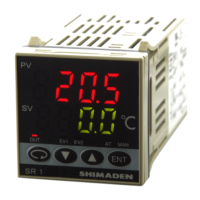
SR90 Series
(SR91, SR92, SR93, SR94)
Digital Controller
Instruction Manual
Please check that the delivered product is the correct item or specification you ordered.
Please do not begin operating this product before you read this instruction manual
thoroughly and understand its contents.