Shining 3D Transcan-C_User Manual_V1.4.2
6.5. Edit Data
Double click on a project, group or a scan, to enter the edition mode. The edition is applied to the
selected data only. Modifications will not affect the rest of the data.
Shift + left mouse: Select data on the 3d view, and enter the edition mode. the edition is applied on
the visible data only.
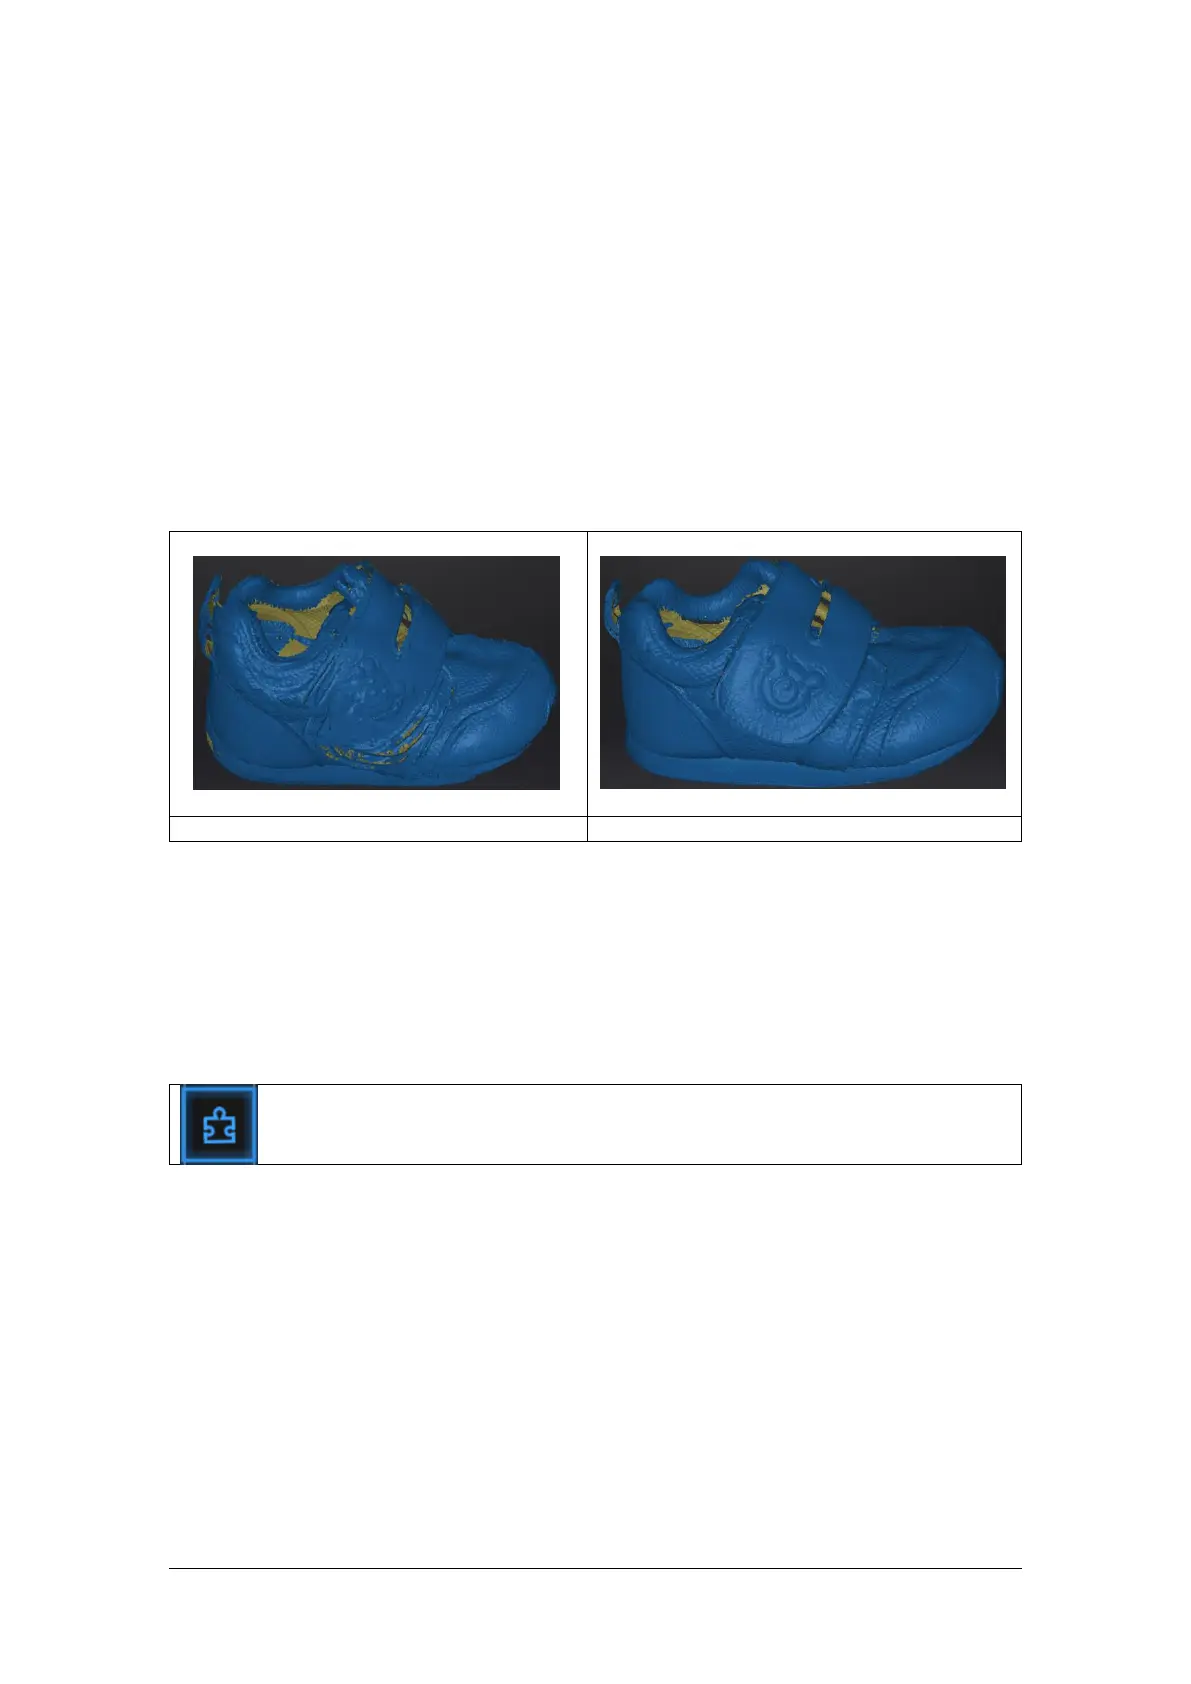
6.6. Global Optimization
When data is available on the scan screen, you can click Global Optimization to optimize the data
stitching.
No global optimization data
6.7. Alignment
Within a project, if you use markers, the data of a project will automatically align with the marker
positions. If not, an automatic alignment will be calculated with a best-fit of the single scan to the
previous scans of the project according to the geometric features. If the object is not with enough
geometric features, you can use manual alignment.
Click the button to open the Manual Alignment interface.
Select the project in the fixed window and the floating window respectively.
Feature alignment
Select feature align, click “apply” button, software will align the scans based on the features
automatically.
Align manually
SHIFT + click left mouse button to select at least 3 non-collinear corresponding points in the fixed or
floating windows for Manual Alignment, as shown below.
Ctrl + Z: Cancel last point picked.