(Fig. 5.5-1) (Fig. 5.5-2)
5.6 Control output manipulated variable indication
Name and Description
Control output manipulated variable indication
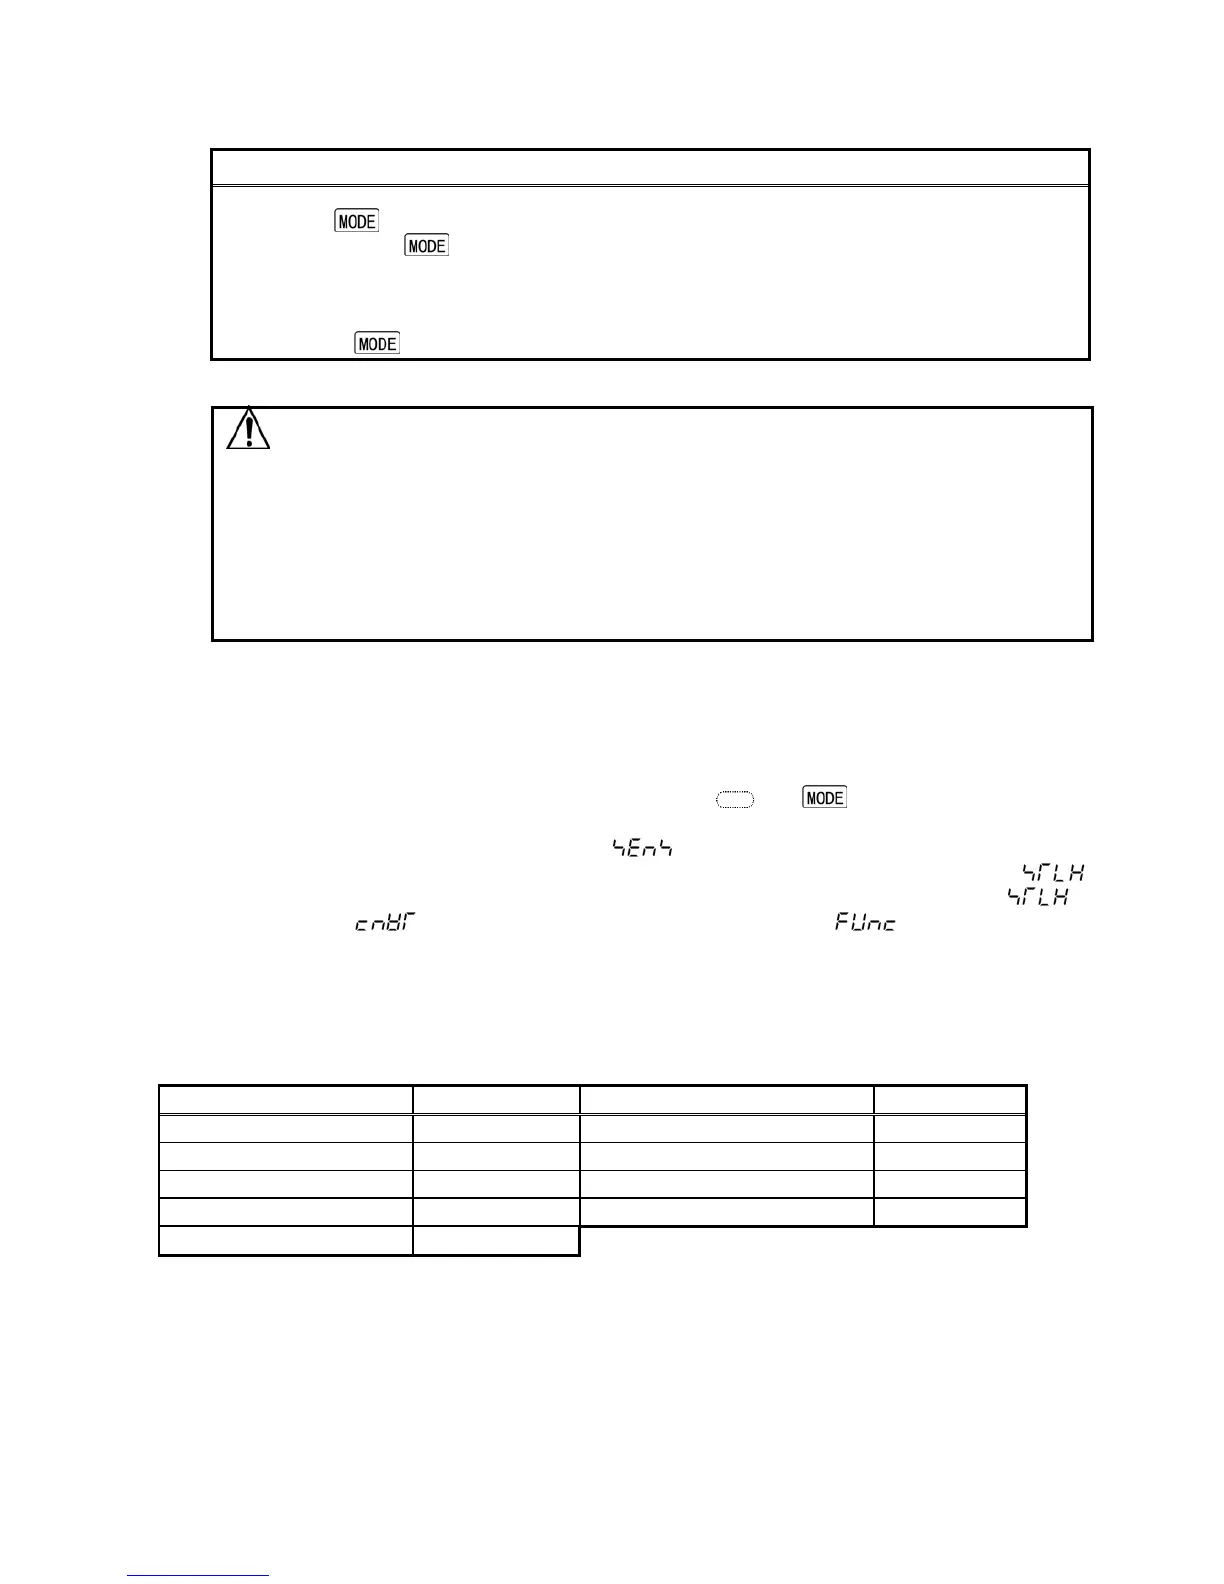
Press the key for approx. 3 seconds during PV/SV display mode.
Keep pressing the key until the output manipulated variable shows up, though the main
setting mode appears during the process.
(The control output manipulated variable is indicated on the SV display and the decimal point at
the second digit blinks in 0.5 seconds cycle:
Pressing the
key again, it reverts to the PV/SV display mode.
6. Converter function
Caution
Since the input/output response of this unit is approx. 1s, input value must be longer than
1 second when converter function is used.
When switching from converter function to controller function, the control parameter and
the values set by converter function are held even if the function is switched
to the controller function.
So, correct the control parameter and values set by converter function to the value
necessary to the controller function after switching to the controller function.
The converter function of this instrument converts each input (Thermocouple, RTD, DC voltage and DC
current input) value to “4 to 20mA DC” and outputs using the control parameter of the controller.
When this instrument is used as a converter, follow the process (1) to (7) described below.
When the process (1) to (7) is finished, this instrument can be used as a converter.
(1) Wire and connect this instrument. (Power, Input and Output)
(2) Turn the power of this instrument ON.
(3) Call the “Auxiliary function setting mode 2” by pressing the
and key at the same time
(for approx. 3s).
(4) Select the sensor type from “Sensor selection ( )”.
(5) Set the high limit of the value which is going to be converted during “Scaling high limit setting (
)”.
(6) Set the low limit of the value which is going to be converted during “Scaling low limit setting ( )”.
(7) Select converter ( ) from “Controller/ Converter function selection ( )”.
• To activate the alarm action by Converter function, set the alarm action to Process
alarm action.
If converter function is selected from “Controller/Converter function selection” in Auxiliary function
setting mode 2, the parameter below is automatically set. (Table 6-1)
However, this is applied only to the DC current output type.
(Table 6-1)
Setting item Setting value Setting item Setting value
SV Scaling low limit Alarm setting 0
Proportional band 100.0% Loop break alarm action time 0 seconds
Integral time 0 seconds Loop break alarm action span 0
Derivative time 0 seconds Direct/Reverse action selection Direct action
Manual reset setting 0.0
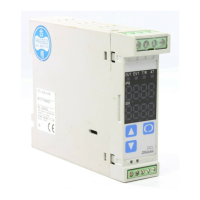
7. Running
When mounting and wiring to the control panel (DIN rail) are finished, start the operation following
the next procedure.
(1) Turn the power supply to the DCL-33A series ON.
For approx. 3s after power on, character of the sensor type and temperature unit are indicated
on the PV display, and the input range high limit value is indicated on the SV display. See (Table 5-1).
(If any other value is set at the scaling high limit value setting, SV display indicates it.)
During this time, all outputs and LED indicators are in their OFF status.
After that PV display indicates actual temperature and SV display indicates the main setting value.
(2) Input the setting value.
Input each setting value referring to “5. Setup”.
 Loading...