-50-
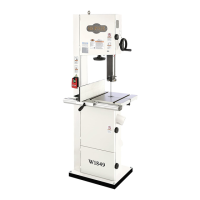
Model W1849 (For Machines Mfd. Since 11/16)
OPERATIONS
Changing Blade
Installing Blade
1. DISCONNECT MACHINE FROM POWER!
2. Slide blade through table slot, ensuring that teeth
are pointing down toward front of table.
Note: If the teeth will not point downward in any
orientation, the blade is inside-out. Remove the
blade, and twist it right-side-out.
3. Slip blade through blade guides, and mount it on
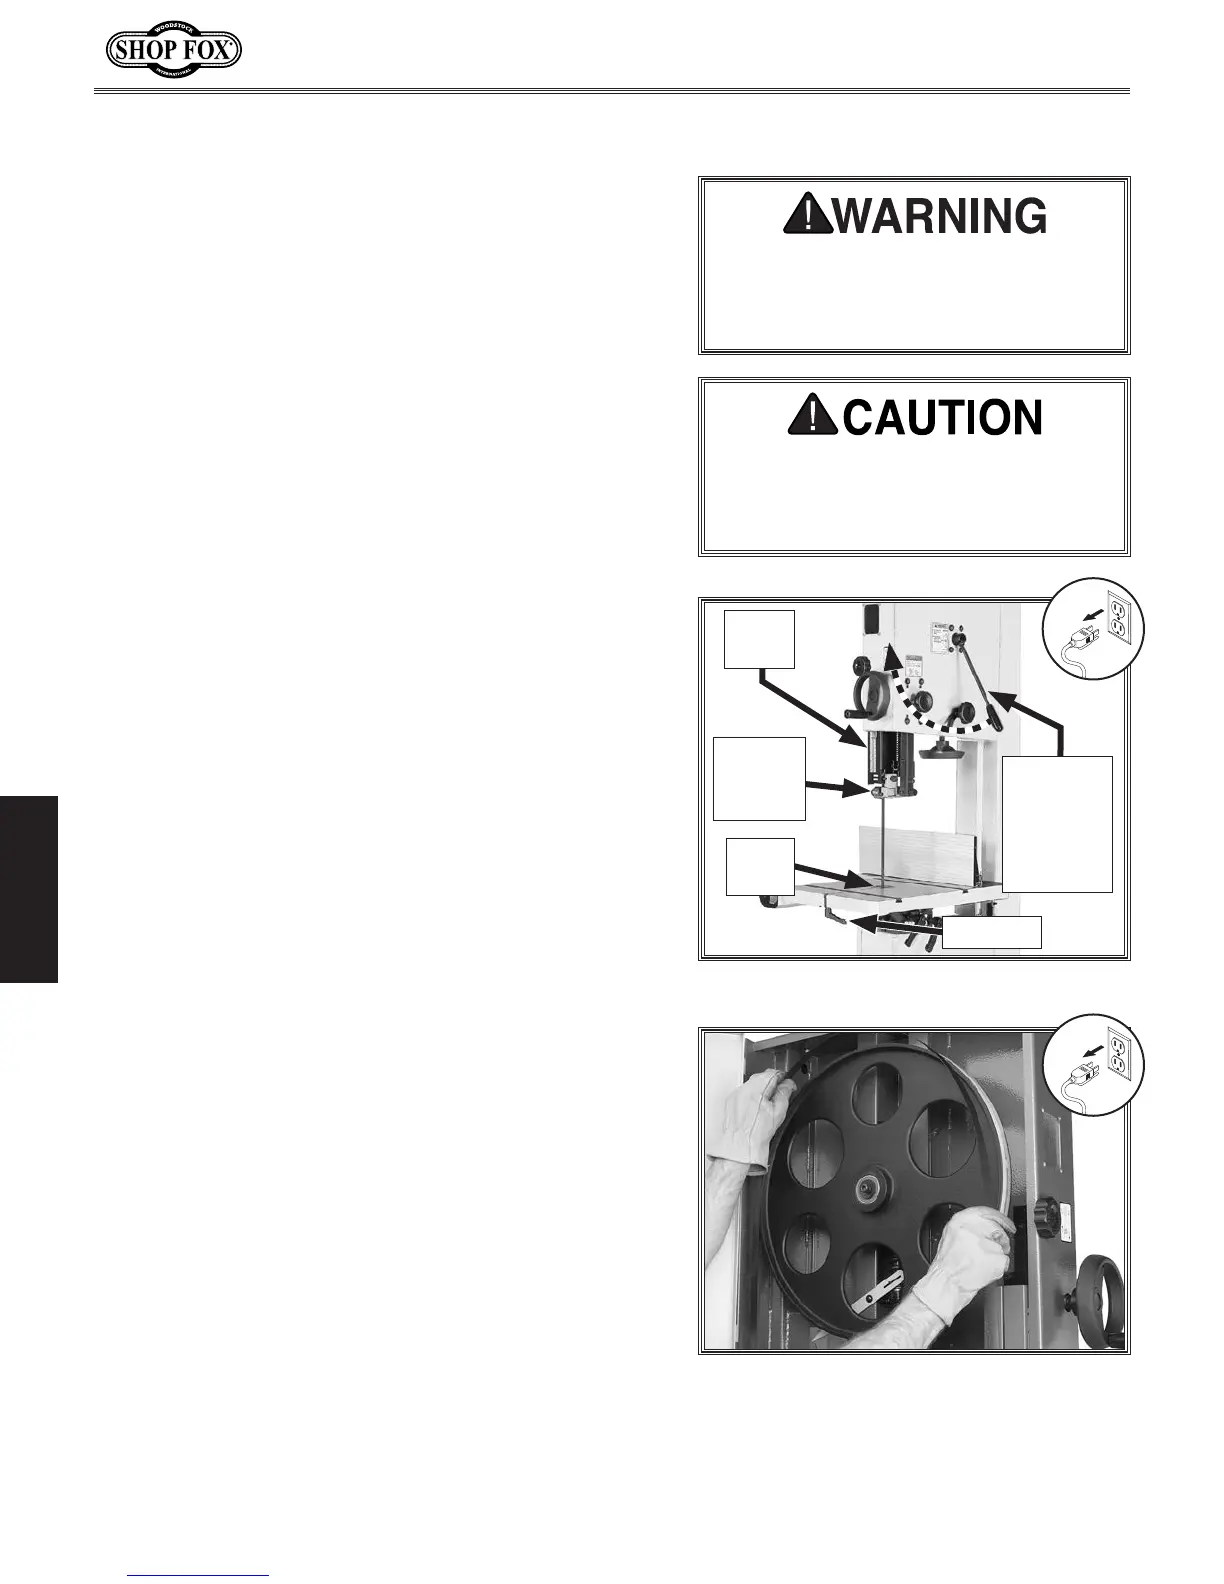
upper and lower wheels (see Figure 72).
4. Rotate blade tension quick-release lever
counterclockwise to down position.
5. Adjust blade tension (refer to Page 30) and blade
tracking (refer to Page 28).
6. Adjust upper/lower guide bearings and support
bearings (refer to instructions beginning on
Page 34).
7. Close and secure wheel covers and guide post blade
cover, and re-install table insert and table pin.
8. If necessary, adjust blade tension quick-release lever
(refer to Page 66 for more information).
Figure 72. Example of placing blade on
upper wheel.
4. Open upper and lower wheel covers and blade cover
on guide post, then with gloved hands, slide blade
off of both wheels.
5. Rotate blade 90˚ and slide it through slot in table to
remove it.
Blade changes entail removing the existing blade,
installing the new blade, then properly adjusting the
blade tension, tracking, and guides.
Removing Blade
1. DISCONNECT MACHINE FROM POWER!
2. Release blade tension by rotating blade tension
quick-release lever (see Figure 71) clockwise to up
position.
3. Remove table insert and table pin. Adjust upper and
lower guide bearings as far away as possible from
blade (see Figure 71).
Disconnect bandsaw from power
BEFORE changing blade. Serious
personal injury could occur if machine
is started during this procedure.
LACERATION HAZARD! Bandsaw blades
are sharp and difficult to handle. Wear
heavy leather gloves while handling to
reduce the risk of being cut.
Figure 71. Blade changing controls.
Guide
Post
Upper
Guide
Bearings
Table
Insert
Table Pin
Rotate
Lever
Clockwise
to "Up"
Position


 To Next Page