Shure Incorporated
13/40
Important: Remove the protective film from the face of the transmitter or the IR sync may not work.
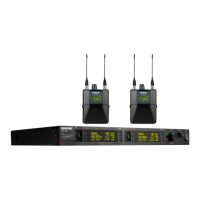
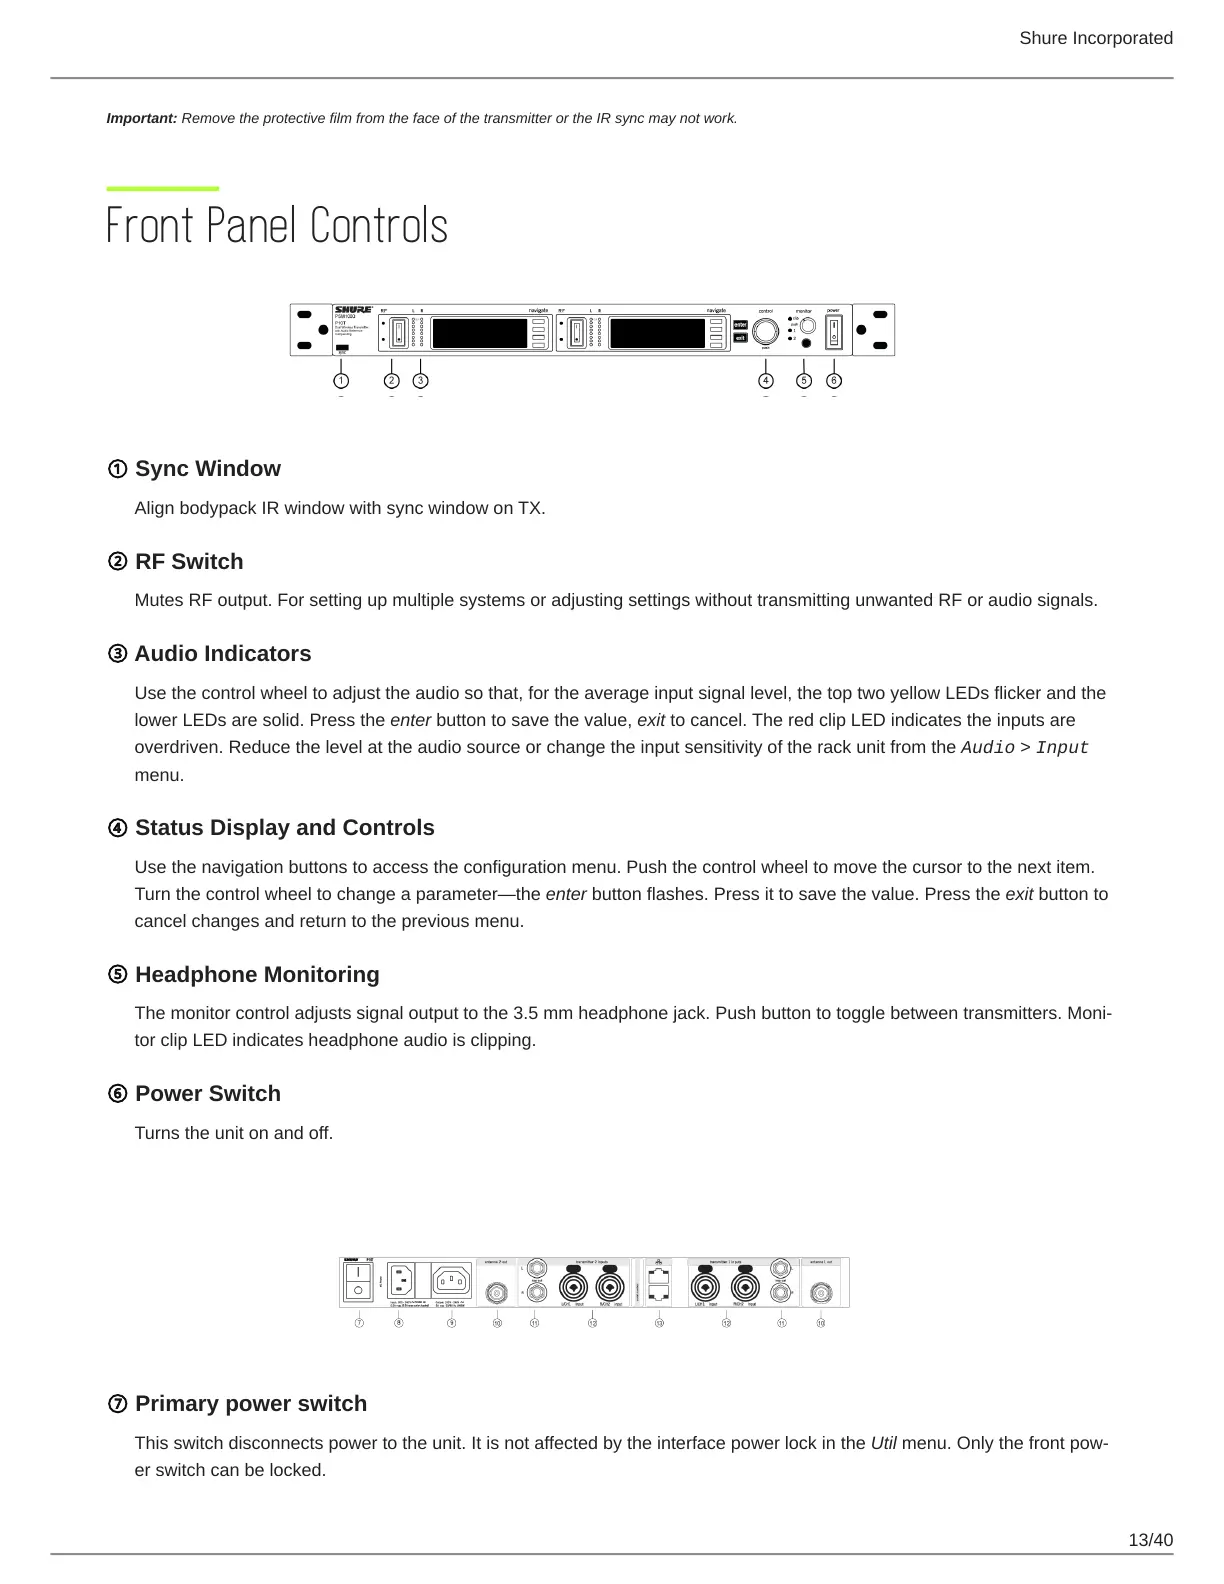
Front Panel Controls
① Sync Window
Align bodypack IR window with sync window on TX.
② RF Switch
Mutes RF output. For setting up multiple systems or adjusting settings without transmitting unwanted RF or audio signals.
③ Audio Indicators
Use the control wheel to adjust the audio so that, for the average input signal level, the top two yellow LEDs flicker and the
lower LEDs are solid. Press the enter button to save the value, exit to cancel. The red clip LED indicates the inputs are
overdriven. Reduce the level at the audio source or change the input sensitivity of the rack unit from the Audio > Input
menu.
④ Status Display and Controls
Use the navigation buttons to access the configuration menu. Push the control wheel to move the cursor to the next item.
Turn the control wheel to change a parameter—the enter button flashes. Press it to save the value. Press the exit button to
cancel changes and return to the previous menu.
⑤ Headphone Monitoring
The monitor control adjusts signal output to the 3.5 mm headphone jack. Push button to toggle between transmitters. Moni
tor clip LED indicates headphone audio is clipping.
⑥ Power Switch
Turns the unit on and off.
Rear Panel
⑦ Primary power switch
This switch disconnects power to the unit. It is not affected by the interface power lock in the Util menu. Only the front pow
er switch can be locked.