www.Siargo.com MF5806E1 User Manual 9 | Page
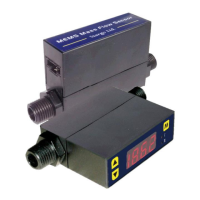
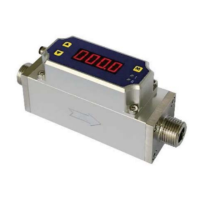
4. Installation
Do not open or alter any part of the product which would lead to malfunction and irrecoverable
damage. It will also forfeit the terms of the warranty and cause liability.
The product at the time of shipment is fully inspected for its quality and meets all safety requirements.
Additional safety measures during the installation should be applied. This includes,
but is not limited
to the leakage verification procedures, standard EDS (electrostatic discharge) precautions, and DC
voltage precautions. Other tasks such as calibration, part replacement, repair, and maintenance
must only be performed by trained personnel. Upon request, the manufacturer will provide
necessary technical support and/or training for the personnel.
The product has a default DISS connector which is ready to plug into the oxygen supply in many
hospitals or home care supplies. However, there are also many other types of oxygen supply
connectors.
Please inform the supplier
of the particular type of connector that your oxygen supply
is offering such that the mechanical connection can be properly configured at the time of shipping.
Please follow the following steps to complete the installation:
a) Upon opening the package, the product's physical integrity should be inspected to ensure no
visual damage.
b) Before installation of the product, please ensure that the pipe debris or particles or any other
foreign materials are completed removed.
c) Install 4-AA batteries into the battery chamber. In case the external power supply with data
transmission is desired, connect electrical wires
per the wire definition in Table 3.2
. Please be
sure of the power supply range (i.e., 24 VDC) and power supply polarization. If an adapter is other
than the one supplied by the manufacturer, make sure the adapter meets industrial standards
and has all safety certifications.
d) For the communication wire connection, please follow the description in Table 3.2 and make sure
that the wires are correctly connected to the proper ports on your data device/equipment. Please
make sure the data cable meets industrial standards with proper shielding.
e) For LoRaWAN
wireless communication, please install the gateway and the software first.
Depending on the communication frequency that you will configure, it is recommended that the
external power is used when the communication is enabled.
f) Once the battery is installed, or the external power is successfully connected, the LCD will be
lighted up and flash for about 2 seconds before the proper information is displayed correctly.
g) This will conclude the installation.