Maintenance and service
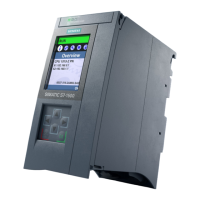
7.3 replacing the IM 153-1
ET 200M
102 Operating Instructions, 04/2022, EWA-4NEB7806006-09
Installing the New Power Supply Module
To install the new power supply module, proceed as follows:
1. Check the setting of the voltage selector switch.
2. Hook the new power supply module of the same type onto the rail and swing it down into
place.
3. Screw the power supply module on securely.
4. Wire the power supply module.
5. Connect the power supply module to the line voltage.
6. Close the cover.
Response of the ET 200M After Module Replacement
If there is an error after replacing the module, with STEP 5 or STEP 7 you can view the cause
of the error in the diagnostics buffer.
7.3 replacing the IM 153-1
Initial Situation
The IM 153-1 is installed. A new IM 153-1 of the same type should be installed.
Slot numbering
If you have provided the modules in your system with slot numbering, when replacing
modules you must remove the numbering from the old module and then reuse it in the new
module.
Pull out the bus connector
You can remove the bus connector with worn-through bus cable from the PROFIBUS DP
interface without having to interrupt the data traffic to the bus.
Note
A data communication error may occur on the network.
A bus segment must always be terminated at both ends with the terminating resistor. For
example, this is not the case when the last slave with the bus connector is deactivated. As the
terminating resistor in the bus connector obtains its voltage from the n
ode, the function of
the terminating resistor is affected.
Ensure that the nodes to which the terminating resistor is connected are always supplied with
voltage.
Tip: Use the PROFIBUS terminator as an active bus connector.
 Loading...