6 Operation of the Application
6.3 Sample scenario for operation
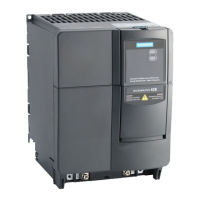
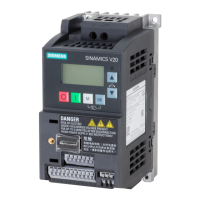
SINAMICS G120 as a Speed Axis on the S7-1500
V1.0a, Entry ID: 78788716
Copyright Siemens AG 2013 All rights reserved
6.3 Sample scenario for operation
The program of the sample project consists only of the call of the blocks for the
motion control instructions.
The visualization of the blocks on the operator panel allows you to test the
individual functions and get to know their reactions.
The aim of the steps below is to show you some aspects of the motion control
instructions.
Table 6-2
No. Action Remark
7. Call the “Function menu”.
8. Click on “Power and Reset”.
9. Acknowledge pending errors with a rising edge
at “Execute” of “MC_Reset”.
10. Enable the axis with a rising edge at “Execute”
of “MC_Power”.
The drive switches on and keeps the speed
0.0.
The “Status” output indicates that the axis is
enabled.
11. Call the “Function menu”.
12. Click on “MoveJog”.
13.
• At “Velocity”, specify a jog velocity.
• Move the drive by generating a rising
edge at “JogForward” or “JogBackward”.
• Remove the signal to stop the axis.
The drive runs at jogging speed.
When the setpoint speed is reached, this is
displayed at the “InVelocity” output.
14. Call the “Function menu”.
15. Click on “MoveVelocity”.
16.
• At “Velocity”, specify a velocity.
• Move the drive by generating a rising
edge at “Execute”.
• At “Velocity”, specify a different velocity.
• Change to the new velocity by again
generating a rising edge at “Execute”.
The drive runs at the specified speed.
When the setpoint speed is reached, this is
displayed at the “InVelocity” output.
The drive decelerates or accelerates to the
new speed.
When the new setpoint speed is reached, this
is displayed at the “InVelocity” output.
17. Use the hot key to go to “Halt”. When the drive has stopped, this is indicated
by “MC_Halt” with the “Done” output.
18. Stop the drive by generating a rising edge at
“Execute”.
Wait until the drive has stopped.
The drive stops.
When the drive has stopped, this is indicated
by “MC_Halt” with the “Done” output.
19. Use the hot key to go to “MoveVelocity”. “CommandAborted” indicates that
“MoveVelocity” was aborted.
20. A rising edge at “Execute” allows you to restart
the axis.
21. Call the “Function menu”.
22. Click on “Status” This is where you see the status bits of the
drive.

 Loading...