Chapter 3
Device Management
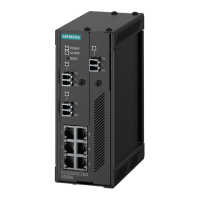
RUGGEDCOM RS900
Installation Guide
18 Configuring the Device
Figure10:Serial DB9 Console Port
Pin Name Description
1
a
Reserved (Do Not Connect)
2 TX Transmit Data
3 RX Receive Data
4
a
Reserved (Do Not Connect)
5 GND Signal Ground
6
a
Reserved (Do Not Connect)
7
b
Reserved (Do Not Connect)
8
b
Reserved (Do Not Connect)
9 Reserved (Do Not Connect)
a
Connected internally.
b
Connected internally.
Ethernet Ports
Connect any of the available Ethernet ports on the device to a management switch and access the RUGGEDCOM
ROS console and Web interfaces via the device's IP address. The factory default IP address for the RUGGEDCOM
RS900 is https://192.168.0.1.
For more information about available ports, refer to Chapter4, Communication Ports.
Section3.2
Configuring the Device
Once the device is installed and connected to the network, it must be configured. All configuration management
is done via the RUGGEDCOM ROS interface. For more information about configuring the device, refer to the
RUGGEDCOM ROS User Guide associated with the installed software release.
Section3.3
Resetting the Device
The RUGGEDCOM RS900 can be reset (rebooted) using the RESET button. The RESET button is recessed and can
only be reached using a pin or small screwdriver.
To reset the device, quickly press and release the RESET button with a pin.
 Loading...