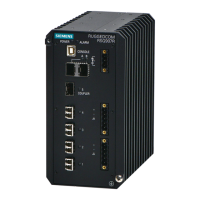
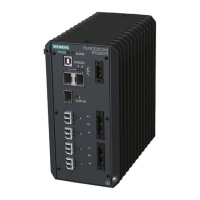
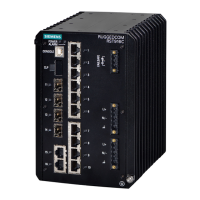
Installing the Device
2.5.1Connecting AC or DC Power
• Equipment must be installed according to applicable local wiring codes and
standards.
2.5.1 Connecting AC or DC Power
To connect a single high AC, high DC or low DC power supply to the device, do the
following:
NOTICE
Electrical hazard – risk of damage to equipment
Before testing the dielectric strength (HIPOT) in the field, remove the metal jumper.
This metal jumper connects transient suppression circuitry to chassis ground and
must be removed in order to avoid damage to transient suppression circuitry during
testing.
NOTICE
Electrical hazard – risk of damage to equipment
Do not connect AC power cables to a 24 or 48 VDC power supply. Damage to the
power supply may occur.
NOTICE
Each internal power module is labeled POWER 1 or POWER 2. Make sure to connect
the power supply to the corresponding internal power module.
1. Remove the terminal block cover.
2. Identify the internal power module (POWER 1 or POWER 2) appropriate for the
power supply (AC or DC).
3. Use these screws along with #6 ring lugs to secure the wires to the terminal
block.
Note
For wiring options, refer to "Wiring Examples" (Page 17).
4. Connect the positive wire from the power source to the positive/live (+/L)
terminal on the terminal block.
RUGGEDCOM RSG2100
Installation Manual, 11/2022, C79000-G8976-1040-20
15
 Loading...