Fail-Safe CPU and signal module (SM) installation
4.1 S7-1200 Fail-Safe modules installation and removal
S7-1200 Functional Safety Manual
Manual, 02/2015, A5E03470344-AA
85
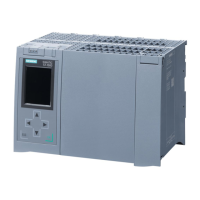
Installing and removing an S7-1200 FC CPU
You can install the CPU on a panel or on a DIN rail.
ttach any communication modules to the CPU and install the assembly as a unit. Install
signal modules separately after the CPU has been installed.
Set up the CPU rail clips:
●
, make sure the upper DIN rail clip is in the latched (inner) position
and lower DIN rail clip is in the unlatched (extended) position, for both CPU and attached
CMs.
– After installing the devices on the DIN rail, move the lower DIN rail clips to the latched
position to lock the devices on the DIN rail.
●
, make sure the DIN rail clips are pushed to the extended position.
To install the CPU on a panel, follow these steps:
1. Locate, drill, and tap the mounting holes (M4), using the dimensions shown in the
mounting dimensions table (Page 79).
2. Ensure that the CPU and all S7-1200 equipment are disconnected from electrical power.
3. Extend the mounting clips from the module. Make sure the DIN rail clips on the top and
bottom of the CPU are in the extended position.
4. Secure the module to the panel, using a pan head M4 screw with spring and flat washer.
Do not use a counter-sink screw with beveled head. Apply only enough torque to flatten
the spring washer.
Note
If your system is subject to a high vibration environment or is mounted vertically, then
panel mounting the S7
-1200 is recommended.

 Loading...