AFTER SALES SUPPORT
1300 7 77 137
service@unclebills.com.au
MODEL: EA2476 PRODUCT CODE: 715222 03/2024
14
GETTING STARTED (CONT.)
1. Release the locking tabs on the side of the
Wildlife Camera and open the protective case.
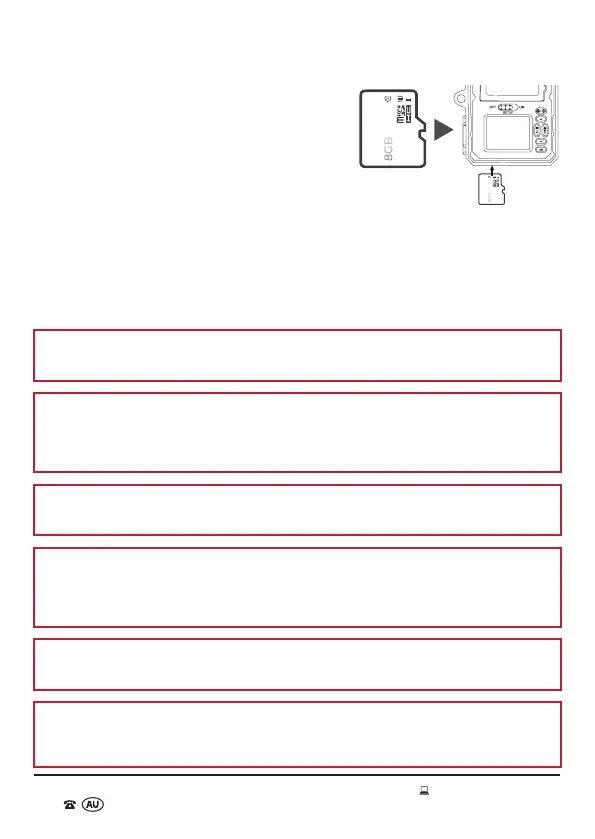
2. Insert the micro SD card (supplied) into the
micro SD card slot located on the bottom of the
(open) Wildlife Camera ensuring that the card
contacts are facing down and the label on the
micro SD card is facing upwards (Fig. 1).
3. Gently push the micro SD card into the slot
until you hear a ‘click’ and the card remains in
place.
4. To remove the micro SD card, push the micro SD card inwards gently, and it will
pop out automatically. At this time, you can carefully remove the card.
5. Close the protective case and firmly press the locking tabs into position.
NOTE: The easiest way to insert and remove the micro SD card is by using your
thumbnail or fingernail.
NOTE: An 8GB micro SD card has been included for your instant enjoyment. If a
larger capacity micro SD card is required, please ensure that it is a high quality
(class 10 standard or higher) micro SD card. Up to 128GB can be used in this
product to maximise the effectiveness of this product.
CAUTION: Only insert or remove the micro SD card when the Wildlife Camera is
switched OFF.
WARNING: Pay close attention to the orientation of the micro SD card. Do not
attempt to insert it by force, it will only go in one way. So if the card won’t slide in
easily, then it is not the right way up. Using force to insert the micro SD card may
damage the device and the card itself.
CAUTION: Do not remove the micro SD card while it is saving or reading data. This
may cause damage to the data or the micro SD card to malfunction.
IMPORTANT: It is recommended to format the micro SD card on a weekly basis to
ensure ongoing trouble-free performance. Before formatting the micro SD card,
copy and save your important files to other storage media.
Fig. 1