AFTER SALES SUPPORT
1300 7 77 137
service@unclebills.com.au
MODEL: EA2476 PRODUCT CODE: 715222 03/2024
21
INSTRUCTIONS (CONT.)
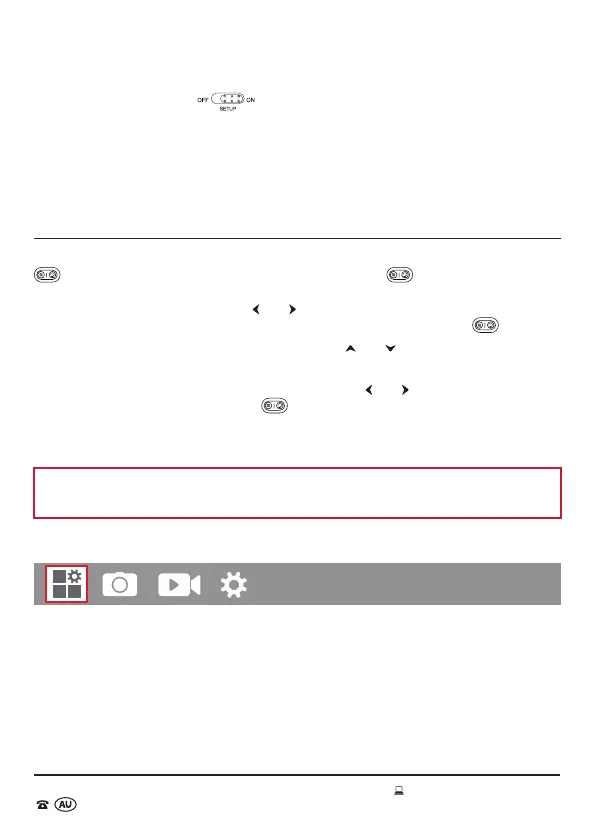
ON Mode (live mode)
To switch the Wildlife Camera on, slide the Power/Mode switch to the ON position.
The Wildlife Camera will then enter the automatic sensing mode (live mode). This
means that as soon as moving objects directly enter the detection area of the PIR
sensor, the Wildlife Camera will automatically take photos and/or video recordings,
depending on the camera’s settings that have been selected.
Menu Options and Settings
To access the variety of settings on the Wildlife Camera, in SETUP mode, press the
button once to enter playback mode, then press the button once again to
access the menu options.
To navigate the main menu, use the and buttons to cycle through the 4 main menu
options located at the top of the screen. To exit the main menu press the button.
To navigate within each main menu option, use the
and buttons to scroll through
the sub menu options. Press the OK button to confirm your selection. Follow the
on-screen instructions to modify each menu option setting. Press the OK button to
save the setting. To return to the main menu, press the
and buttons. To exit the
menu options and settings, press the button.
Refer to the below for the sub menu options and settings available within each of the 4
main menu options.
NOTE: Refer to the table on page 26 for the default settings for each of the menu
options.
Recording Modes and Settings Menu
Mode: There are three shooting modes: ‘Photo’, ‘Video’, and ‘Photo + Video’. The default
mode is ‘Photo’. Select ‘Photo’ mode to only take photos, select ‘Video’ mode to only
record video or select ‘Photo + Video’ mode to take photos prior to recording a video. In
‘Photo + Video’ mode, the number of photos taken prior to recording depends on the
‘Picture No.’ setting.