45
GB
DANGER! Risk of injury from
cutting!
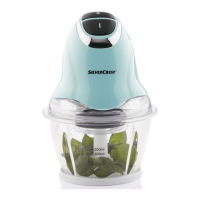
~ Please remember that the blades of the
blender jug13 are very sharp:
- Never touch the blades with your
bare hands in order to avoid cuts.
- When emptying the blender jug13,
ensure not to touch the blades.
WARNING! Risk of material dam-
age!
~ Do not use the blender jug13 for pro-
cessing particularly hard foodstuffs,
such as frozen food, bones, nutmeg, ce-
real grains or coffee beans.
~ Do not operate the device continuously
with the blender jug13 in place for
more than 5 minutes. After this, the de-
vice must remain switched off until it has
cooled down to room temperature.
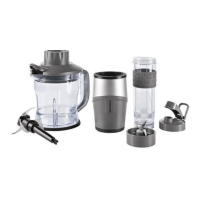
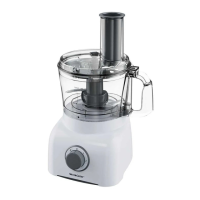
Required accessories:
-Blender jug13
-Lid14
- Mini measuring cup15
Work steps:
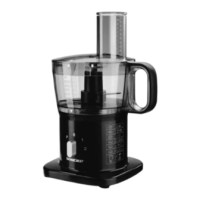
1. Position the blender jug13 in position
a on the base unit12. Turn the blender
jug slightly clockwise until you can feel
it click into position b.
2. First add the liquid ingredients to the
blender jug13, and then the solid
ones.
3. Place the lid14 on with a slight offset
(see illustration).
4. Turn the lid14 clockwise (towards the
closed lock symbol
) until it clicks into
place.
5. Place the mini measuring cup15 into
the refill opening.
6. Connect the mains plug10 to a wall
socket.
7. Use the dial11 to select the desired
speed setting.
During blending, you can add ingredients
through the refill opening in the lid14:
8. Reduce the speed to 1.
9. Pull out the mini measuring cup15 up-
wards. If you find this difficult, turn it
back and forth a little as you pull it out.
10. Add the ingredients.
11. Place the mini measuring cup15 back
on.
__355017_2004_Kuechenmaschine_B8.book Seite 45 Donnerstag, 24. September 2020 1:10 13
 Loading...