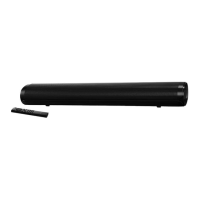
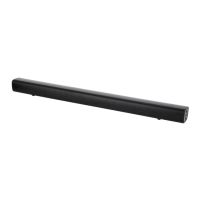
SSB 30 A1
English - 37
8.1.1 Wall-mounting
Make sure that you use suitable wall-mounting material.
Tools/mounting material needed (not included in the package):
• Drill (depending on the wall)
• 2 screws and possibly 2 rawlplugs (depending on the wall) to fix to the wall. Please note that the screws
must be suitable for the weight of the sound bar. If the screws and rawlplugs provided are not suitable for
your specific circumstances, make sure that the dimensions of the screw head and shaft correspond to
those provided in order to guarantee safe mounting.
• Phillips screwdriver and possibly other screwdrivers, spirit level, pencil
Before drilling, make sure there are no water or gas pipes or electricity cables in the wall. If necessary, get an
expert to mount the device on the wall.
• Drill two holes 400 mm apart. Use the drilling template supplied to make mounting easier.
• If you are using the rawlplugs supplied, use an 8 mm drill bit.
• Insert the rawlplugs into the drilled holes.
• Push the screws in until the screw head projects by about 3 mm.
• Connect all the cables you are using to the connections on the sound bar.
• Position the device with the wall mounting holes down onto the screws so that they engage with the
vertical holders on the wall mounting system, then secure by tightening the screws.
• Finally, check that the sound bar is firmly fitted to both screws. If necessary, repeat the process. It may be
necessary to rotate the screws clockwise or counterclockwise a little.
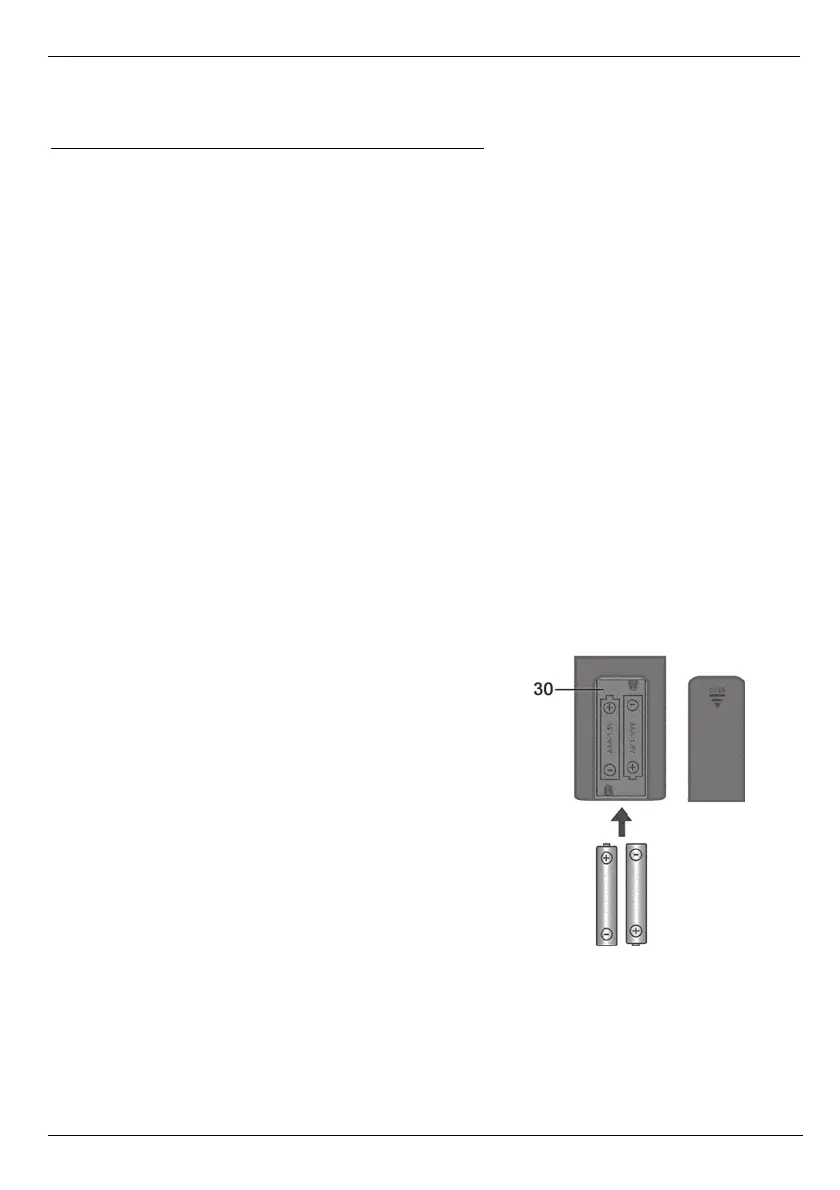
8.2 Fitting the batteries into the remote control
Open the battery compartment (30) on the back of the
remote control by sliding the battery compartment cover in
the direction of the arrow and removing it. Insert the
batteries (2 AAA-type batteries) with the correct polarity (+
and -). The correct polarity is labelled on the batteries and
inside the battery compartment (30). Re-insert the cover of
the battery compartment (30) and slide it in the opposite
direction of the arrow until it locks in place.


 To Next Page
 Loading...