44
8.3.2 Cleaning the heat exchanger
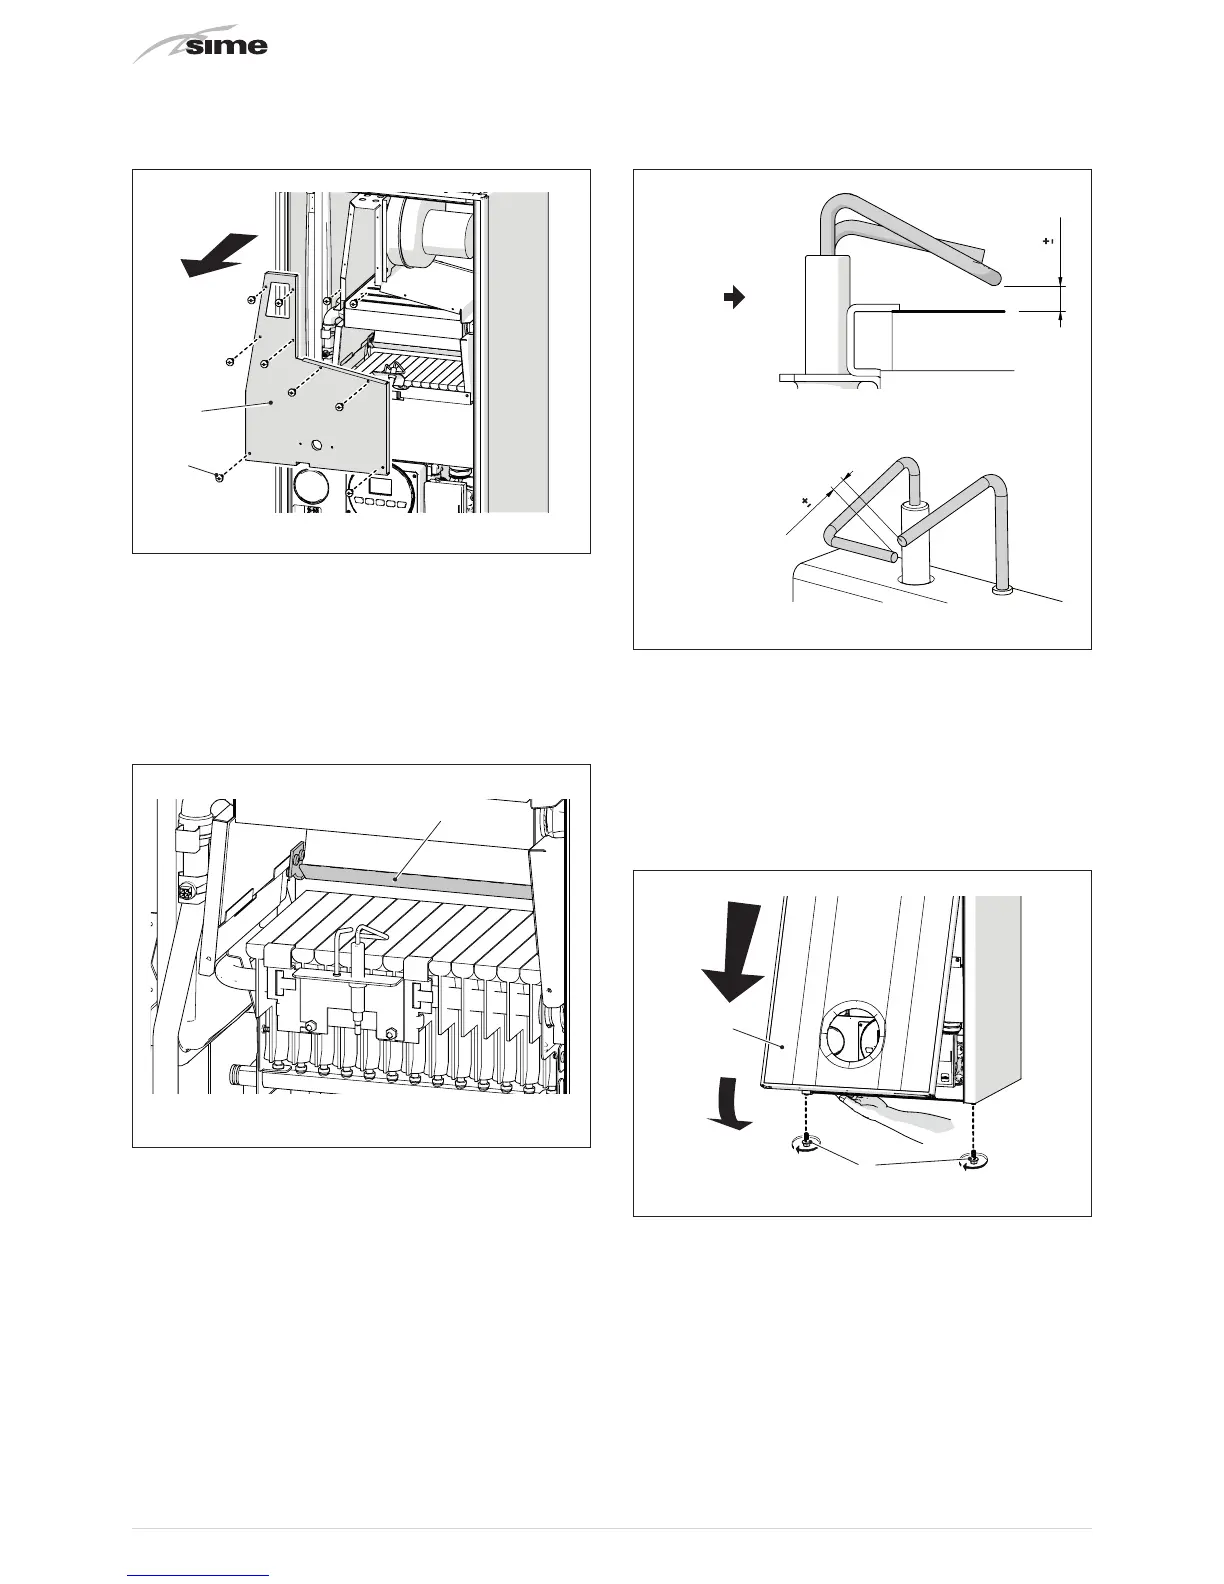
– remove the eight screws (5) and remove the front panel (6)
from the combustion chamber (6) working carefully so as not
to damage the gasket or the panel insulation
5
6
Fig. 55
– if there is any dirt on the heat exchanger (9) fins, protect the
burner elements (10) covering them with a sheet of newspaper
or a cloth and clean the heat exchanger (9) using a soft brush.
8.3.3 Cleaning the burner
The burner must be cleaned thoroughly. Clean it using suction
once a year, taking special care to clean the back part where
there is a steel and copper blade (7).
Fig. 56
8.3.4 Checking the ignition/detection electrode
Check the state of the ignition/detection electrode and replace
if necessary. Check the measurements as per the drawing
whether the ignition/detection electrode is replaced or not.
6,5
0,5
3,5
0,5
Fig. 57
m
CAUTION
The position of the electrode is essential for the correct
detection of current ionization.
8.3.5 Final operations
After cleaning the inside:
– check that the seals and insulation on the appliance are
intact. If they are not, replace them
– refit the front panel (2), securing it with the two screws (1).