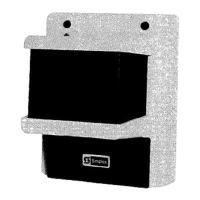
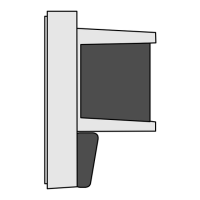
NOTE: For steps 4 through 7, see Figure 4.
4. To expose the back mounting plate.(G) on each receiver and transmitter, loosen the single captive mounting
screw (H) until the Printed Circuit (PC) chassis (I) separates from the back mounting plate. (Do not remove
the other visible screw [J]).
5. For each receiver and transmitter, bring wiring from the electrical box through each wiring entrance (K).
NOTE:
Make sure that all wiring is unpowered.
6. Using the four mounting slots (L) and two screws if mounting to a 4” square electrical box, securely attach
each back mounting plate to each electrical box.
7.
Return each PC chassis (I) to its back mounting plate (G) and secure in place with each captive mounting
screw (H).
Removing Back Mounting Plate
FIGURE 4
Technical Manuals Online! - http://www.tech-man.com