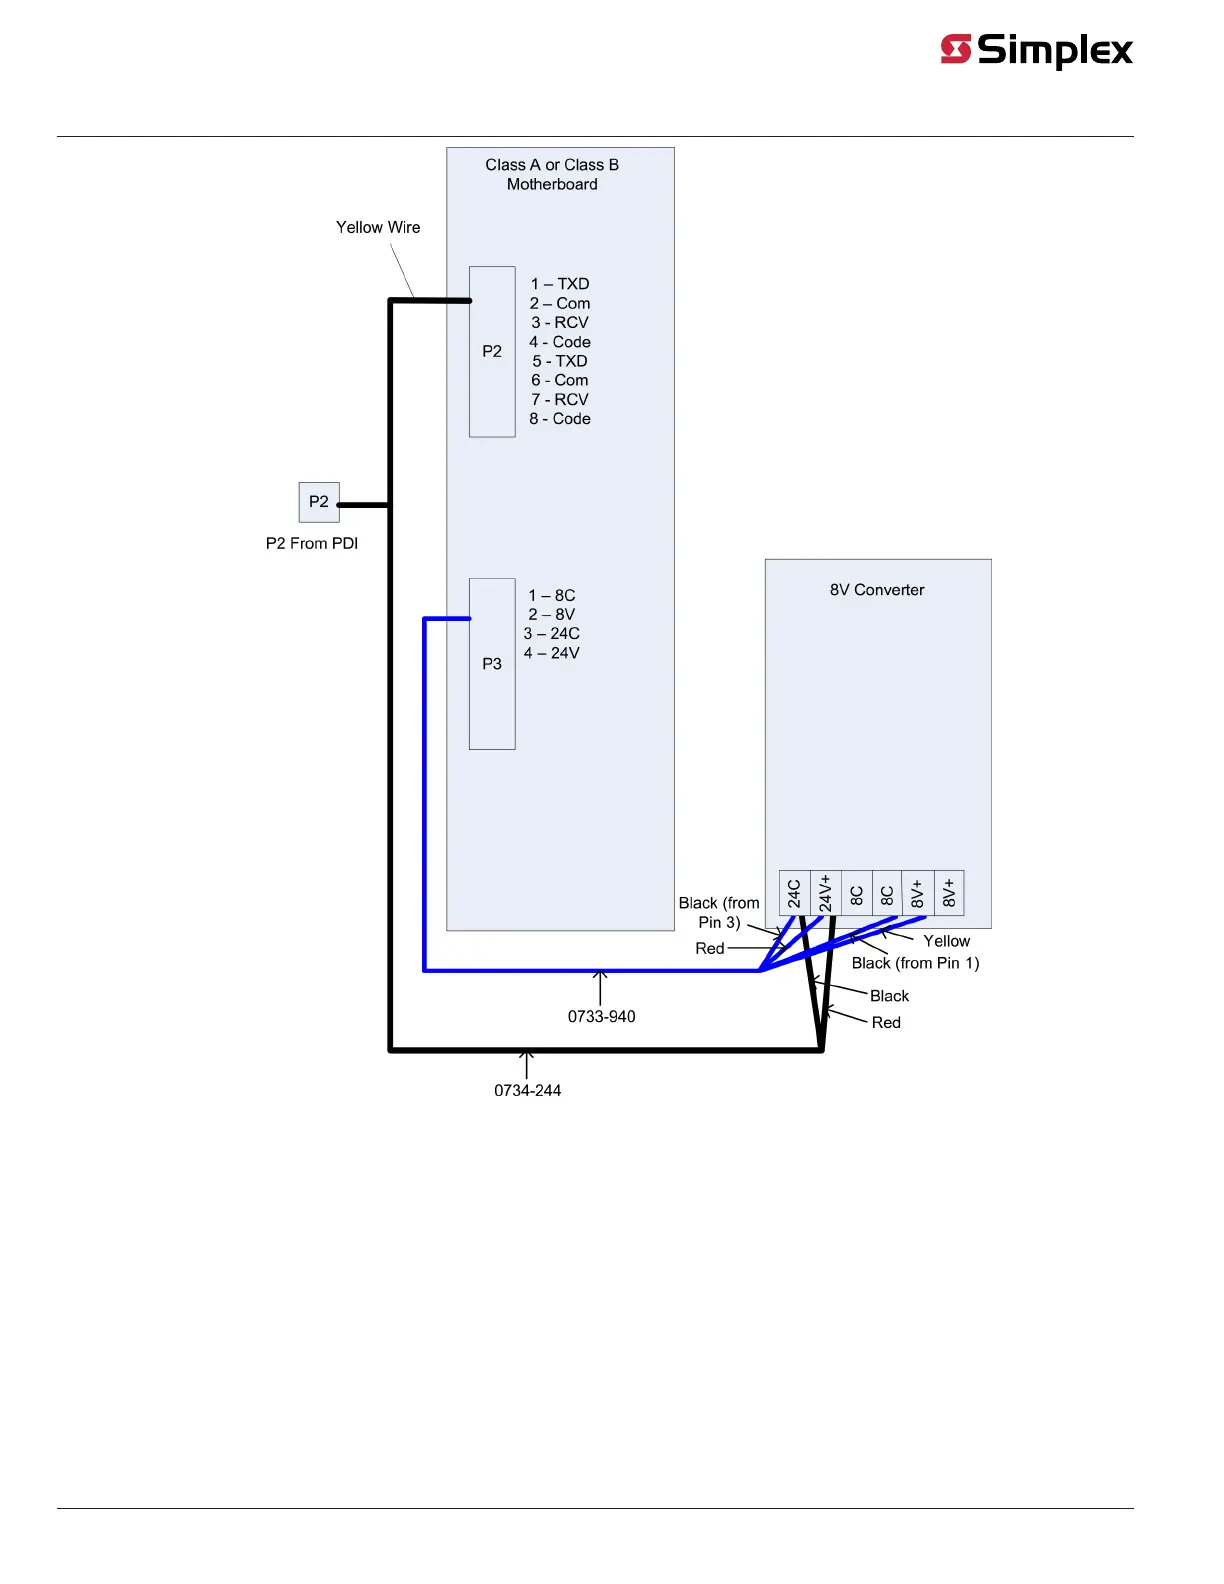
Figure 14: Zone Card Wiring
5. Attach the stripped end on harness 734-244 to connectors "24C" and "24+" on the 8V DC Converter.
6. Slide the Zone Card into its slot on the Motherboard (Figure 10 or Figure 11).
7. Connect the Zone Card to the Motherboard with zip ties.
8. Power the panel back up.
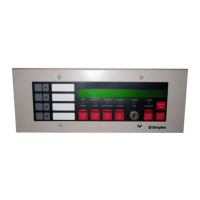
Installing the Daughter Card
Installing the Daughter Card
The daughter card inserts into the connector located in the center of the motherboard. The connector is keyed so that the daughter card fits only one
way. Before installing the card, examine the slot in the motherboard and the fingers on the daughter card and note where the key is located.
Note: The figure below is a general-purpose illustration that applies to all daughter cards.
page 14 579-205 Rev. H
4010ES and 4100 4120-Series Class A/Class B Zone Modules Installation Instructions