60
(denoted by “current”), then the FM channel tuning screen is
displayed.
ii. If the chosen storage location has an FM preset that is not
currently being used, and you want to edit it, Edit Channel is
highlighted. Press the Select button. The FM channel tuning
screen is displayed.
iii. If the chosen storage location has an FM preset that is not currently
being used, and you want to start using it, press
to highlight
Start Using and press the Select button. Skip to step 7.
4 Press
and to tune to the desired
FM channel in steps of .2, i.e., 99.3 to
99.5. Press
and to tune to the
desired channel in steps of 1, i.e., 99.3
to 100.3. Press the Select button to
select the FM channel.
5 If you are editing the storage location
that has the “current” FM preset, skip
to step 7. Otherwise, Start Using will be
highlighted. Press the Select button.
NOTE! You can also set an FM preset
without having to start using it right
away. Just press menu and exit the
screen.
6 The chosen FM channel will be
confirmed on the display screen and
Onyx
will tune to that FM channel.
7 Set your vehicle’s FM radio to same FM
channel.
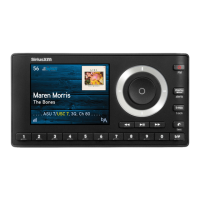
Edit FM Channel 2
99.3 FM
and Select to confirm
Press arrow keys to tune
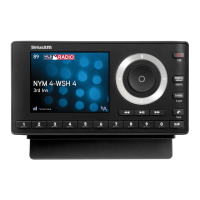
Using Onyx With a Vehicle Dock
Set your vehicle radio to the
above channel to enable audio.
99.3 FM

 Loading...