Do you have a question about the Sitecom WLR-4002B and is the answer not in the manual?
Advises against modifying the router and specifies operating temperature limits.
Details power requirements, connection safety, and cleaning precautions.
Instructs users to seek professional repair and avoid self-servicing.
Provides guidance on proper disposal methods for the router.
Covers other precautions like avoiding liquids, impacts, and magnetic fields.
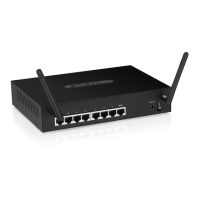
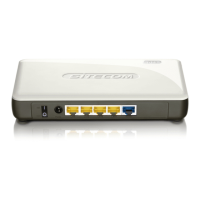
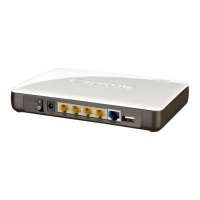
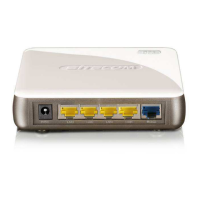
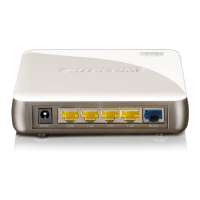
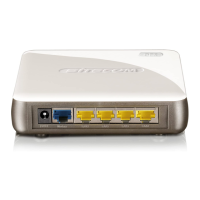
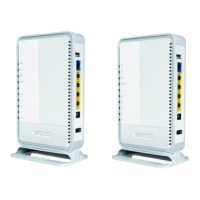
Explains the purpose of each port on the router.
Provides specific instructions for setting up the network adapter on Windows XP.
Details the steps to log in to the router's web interface.
Specifies the default LAN IP address of the router and its role as a gateway.
Explains the purpose and value of the IP subnet mask for the LAN.
Explains the DHCP server functionality, enabling/disabling, and IP address assignment.
Enables or disables the wireless functionality of the router.
Allows selection between AP or WDS mode for wireless operation.
Sets the wireless band to 802.11b, 802.11g, or B+G mode.
Option to enable multiple SSIDs for network segmentation.
Sets the network name (SSID) broadcasted by the wireless signal.
Configures the wireless channel for optimal performance, with an auto option.
Selects the SSID for which security settings will be applied.
Allows selection of WEP key length (64-bit or 128-bit) for security.
Sets the format for WEP keys (ASCII or Hexadecimal).
Instructions for entering WEP keys for data encryption.
Activates the MAC address filtering feature.
Instructions for adding MAC addresses to the access control list.
Procedures for removing MAC addresses from the access control list.
Explains how to use a PIN code for WPS connection setup.
Explains how to initiate WPS connection using the push button.
Describes entering a PIN code to initiate the WPS process.
Instruction to enable firewall functionality by selecting 'Enable' and clicking 'Apply'.
Option to enable or disable the DMZ host functionality.
Specifies the public IP address for DMZ configuration.
Enters the IP address of the LAN client to be placed in the DMZ.
Provides protection against Ping of Death attacks.
Prevents the router's WAN port from responding to Ping requests.
Protects the router against port scanning attempts.
Offers protection against Sync Flood attacks.
Configures NAT for multiple users to access the internet via a single IP address.
Displays the connection status of VPN tunnels.
Details PPTP-specific authentication and encryption settings.
Details L2TP-specific authentication settings.
Selects the pre-shared key method for authentication.
Enters the shared key for L2TP over IPSec authentication.
Details L2TP/PPTP authentication settings.
Provides built-in security features like antivirus and anti-phishing for network protection.
Sets the port number for the remote management web interface.
Process for manually upgrading the router's system firmware.
| Wireless Standard | 802.11n |
|---|---|
| Frequency Bands | 2.4 GHz |
| Maximum Wireless Speed | 300 Mbps |
| Ports | 4 x 10/100Mbps LAN, 1 x 10/100Mbps WAN |
| Security | WPA, WPA2, WEP |
| Antennas | 2x External Antennas |
| Weight | 200 g |
| Standards | IEEE 802.3, IEEE 802.3u |