7 Commissioning
SMA Solar Technology AG
Operating manualEVCxx-10-BE-en-1036
11. After successful testing, connect the charging cable
to the vehicle.
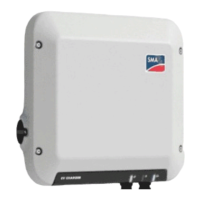
☑ All 3 LEDs light up. The start-up phase begins.
☑ All 3 LEDs go out again after approximately 90seconds.
☑ Depending on the available power, the green LED pulses or is continuously illuminated.
The vehicle is charged.
12. If the green LED is still flashing, the conditions for activating charging operation are not yet
met. As soon as the conditions for charging are met, the charging station starts charging the
vehicle.
13. If the red LED lights up, an event has occurred. Use the event message to find out which event
has occurred and, if necessary, initiate countermeasures.
14. After charging, disconnect the charging cable from the vehicle and wrap it around the
product.
7.3 Changing the Network Configuration
After you connect to the user interface for the first time (see Section8.1, page38), the welcome
page opens.
On the welcome page, you can change the network configuration. The automatic network
configuration recommended by SMA Solar Technology AG via DHCP server is activated by
default. Only change the network configurations if the default configuration is not suitable for your
network.
Procedure:
1. Select Change network configuration on the welcome page.
2. Carry out network configuration and confirm with [Save].
7.4 Configuring the Product
After you connect to the user interface for the first time, the welcome page opens.
 Loading...