Mounting SMA America, LLC
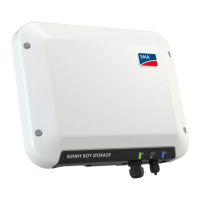
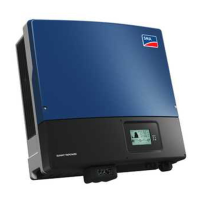
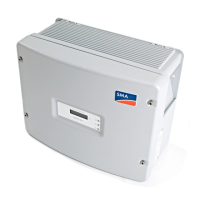
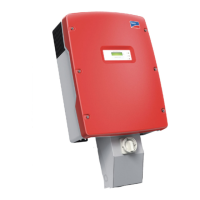
30 SB30-40US-IUS103030 Installation Guide
Mounting on a wooden wall with two studs
Attach the wall mounting bracket with 2 screws. The position of the screws on the wall mounting
bracket is as follows:
• 1 screw on the upper left side.
• 1 screw on the upper right side.
Use the four external mounting screws on the left and right sides of the wall mounting bracket.
Mount the wall mounting bracket as described in section 5.3.2”Mounting the wall mounting bracket”
(page30).
5.3.2 Mounting the wall mounting bracket
1. Position the wall-mounting bracket against the wall where you intend to mount the Sunny Boy.
Try to mount the Sunny Boy with the display at eye-level.
Tip for installing
The diameter of the holes you drill must match the hardware you are using to mount the
Sunny Boy.
For example, if you are mounting the Sunny Boy to a concrete wall, the hole diameter
should be approximately the same as the outside diameter of the concrete anchors you
intend to use. If you are mounting the Sunny Boy on a wall that has wooden studs inside it,
the hole diameter should be the correct size for the lag screws you intend to use to mount
the bracket. It is recommended that the lag screws be made of stainless steel, and the
diameter of the screws closely match the diameter of the holes in the wall-mounting bracket.
Make sure that the screws are long enough to penetrate the wall to a depth of 1
1
⁄
2
in.
 Loading...