SMART LightRaise Installation and User's Guide 45
3
Center the board beneath the boom. The board is centered when you see its bracket
edges line up with those of the hanger bracket.
4
Allow the board to hang, leaning against the spacer bracket and the tilt mechanism, which
you installed following the instructions with the projector mounting kit. The hook and loop
fasteners should be fixed to the spacer bracket and the back of the SMART Board
interactive whiteboard. Press the board firmly against the tilt mechanism.
5
Locate the RS232 serial cable (labeled C02) inside the console. Connect one end of this
cable to the Control System at the port labeled SMART Board Serial (C02).
Projector Video (V01)
Projector Control (C01)
SMART Board Serial (C02)
DB9 Port
SMART Board Cable
DB9 Connector
Control System
inside Console
6
Feed the other end of this serial cable through a convenient cable grommet. Connect the
other end to the serial port underneath the SMART Pen Tray's lower-right edge.
Serial Port
(Underneath Board)
From Console
DB9 Connector (Labeled C02)
To equip the SMART Pen Tray:
1
Fit the semicircular eraser cup into place on the Pen Tray.
Eraser Cup
Pen Tray
2
Place the styluses in their slots and the eraser in the eraser cup.
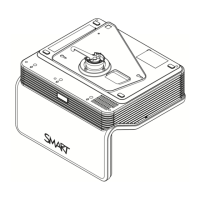
To install and connect the projector:
1
Follow the instructions included with the projector mount kit to attach the projector to the
projector mount.
2
Follow the instructions included with the projector mount kit to connect the cables to the
projector bundle.