Programming Instructions for SRU Boards
May 9, 2019 ©2019 Smartrise Engineering, Inc. All Rights Reserved Page 17
Installing*the*SRU*Sof tware*
WARNING
THE LAPTOP NEEDS TO BE FULLY CHARGED FOR THIS PROCESS. PLUGGING IN THE LAPTOP TO
AN AC SOURCE WHILE INSTALLING THE SOFTWARE COULD DAMAGE THE SRU BOARD.
DO NOT DISCONNECT THE PROGRAMMER POD FROM THE SRU BOARD WHILE THE
CONTROLLER IS BEING PROGRAMMED.
Identify which controller you are installing, Machine room, Car-Top, or COP.
A controller cannot be programmed without power applied. Ensure that 24 VDC is applied to
the controller.
Programming*a*New*MR*Controller
The following procedure describes how to program a new MR controller.
Turn on Dip Switch 1 (Dip A). When Dip Switch 1 is activated, a F77: CPU Stop Switch
fault is displayed on the controller.
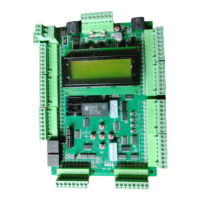
Plug the programming pod’s ribbon cable connector into the J21 port.
Select the J21 checkbox on the Smartrise programming application.
Figure 21: J21 and J22 Checkbox
Click the Begin Programming button on the bottom of the programming interface to
begin programming the board.
The progress report bar moves until the programming has been completed. Upon
completion a Done message is displayed.
NOTE: Verify the POWER and RUN LEDs on the programming pod itself are off before
disconnecting from a controller.
Move the programming pod from port J21 to J22, then click on the J22 check box and
begin programming. See Figure 21.
When programming is completed, cycle the power.
WARNING: ** DO NOT PRESS THE RESET BUTTON **