Femoral Preparation
17
Access: For initial access to the knee, refer to the relevant surgical textbooks.
Important
In addition to the bone resections, it is important to correct any ligament imbalance using
appropriate soft tissue procedures. If necessary, a general release should be performed on
the side of the contracture prior to the bone resections.
The leg is flexed and any osteophytes on the femur and tibia are removed. This will provide
good exposure of the knee joint and thus facilitate size determination.
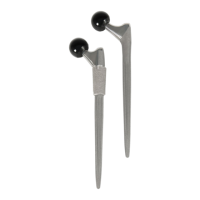
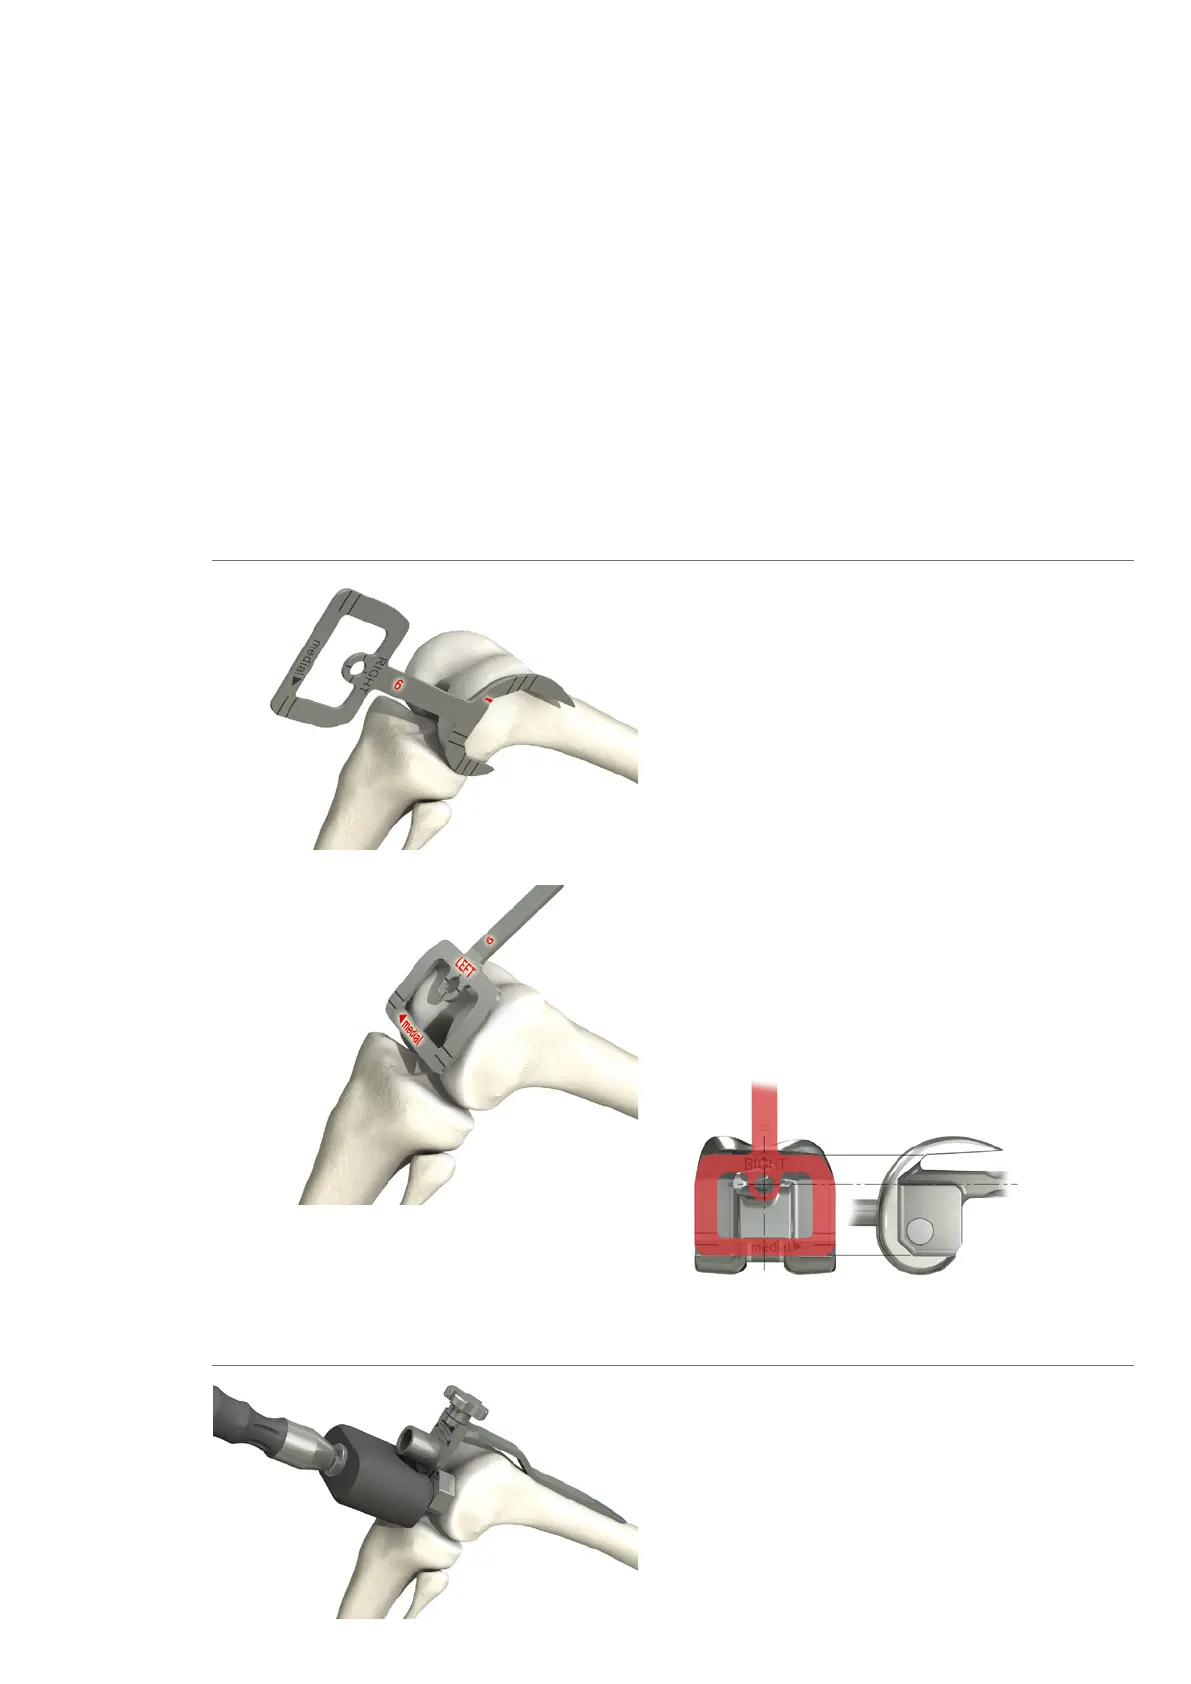
Femoral size determination
The femoral sizers (2, 4, 6, 8, and 10) are
used to determine the size sagittally,
based on the inside/outside contours, and
ventrally, based on the anterior/posterior
resections and the medial/lateral contours.
The additional marking lines correspond to
the augmentation blocks.
Important
The red line in the sagittal view, as well as
the hole in the frontal view of the femoral
sizer, shows the position of the femoral IM
canal, i.e., the position of the stem.
While taking measurements, note the marks
corresponding to medial and lateral:
LEFT and medial.
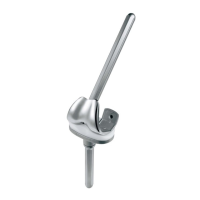
Femur opening
Set the adjustable IM femoral drill guide to
the planned size of the femoral component
(size marking 2, 4, 6, 8, or 10) and insert
under the quadriceps into the centre of the
femur. The distal stop should rest on the
medial condyle. Make sure the gauge lies flat
against the anterior femoral cortical bone in
the direction of the femoral axis.