Implanting the Components
37
Mix the bone cement according to the manufacturer’s instructions. Clean, wash, and dry the
bone bed sufficiently. Modern cementing techniques, using a vacuum mixer and jet lavage,
are recommended.
The RT-PLUS™ knee is used with cement. Cement the tibial component first, followed by the
femoral component. Filling the IM canals using a cement gun is recommended.
Important
When the stems are inserted halfway, ensure the rotational alignments of the femoral and
tibial components correspond to the definitive implant positions.
In the presence of sclerotic bone, we recommend drilling several holes using a 3.2 mm
drill. This improves anchorage between the bone cement and the bone.
Insert the corresponding 10 mm tibial augmentation block size based on the selected tibial
component size. The tibial augmentation block must be cemented on both sides, between
the tibial component/tibial augmentation block and the tibial augmentation block/bone
resection. Ensure the tibial augmentation block is clean and dry before applying the cement!
Insert the intramedullary plugs as needed, 10 cm into the tibia and 12 cm into the femur for
sizes 4 to 10, or 9 cm into the tibia and 11 cm into the femur for size 2.
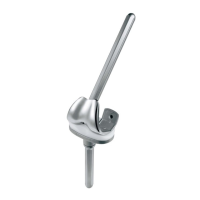
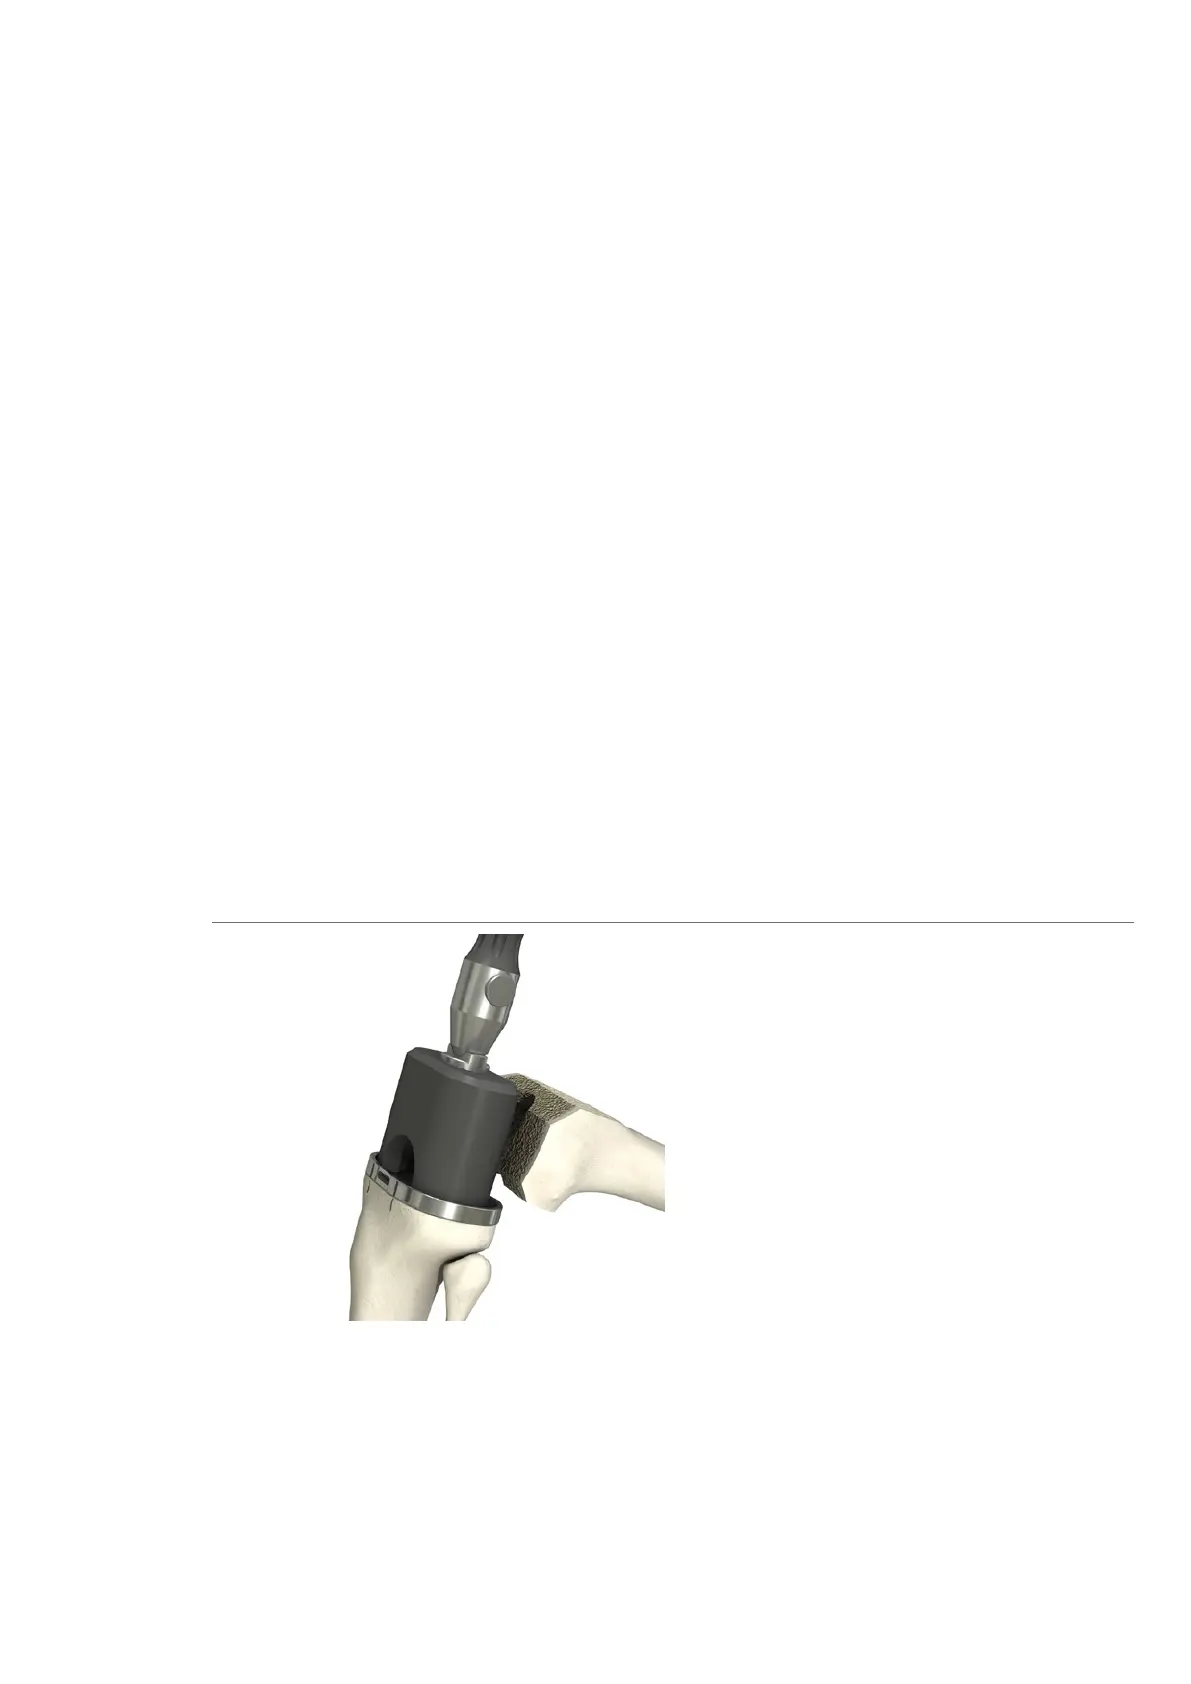
Implanting the tibial and femoral
components
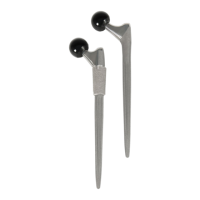
In the 90° flexed position, hammer in the
tibial component (see page 44 ff) using the
corresponding impactor. Carefully remove
excess cement. The implant components
must be under continuous pressure while the
cement is setting.
Important
Make sure cement is applied between the
fin and stem connections when using tibial
blocks.