28
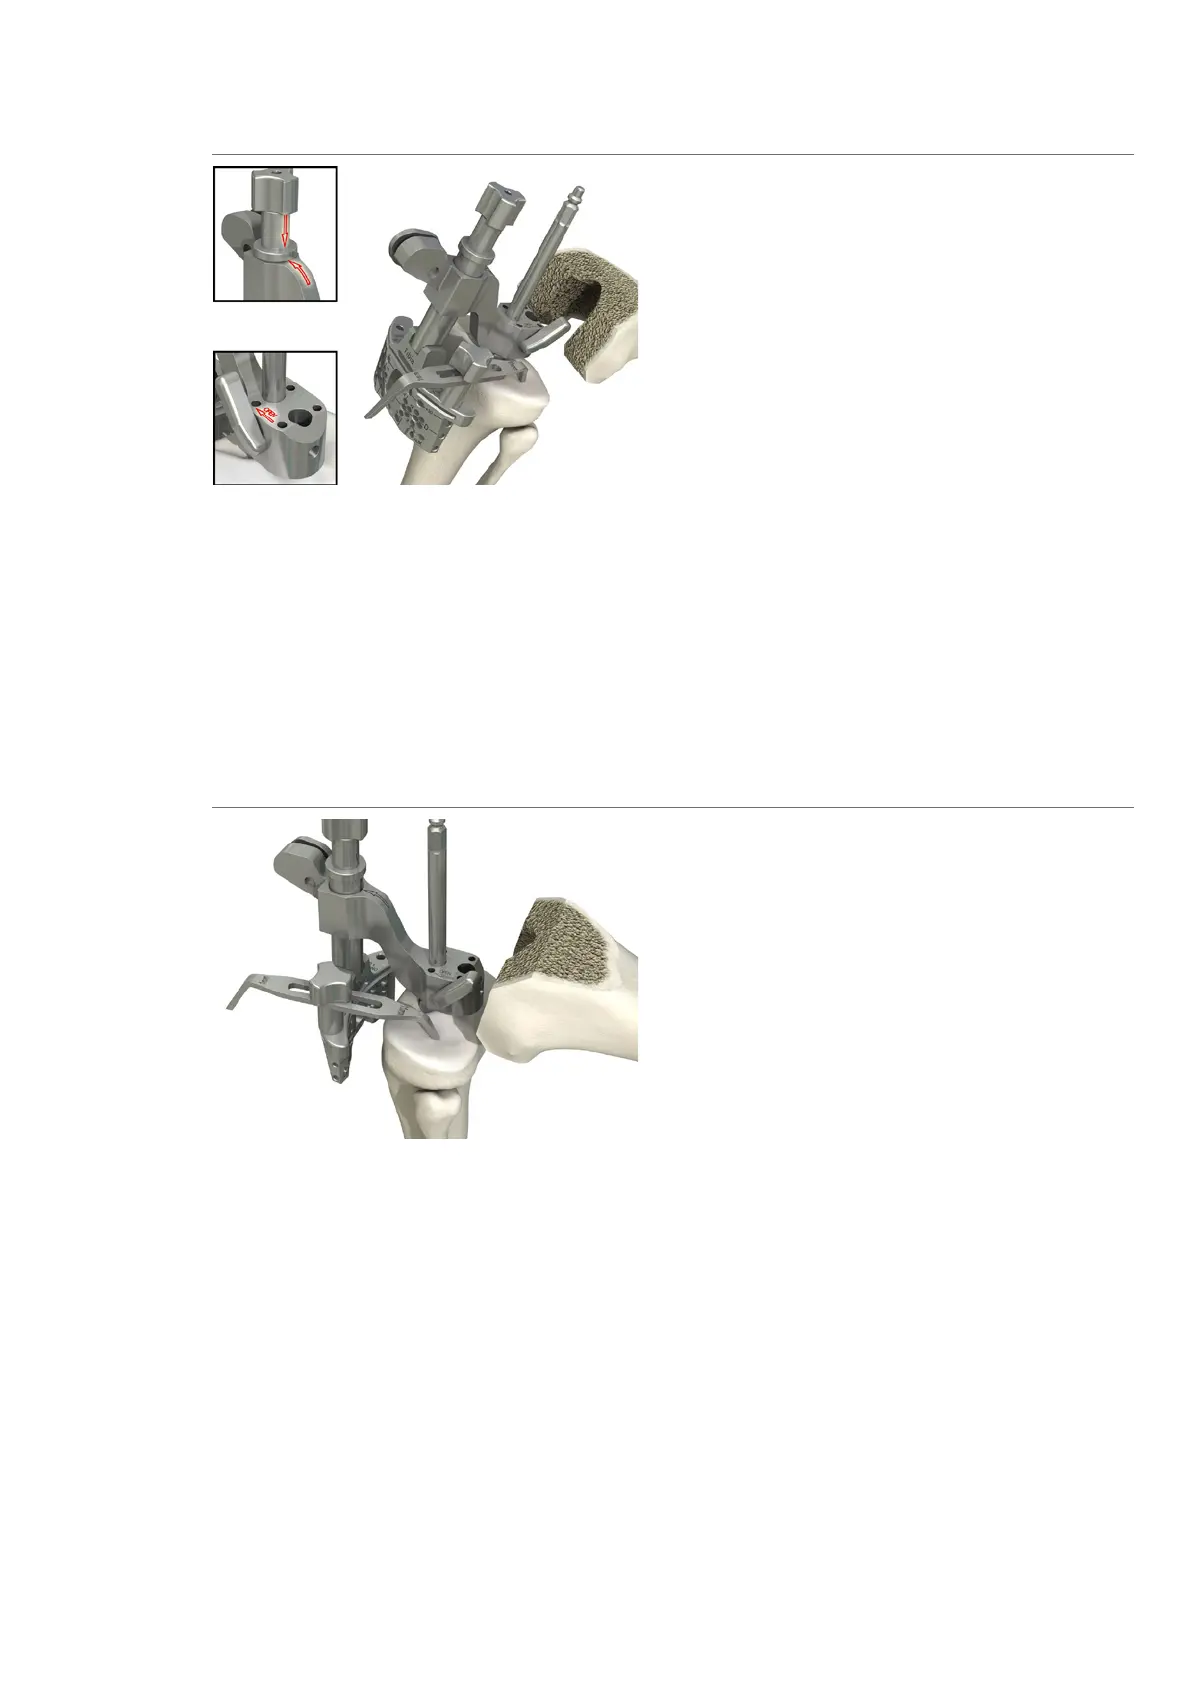
Join the two tibial resection guide IM compo-
nents by aligning arrow with arrow and
pressing the button.
Attach the femoral/tibial cutting block to the
tibial resection guide IM with the small top
grub screw and slide fully onto the reamer
extension (∅ 8 mm).
Important
Ensure the lock lever is set to “OPEN” so that
the tibial resection guide IM can be slid into
place. Then reverse the lock lever to set the
tibial resection guide IM in place.
First, lift the femoral/tibial cutting block
upwards by pressing the button so that the
tibial stylus can be attached.
Setting the resection height
Position the tibial stylus on the tibial plateau.
The tibial stylus can be used for both primary
resections (11 mm marking) and revision
resections (1 mm marking).
Important
In primary procedures, the 11 mm tibial stylus
is positioned on the lowest point of the less
damaged condyle.
In revision procedures, the 1 mm tibial stylus
is positioned on the lowest point of the less
damaged condyle.
In cases where a tibial augmentation block
is required (10 mm bone defect compensa-
tion is possible), the 1 mm tibial stylus is
positioned on the lowest point of the less
damaged condyle.