Patellar Preparation
35
The leg should be extended. Soft tissue on the posterior surface of the patella is exposed,
preserving the ligaments.
If the posterior surface of the patella is not replaced, all osteophytes should be
removed from the patella, which is then denerved.
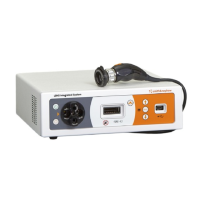
Positioning the patellar clamp and
performing patella resection
The patellar instruments permit the use of
the “onlay” technique, in which a 10 mm
segment of bone is resected and replaced by
a 10 mm thick patellar implant (if an 8 mm
thick patellar implant is planned, resect just
8 mm).
An alternative option is the “inlay” technique,
in which the implant is partially countersunk
(3 to 5 mm). Here, the patella is only resect-
ed approximately 7 to 5 mm below the ridge.
The thickness of the residual bony patella
should be no less than 12 mm. See also the
“Milling” section on page 36.
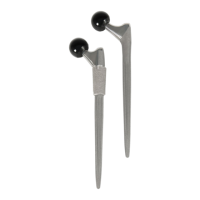
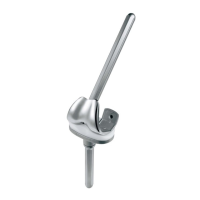
After placing the patellar cutting guide on the
patellar clamp with the ratchet, grasp the
patella with the clamp. A patellar thickness
reading can be taken using the mm scale on
the handle.
Adjust the patella osteotomy insert (mm
scale) to the height for resection, and resect
the patella using the oscillating saw (1 mm
saw blade with unset teeth or 1.27 mm
respectively).
Important
When resecting, ensure the saw blade does
not wander, e.g., due to sclerotic bone
sectors.
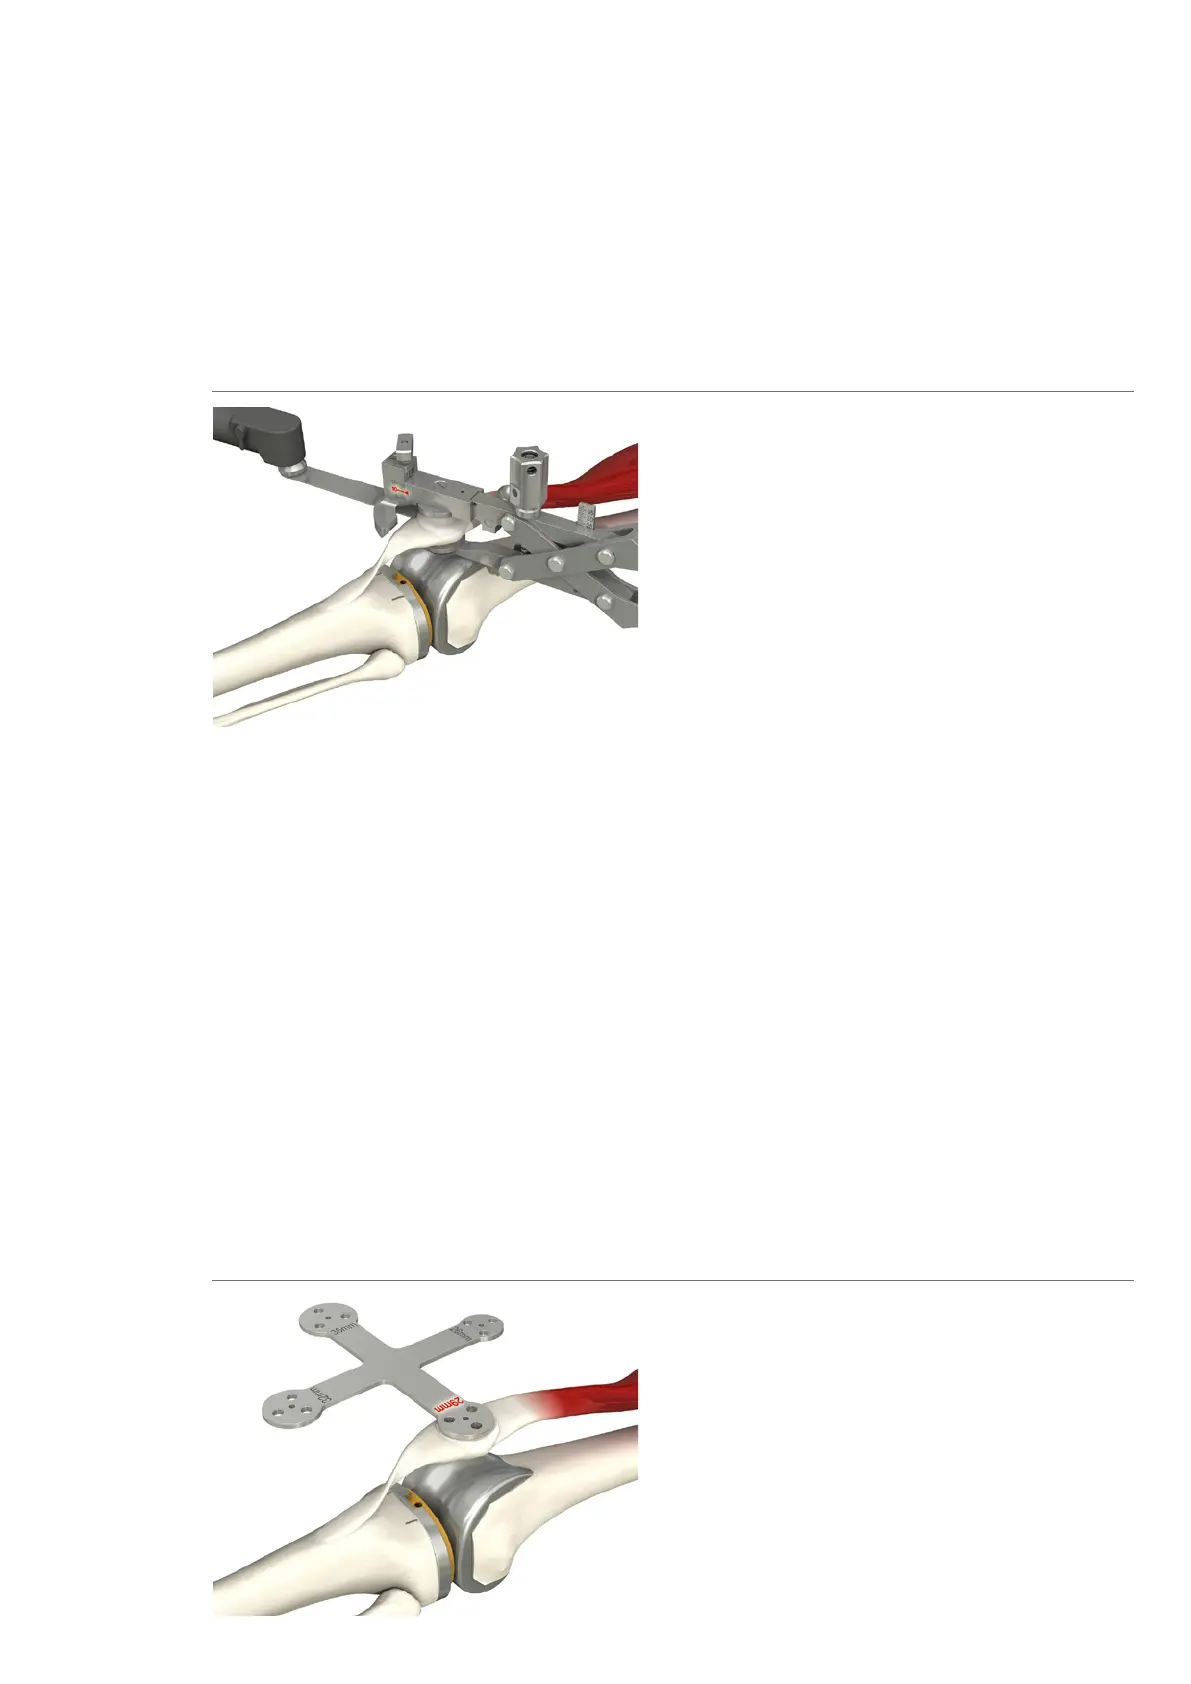
Patellar size determination
Determine patellar size using the patellar
sizer. Supplied sizes are ∅ 26, ∅ 29, ∅ 32,
and ∅ 35 mm. Note that the patellar compo-
nent is implanted with a slight medial offset,
thus matching the position of the natural
patellar ridge. Small implant sizes are recom-
mended for small patellas, to enable repro-
duction of this offset.