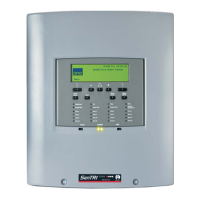
SenTRI device
Semi-flush fixing kit
(SEN-FLUSH)
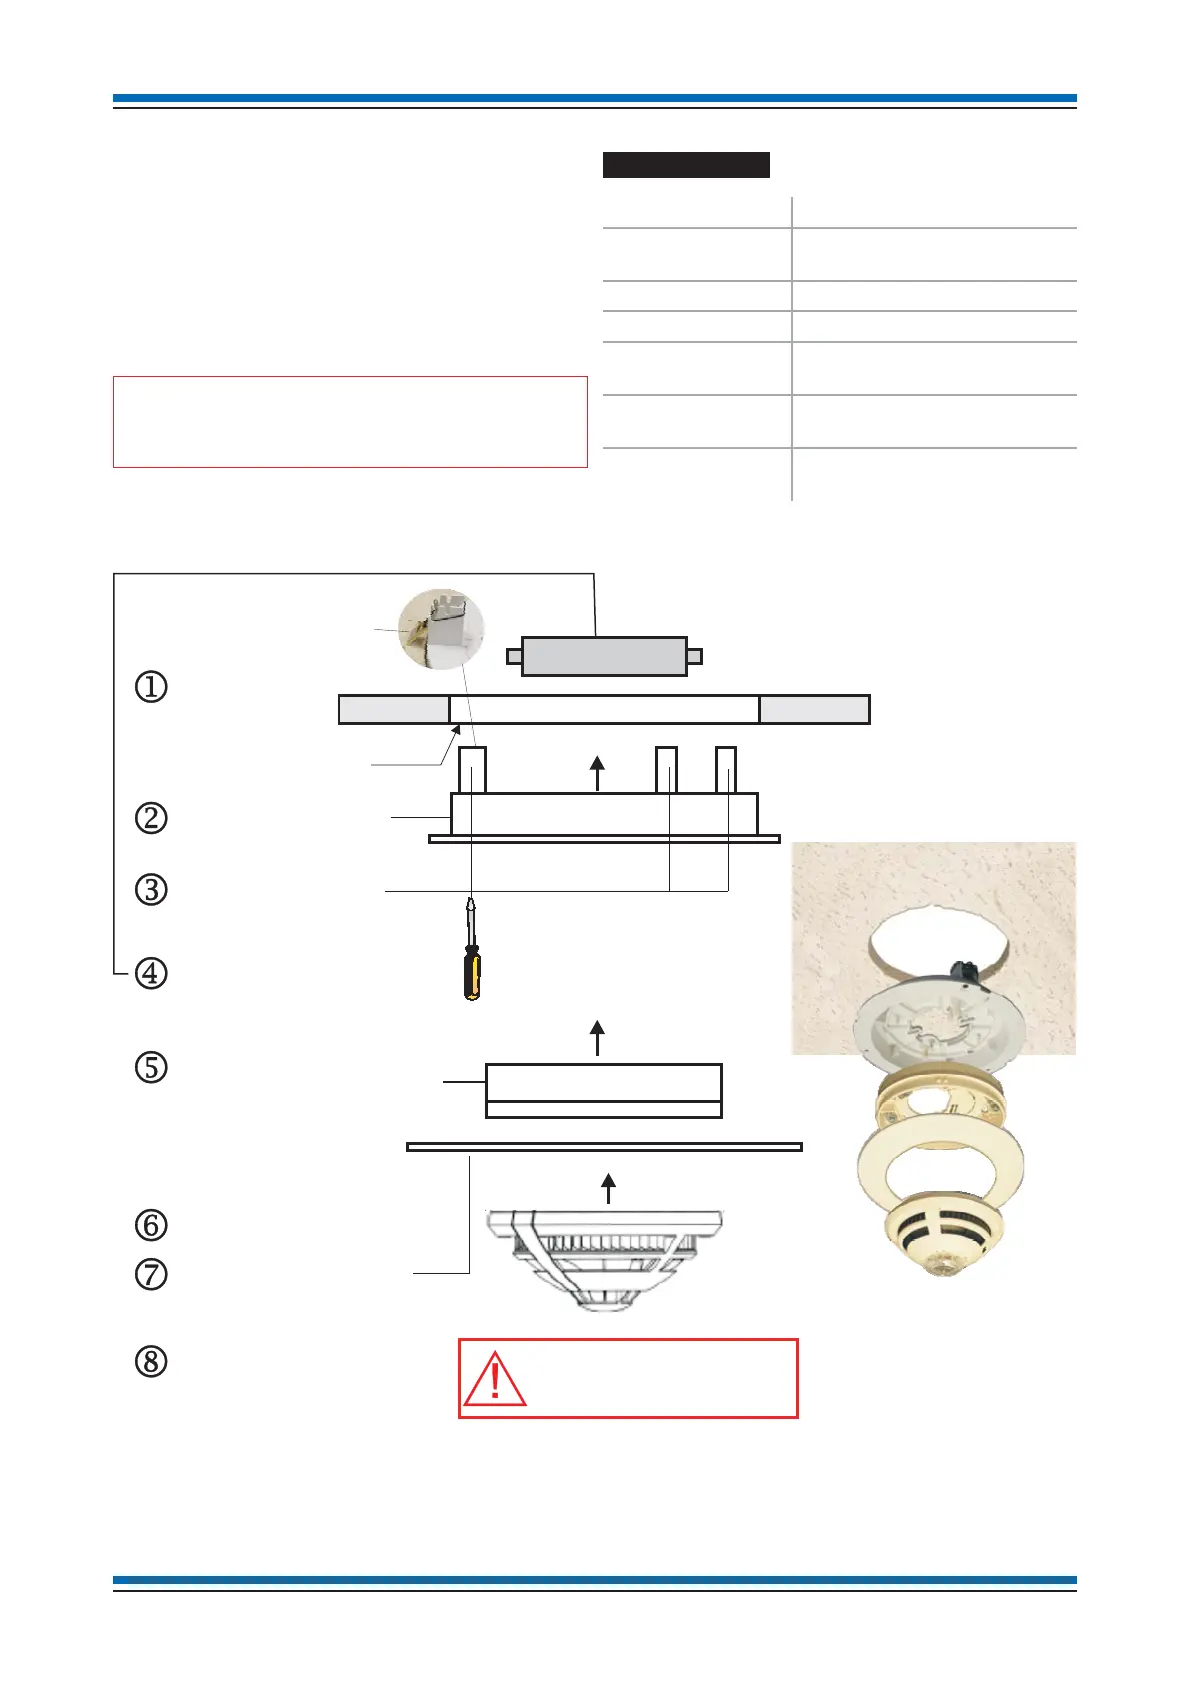
An SenTRI device can be semi-flush mounted to a ceiling tile to a
depth of the approximate 20mm, which is slightly deeper than the
base assembly. To semi-flush mount a special housing must be
used, which consists of a main assembly and a trim ring.
"
There is an enhanced volume output of sound
and speech from a semi flush mounted SenTRI device.
Technical data
Weight 164g with trim ring
Dimensions 174mm diameter by 50mm
depth
Enclosure ABS
Colour RAL 9010
Storage
Temperature
-20°Cto70°C
Ambient
temperature
-10°Cto50°C
Relative Humidity 95% non condensing
(5 to 45°C)
Installation instructions
30
SenTRI Detector
Trim ring
Cross section
of Ceiling Tile
Semi-Flush shrou
SenTRI Base
Do not over tighten the clamping
screws as this will cause the
clamps to cut into the ceiling tile.
Metal back box
Cut a 140mm
diameter hole in the
ceiling tile.
(
)
If required use a Bi-Metal Holesaw
140mm or 146mm, from
www.shop4tools.co.uk
Insert the semi-flush shroud
assembly into the hole
in the ceiling tile.
Hold the semi-flush shroud
to the ceiling tile and tighten
the three screws to splay the
clamps to secure the shroud to the tile.
Locate the SenTRI Base into
the semi-flush shroud, such that the
two locating pillars on the
shroud feeds through the two
elongated holes on the Base.
Push the Base into the shroud
until the Base click locks into
the shroud.
Offer the trim ring to the shroud
and slowly rotate ring clockwise until it
clicks and goes no further. This will
lock the ring in position.
Fit the metal box onto the back
of the semi-flush shroud using the
appropriate fixing screws to secure
the box to the flush shroud.
Offer the SenTRI detector to the Base
and rotate the SenTRI detector
clockwise until it moves upwards into
Base, and then rotate the SenTRI
detector again until it clicks and goes no further.
Make the cable connections.
Clamp