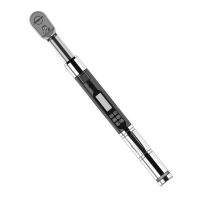
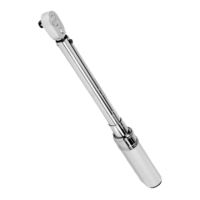
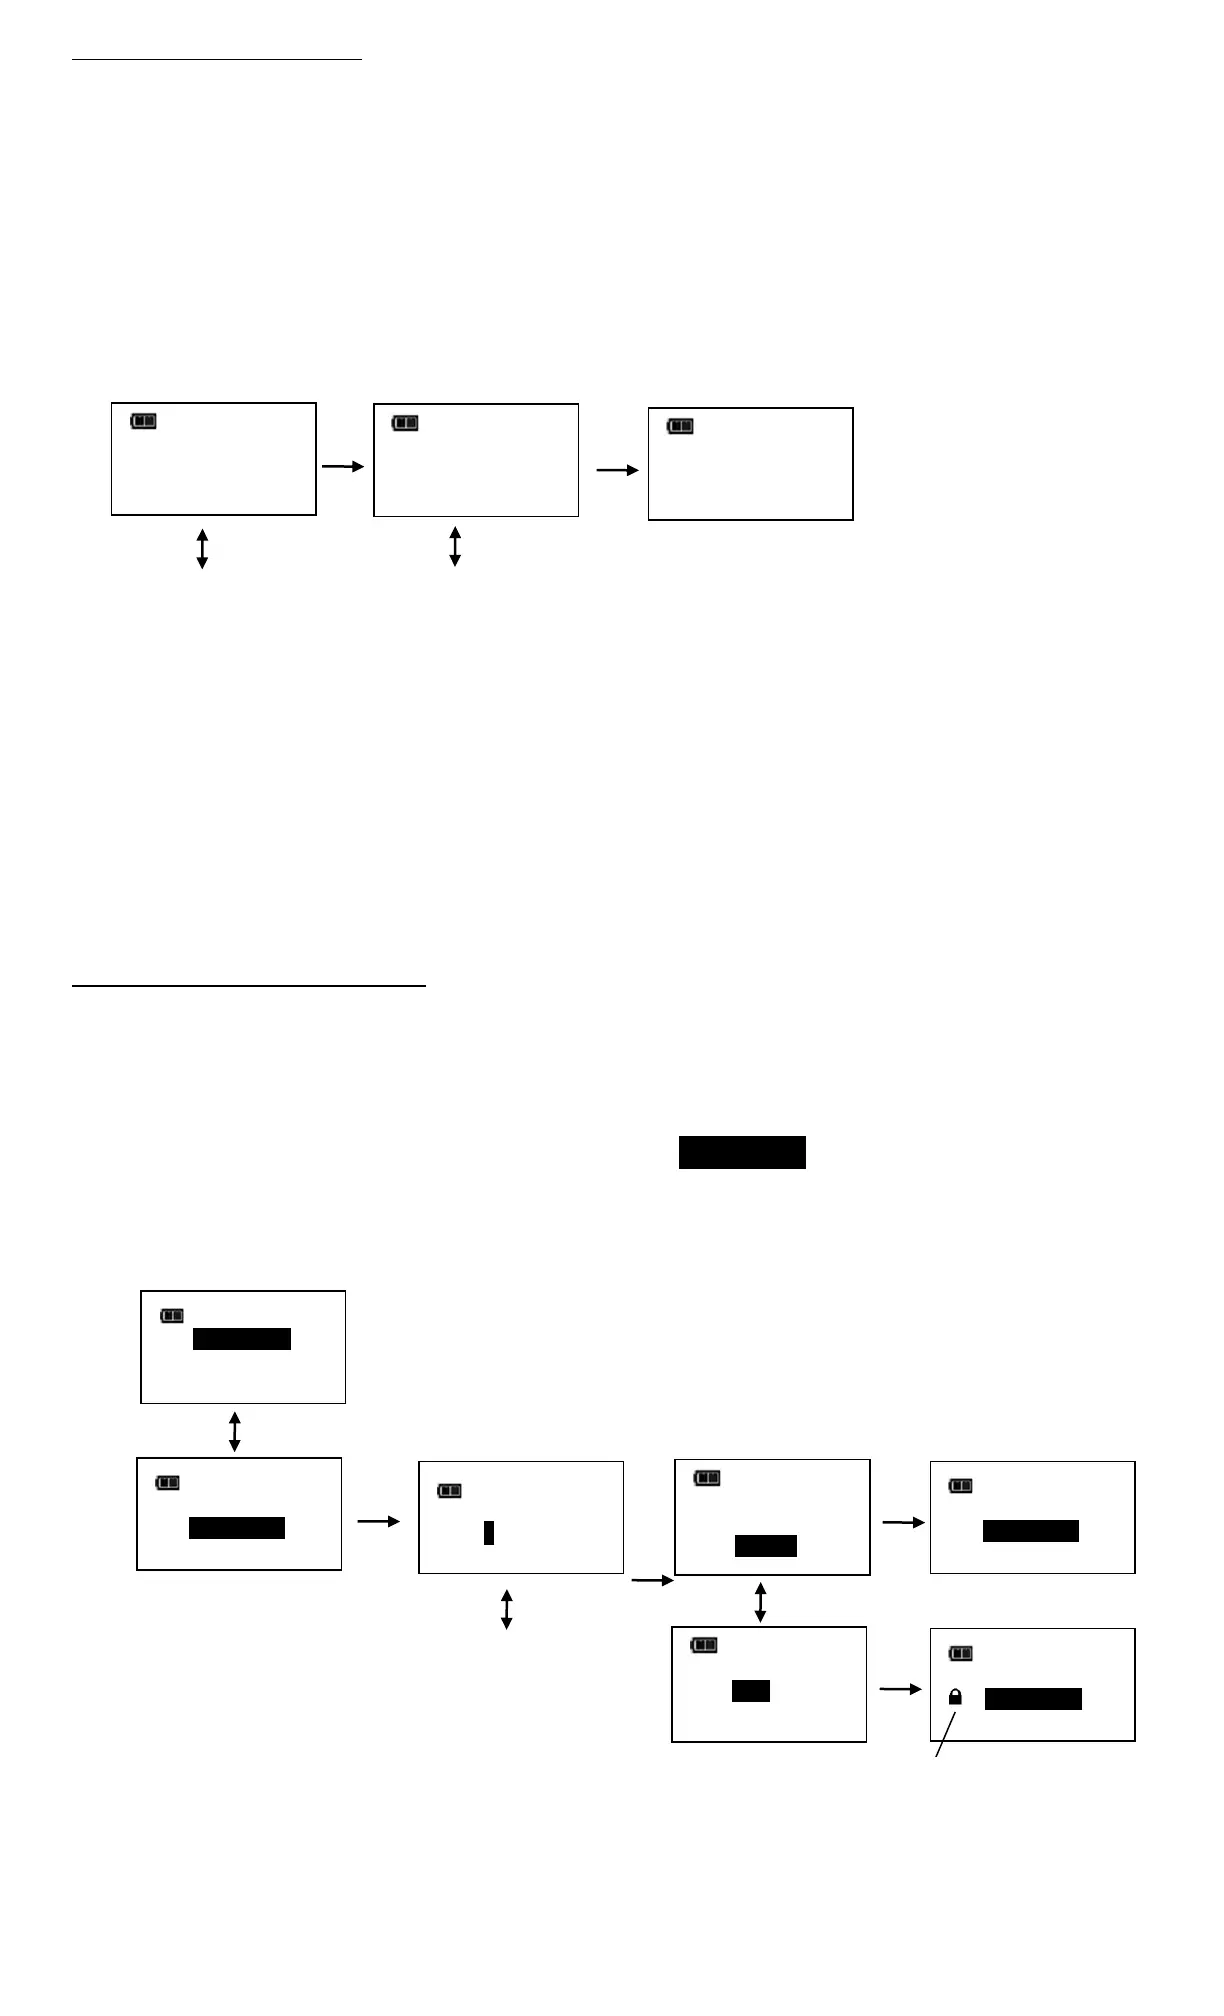
Torque AND Angle Mode
Torque AND Angle mode is setup by first setting a target torque and units then a target angle before selecting
Torque AND Angle mode. In Torque AND Angle mode, torque and angle are measured simultaneously. Yellow
progress lights track torque measurement. When both torque and angle reach their targets, green progress
lights turn on and torque and angle data record is stored. If either of measurements exceed their upper
tolerance, red progress lights turn on.
1. From target torque screen, use UP/DOWN buttons to set target torque and UNITS button to select torque
measurement units then press ENTER button.
2. Angle target screen is displayed. Use UP/DOWN buttons to set target angle then press ENTER button until
Torque AND Angle mode screen is displayed.
3. Apply torque and rotate wrench until both targets are reached.
Note: UNITS button can be used to select torque units while on Torque AND Angle screen.
Note: Torque THEN Angle Presets are entered by pressing and holding Units button while on Torque THEN Angle
screen. Refer to "Adding a Torque Preset" and "Adding an Angle Preset" in Basic section for parameter
entry.
Note: Torque cycle is not recorded in memory unless both torque and angle reach targets.
Note: Red progress lights turn on if torque exceeds target + plus tolerance or if angle exceeds target + plus
tolerance while in manual mode.
Note: Red progress lights turn on if torque exceeds maximum torque or if angle exceeds maximum angle in Preset
mode.
Preset Lock Report Mode Only
Preset Lock function allows user to lock wrench so that only configured presets are accessible. No other presets
can be configured and manual target torque and angle modes are not accessible when locked.
Note: Password entry is required to enable Preset Lock. When locked, password entry is required to re-enter
Configure menu (refer to ControlTech™ Calibration manual for default password).
1. From Configure menu, use UP/DOWN buttons to highlight PRESET LOCK selection then press ENTER button.
2. Preset Lock enable/disable screen is displayed.
3. Use UP/DOWN buttons to select LOCK or UNLOCK selection.
4. Press ENTER button to accept selection and exit to Configure menu.