Note: Clock Date and Time must be set before calibration interval will function. If batteries are removed from
wrench for longer than 20 minutes, clock will revert to default settings and must be re-entered at power
on.
Note: Calibration interval is calculated from either IN-Service Date or last Calibration date (see SHOW INFO
menu) depending on which is more recent date. When clock Date is greater than IN-Service or Last
Calibration date, plus Cal Interval, "CAL NEEDED" message will be displayed on power up and after a re-
zero. Pressing ENTER button will continue to target menu. Applying torque while "CAL NEEDED" message
is displayed will immediately display torque or angle measurement and return to target menu when
released.
Note: As an alternative to calibration interval, a Calibration Cycle Counter is provided in Calibration menu (Refer
to ControlTech™ Calibration manual regarding Calibration menu). Each time a measurement cycle
reaches target torque, calibration cycle counter is incremented. When torque is recalibrated, calibration
counter is automatically reset to zero. User can disable calibration interval check and use number of
cycles since last calibration to decide when to recalibrate.
Note: If an invalid date is entered and Calibration interval is enabled, an unintended "CAL NEEDED" message
may be displayed. Either disable calibration interval or enter a correct date.
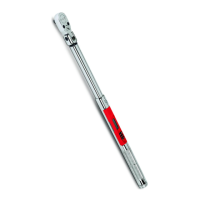
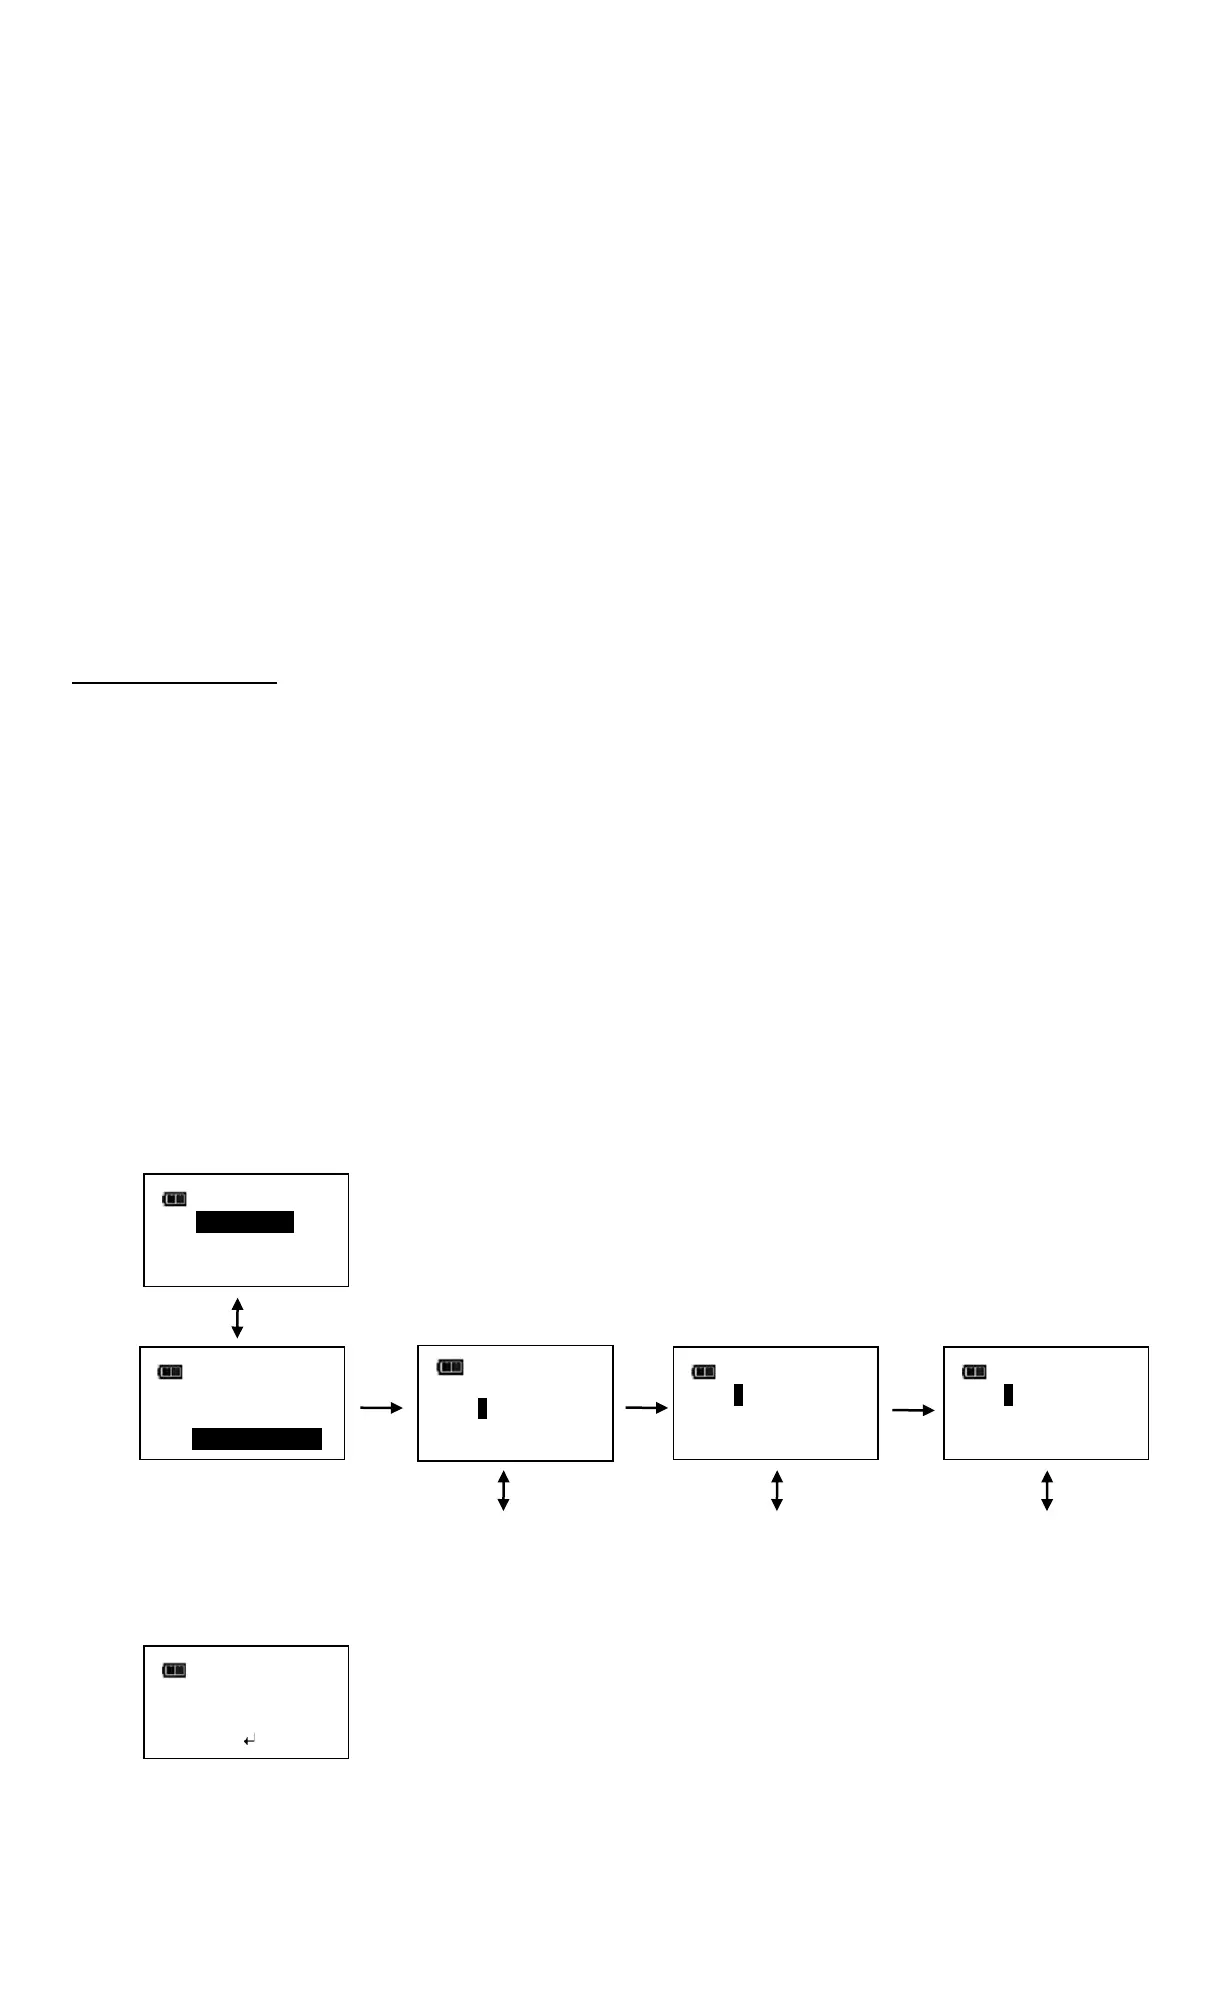
Change Password
Change Password function allows user to change password to a new password. Default password is required to
initially change password. Refer to ControlTech™ Calibration Manual for default password.
1. From Configure menu, use UP/DOWN buttons to highlight CHANGE PASSWD selection then press ENTER
button.
2. Initial password entry screen is displayed.
3. Enter default password if changing for first time, otherwise enter current user password using UP/DOWN
buttons to change each digit followed by ENTER button.
4. Change password entry screen is displayed.
5. Enter new password using UP/DOWN buttons to change each digit followed by ENTER button.
6. Confirm password entry screen is displayed.
7. Re-enter new password using UP/DOWN buttons to change each digit followed by ENTER button.
Note: Pressing POWER button at any time aborts password change sequence.
Note: If an invalid password is entered during confirmation step, Invalid Password Match screen is displayed and
new password is not accepted.