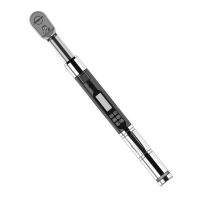
Control Box / ControlTechManager Report Mode Instrument Behavior
Set Headlength Behavior
1. When switching the Control Box from Control Mode to Report Mode power off instrument.
2. Change the Set Headlength Unit on the Control Box and or the ControlTechManager Qualifier Menu to
inches.
3. Power down Control Box.
4. Power on instrument.
5. Enter SET HEADLENGTH menu on instrument (see page 6). Press UP/DOWN buttons simultaneously to
set factory default calibrated length. (J-Shank instrument will read 2.500 in).
6. Power on Control Box.
7. When executing PSETS from Control Box when using interchangeable head style instruments with
Snap-on “A” suffix torque adapters the PSET Headlength must be entered as 0 (zero) on the Control
Box Preset Headlength field the save the change. The Control Box interprets 0 as the default calibrated
length on J, Y, X and Z shank Interchangeable Heads Instruments.
8. The Control Box Preset Set Headlength field will round down due to the Control Box native headlength
units are milometers. Example a J-shank instrument has a default calibrated length of 2.500 inches. The
Control Box will round down to 2.499 inches and will be viewed as such on the Control Box Preset Set
Headlength field after step 7 is performed.
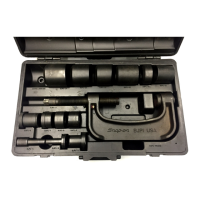
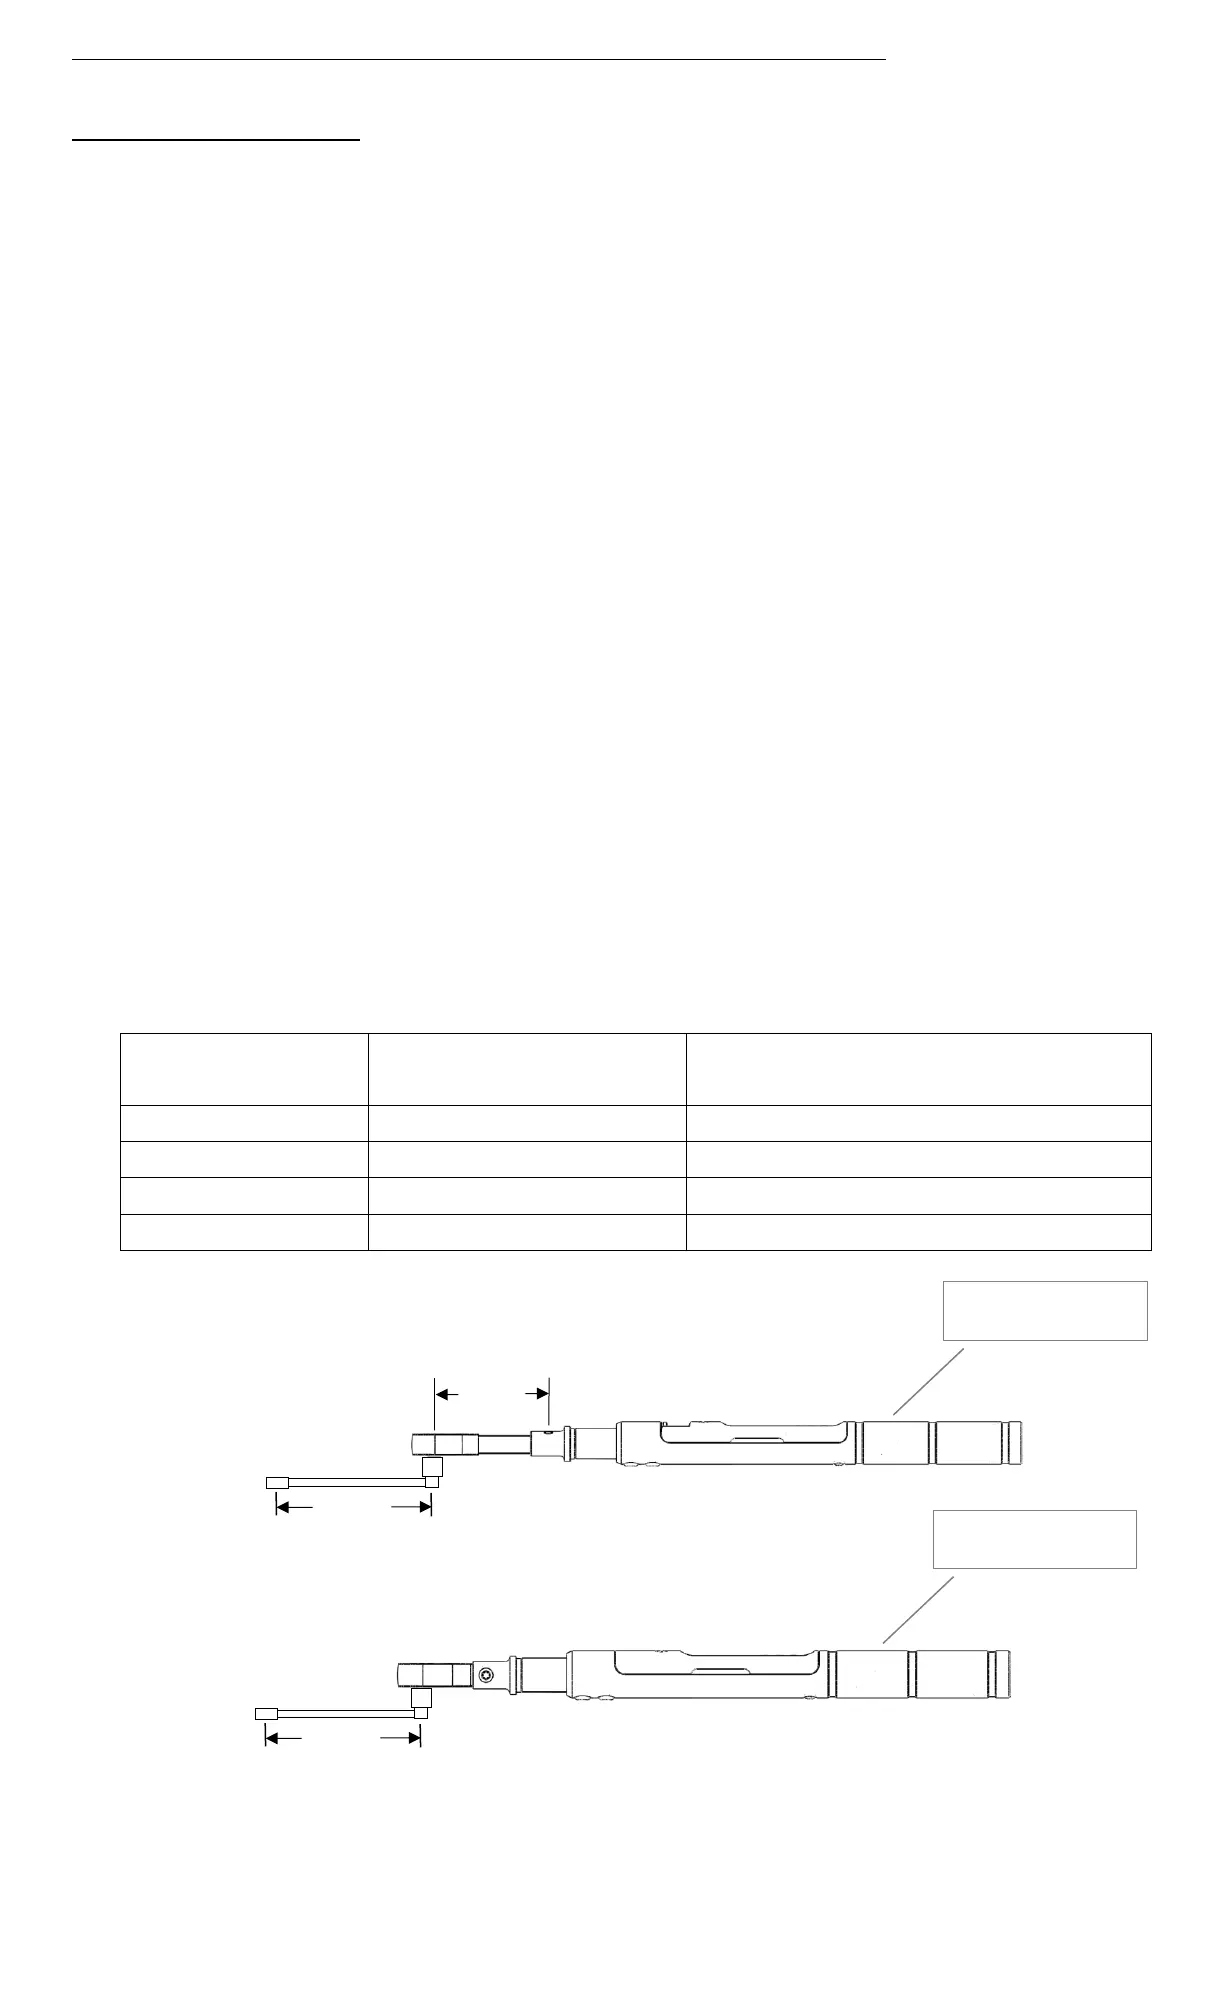
9. When adding a crows-foot adapters or any other adapter type to an interchangeable head instrument
that already has Snap-on “A” suffix adapter attached, the total combined effective length of the crows-
foot adapter and Snap-on “A” J, Y, X and Z adapters must be on the instrument SET HEADLENGTH
menu and or Control Box Control Box Preset Set Headlength field. See example in Figure 2 (head /
offset reference).
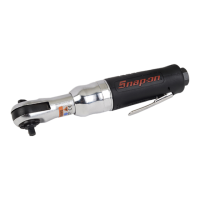
10. Standard ratcheting head instruments the set headlength calibration default is always 0 (zero)
regardless of the torque range or ratchet drive size. Only a crows-foot adapter effective length needs
to be inputted. See example in Figure 3 (offset reference).
Table 1